 12 years ago
Ascend: Hand of Kul – New Gods Guide
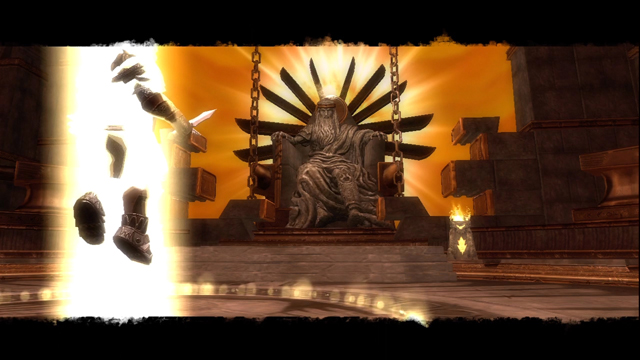
The core of Ascend: Hand of Kul are the New Gods who’ve awoken to challenge the rule of the Titan and establish their dominion. You must choose one of these three deities to serve, striking out to increase their influence and your own power. Each God represents a different sphere of influence: Light, Dark, and Void, and by aligning yourself with them you’ll begin to siphon their power and shape the way your Caos looks and performs.
Though the weapons and armor associated with each alignment differ in look only, the spells and benefits among the three couldn’t be more different. Think of each God as representing their own loose play style: the fast and agile warrior; the armored, heavy-hitting juggernaut; and the spell-slinging caster. In addition to their own unique alignment theme, each God is also attuned to a natural element, which comes across in their spells and perks.
While the story doesn’t change with regard to which God your serve, the environment changes to reflect their themes as you begin claiming shrines in their names, completely altering the look and feel of each area. The presence of your God can be felt in most aspects of the game, and for this reason, it’s easy to get attached. However, you should strive to serve each of the Gods if you eventually want to become the most powerful Caos roaming the wilds.
 12 years ago
Ascend: Hand of Kul – Spells Guide
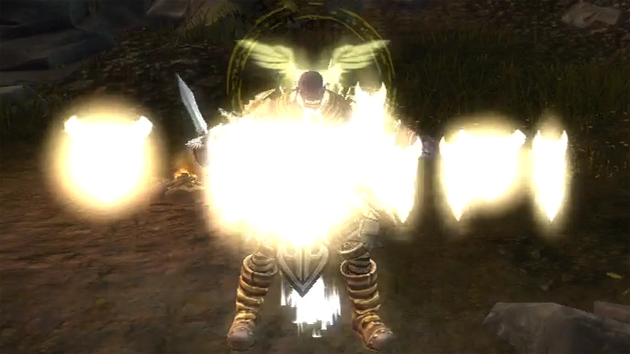
Spells are a crucial part of Ascend: Hand of Kul, empowering each Caos with the magical wrath of the Gods they serve. While spells might not be as front-and-center as bone-crushing melee attacks, their potential and power can’t be disputed, lending themselves to a variety of situations with devastating effects.
Each God currently has four core spells which they gift to those serving them for completing milestones during the campaign. When that milestone – like completing the tutorial – has been fulfilled you’ll be awarded the corresponding spell for free depending on which God you’re serving. However that’s not the extent of your Caos’ magical prowess; by changing alignments through Ascension, you’ll be able to purchase the spells from other alignments, allowing you to build an entire arsenal from each dominion.
All spells can be upgraded by spending souls in order to enhance many different aspects, like: spell damage, spell duration, spell recharge rate and number of charges. Note that while spells do carry over through Ascension, they do not carry over when Transcending. Below is a list of all current spells and their corresponding alignments, along with their cost and any other requirements to purchase, in case you weren’t aligned when the spell became available.
 12 years ago
Ascend: Hand of Kul – Farming Guide
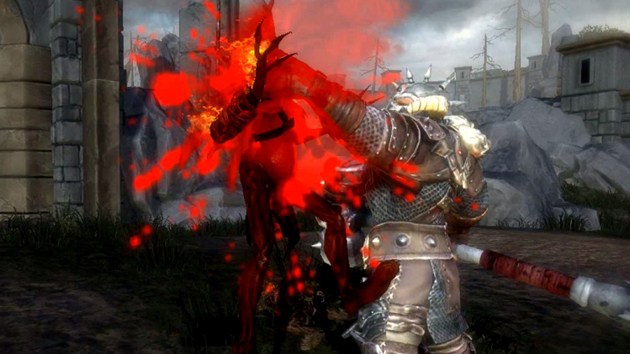
Depending on what you’re looking to get out of Ascend: Hand of Kul, farming usually becomes a necessity at some point on your journey. Whether it be harvesting souls to purchase that next upgrade, gaining experience for your next Ascension or just cracking open chests for a better piece of gear, farming is an important part of the process.
While everyone has their own little corner they like when it comes to banging heads for experience and currency, there’s a spot in Ascend that is generally accepted as the best, or most accessible, location for grinding out. Due to the game’s constant influx of content and balance updates, the information below might not be the most time/cost-effective means of farming forever, but for now, if you follow along at home you’ll do just fine in the long run.
 12 years ago
Ascend: Hand of Kul – Ascension Guide
One of the main pillars that supports Ascend: Hand of Kul is the ability to cast off your character’s mortal coil, reap the benefits of a short lifetime in service to your God, and begin anew. This cycle is known as Ascension, and it’s a feature that drives your character’s progression from fleshy infant to grizzled veteran, building the ranks of your personal army in the process.
What is Ascension?
Ascension is the opportunity to extend the power and progression of all future characters at specific level intervals – in this way, don’t think of each Caos you create as separate entity, but rather as one stage of your overall character. Starting at level 5 and after you finish the tutorial, you’ll receive the chance to Ascend, ending the career of the Caos you’re currently playing and starting a new Caos, picking up where you left off.
However, the level required to Ascend increases by 5 every time you do it, starting from the level of your last Ascension. Additionally, each time you Ascend thereafter, your newly created Caos will start further away from your last Ascension level, meaning you have to make up that ground and the additional 5 levels before you get the opportunity to Ascend again. Here’s an example:
 12 years ago
Ascend: Hand of Kul – The World Guide
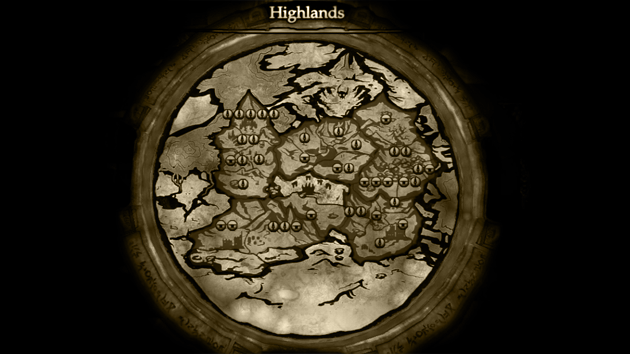
The world of Ascend: Hand of Kul ranges wildly in size, scale and variety. It is broken down into 26 distinct Levels, which form together to create 5 independent Zones, which are all part of the greater Region. Currently, there is only one playable Region, The Highlands, however the developer has stated that additional regions are in the works and will be deployed as free content at some point in the future.
Within The Highlands, the five Zones each employ a theme: mountainous terrain, forestland, and swampland, requiring the player to complete unique challenges and tasks to progress. Each zone is subdivided further into 5-6 Levels, where the player will spend the majority of their time fighting to convert altars and shrines in the name of their God. When all the altars and shrines in a particular level are captured in their favor, the entire level will be converted to display the alignment of their God.
Below you’ll find a list of every Level within The Highlands, the number and quality of chests contained within as well as the number and type of dominion points to control. Upon entering an area, all chests, dominion points and dungeons appear on the map for easy navigation. The only points of interest that do not initially appear on the map are Lore Stones, which must be discovered first. For the complete list of Lore Stones and their locations, visit the Lore Stones section of this guide.
 12 years ago
Ascend: Hand of Kul – Achievements Guide
Ascend: Hand of Kul contains 30 achievements for a total possible 400 Gamerscore. Fortunately, the vast majority of Ascend‘s achievements are attainable through intended gameplay, and should be unlocked gradually as you progress through the game’s story. While there are a few that require a deliberate effort to unlock, above and beyond natural gameplay, we’ve compiled every achievement below in alphabetical order with tips to help you along the way.
Please note that in some cases players’ achievement lists will be displayed slightly different as the “Dungeon Master” achievement was removed and replaced with the “Transcend” achievement after the initial closed beta.
 12 years ago
Ascend: Hand of Kul – Items Guide
Items in Ascend: Hand of Kul fall into two categories: Runes and Boosts. While both item types can be purchased from the menu store, only Runes can be collected from chests throughout the world; boosts must be acquired by spending souls.
Runes
Runes are modifiers that can be affixed to equipment for additional damage, protections or effects. Weapon Runes run the spectrum from common to rare, adding the potential for on-hit effects or enhancing the base statistics of your character. Armor runes also range from common to rare, piling on protections, increasing your characters base attributes or adding resistances to specific forms of magic and the chance to outright negate spells. Below you’ll find a collection of all runes currently available in Ascend: Hand of Kul, their costs and some quick tips regarding their usage. For more information on runes on how they can be best used with equipment, visit the Equipment section of this guide.
Magic 2014 – XBLA Fans Challenges Guide
Magic 2014: Duels of the Planeswalkers was developed by Stainless Games and Wizards of the Coast and published by Microsoft Studios. It retails for 800 MSP and was released on June 26, 2013. XBLA Fans awarded Magic 2014 a coveted Buy It! award in our recent review.
Magic 2014 features a smaller, more focussed challenge mode than previous years, although it is still fun and can get tricky later on! Our guide provides step by step details for completing each of the challenges by name.
Magic 2014: XBLA Fans Campaign Guide
Magic 2014: Duels of the Planeswalkers was developed by Stainless Games and Wizards of the Coast and published by Microsoft Studios. It retails for 800 MSP and was released on June 26, 2013. XBLA Fans awarded Magic 2014 a coveted Buy It! award in our recent review.
In this years edition of Magic: The Gathering – Duels of the Planeswalkers (known herein as Magic 2014) the campaign mode has been revamped to provide a story driven twist to accompany the usual spell slinging shenanigans. In this guide, we’ll be walking you through the campaign mode to ensure that you can assist Chandra in catching her man.
Magic 2014: Duels of the Planeswalkers – XBLA Fans Guide
Magic 2014: Duels of the Planeswalkers was developed by Stainless Games and Wizards of the Coast and published by Microsoft Studios. It retails for 800 MSP and was released on …
Read More


