 15 years ago
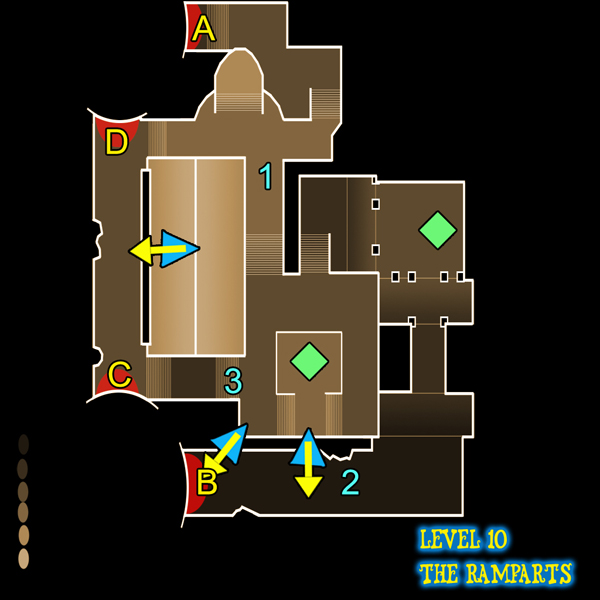
Dungeon Defenders Ramparts (level 10) guide
Strategy breakdown
Up to Wyvern town we find ourselves! Ramparts looks pretty intense, especially due to being asymmetrical, but with some beefy Squire blockades and relentless mage tower …
Read More
 15 years ago
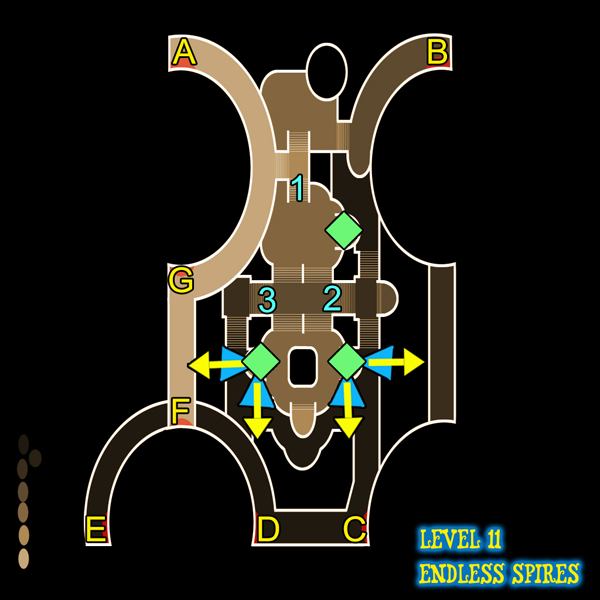
Dungeon Defenders Endless Spires (level 11) guide
Strategy breakdown
Another level with just three choke points, huzzah! Oh, but wait, it’s a lot harder. This level’s tough, 1 will require constant attention and a lot …
Read More
 15 years ago
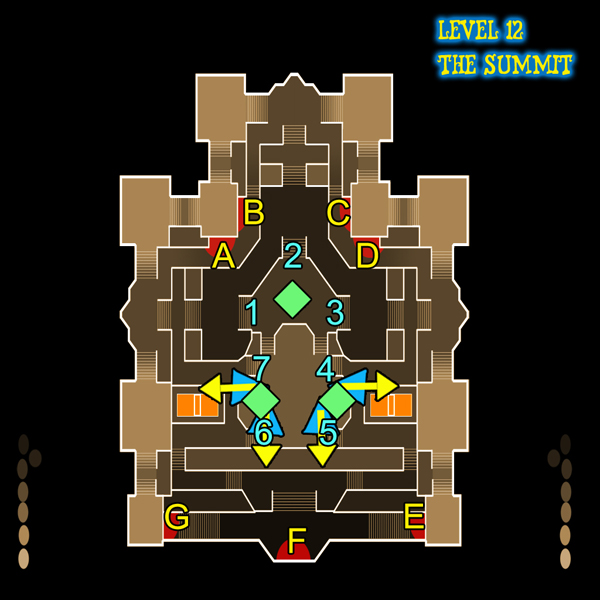
Dungeon Defenders The Summit (level 12) guide
Strategy breakdown
Here it is… the final (not really) level… It’s been quite the journey. Such a journey that the sun has gone down and it’s raining! Raining …
Read More
 15 years ago
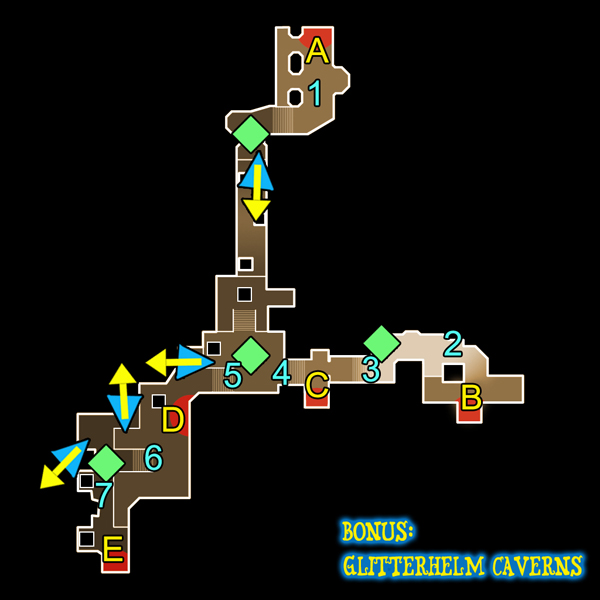
Dungeon Defenders Bonus: Glitterhelm Caverns (level 13) guide
Strategy breakdown
This level is absolutely bonkers considering how large it is and the fact that there are four crystals and ten million choke points. Okay, maybe not …
Read More
 15 years ago
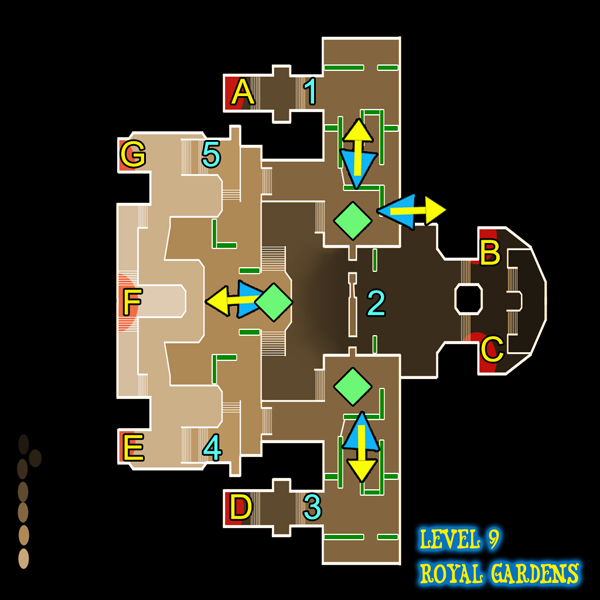
Dungeon Defenders Royal Gardens (level 9) guide
Strategy breakdown
Area 3 begins here, and boy is it a lovely level to start on! Open air, grass everywhere, and plenty of mages and wyverns to get …
Read More
 15 years ago
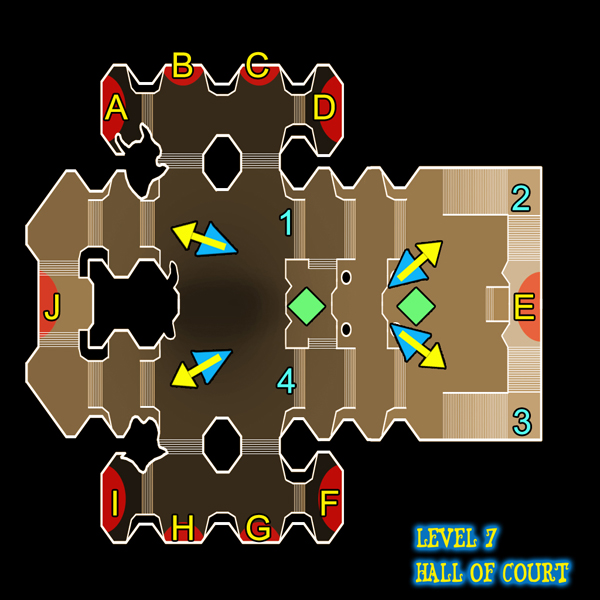
Dungeon Defenders Hall of Court (level 7) guide
Strategy breakdown
This map is one of the few very straightforward ones, but don’t sleep on it as wyverns will be a constant threat. The Western areas can …
Read More
 15 years ago
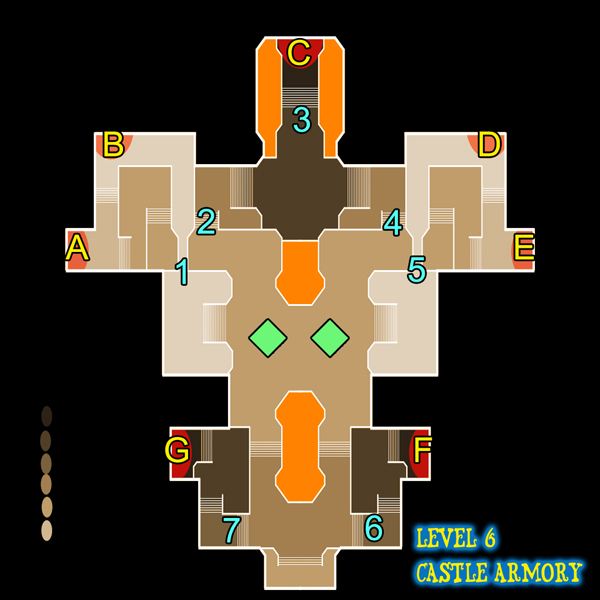
Dungeon Defenders Castle Armory (level 6) guide
Strategy breakdown
This is the first huge looking symmetrical map, so it might be a little intimidating first. Walk around the map, breath heavily a bit, then get …
Read More
Dungeon Defenders Foundries and Forges (level 2) guide
Strategy breakdown
The first four waves will all come from all doors and will be fairly easy to maintain. Only a few of the larger Orc enemies will be …
Read More
Dungeon Defenders Magus Quarters (level 3) guide
Strategy breakdown
The first two waves will be business as usual, focus on the larger Orc enemies and make sure you have the three choke points covered with ample …
Read More
Dungeon Defenders Alchemical Laboratory (level 4) guide
Strategy breakdown
The first few waves will be business as usual. Find the larger Orc enemies and make them your priority. Beef up choke points 2 and 3 as …
Read More
