Spelunky Guide – Secrets and Unlockables
Welcome to the super secret section of our guide! The content is secret… not… not the guide. Spelunky is rife with “Did you know?”s and “Where IS this place?”s, and it’s our job to try and find them. Actually, it’s your job, but if you’re having trouble it’s our job to help! Not sure why you need to find these things? Well if you want to complete your journal, you’ll have to make your way through every nook and cranny of this game. We’ve cataloged each and every secret we could find, but as far as we know there are still much more out there, lurking in the roguelike shadows of this game. This guide will be updated as myself and the community discover new things. Please email me at todd@xblafans.com if you find something not in the guide. If you’re not ready to see all the secrets, head on back to the Tips & Tricks page.
The Kapala
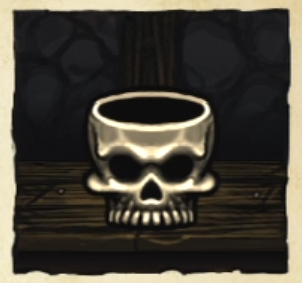
Sacrifice two still-living damsels to Kali in one playthrough to acquire the Kapala. After that, any other sacrifices you make simply help you fill the Kapala. Remember, it’s not just cavemen you can sacrifice, anything that gets stunned counts. This includes both kinds of scorpions, yetis, mantraps, and your friends in coop.
The Kapala allows you to catch blood, simply put. As you acquire blood, the Kapala’s image will fill up with blood. When it fills all the way, you’ll get 1HP. This can be done forever. A neat trick to get the most out of the Kapala and damsels is to hit them three times with the whip, then save them. You get more out of saving them than killing them, but this way you still fill the Kapala up quite a bit. Blood that spills onto the floor can still be picked up, so don’t feel like you have to catch it all mid-flight.
The Golden Monkey
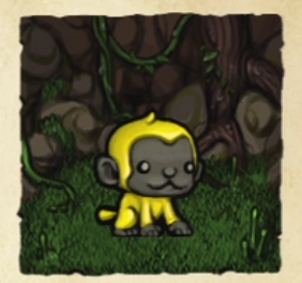
This guy’s cute as all hell, for one, but requires some luck to get. First off, he can only be found on any level with both an altar of Kali and an idol. On top of that, if grabbing the idol destroys the altar, this cannot be done as well. Unless you feel you can get to the alter before the giant boulder of destruction does.
If the conditions are met, however, the rest is simple. Just put the idol on the altar! Yay golden monkey! You can carry this guy around and he defecates money. The payoff is pretty grand if you get him early enough, but keep in mind the longer you wait around with him the greater the chances of a ghost spawning. He’ll drop gold until you descend or until he dies; he won’t come with you to lower levels unfortunately.
The Worm
Credits to: commenter Livebyfoma for telling us how to find this area.
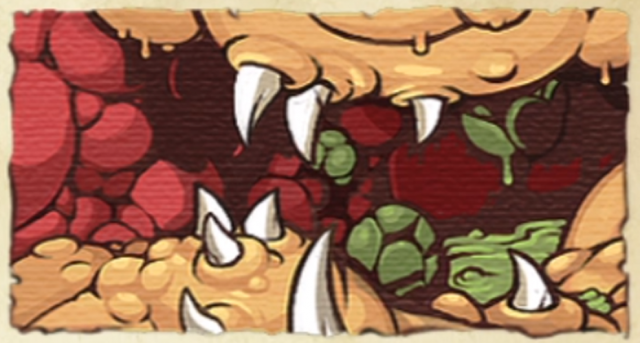
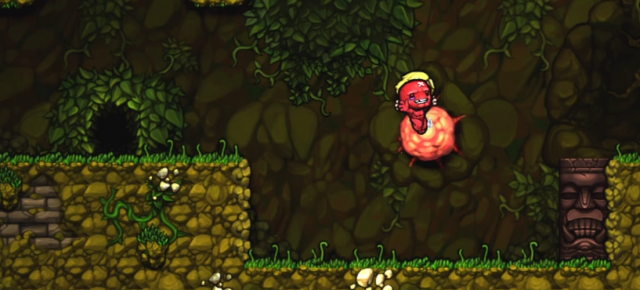
The Worm is a gross, albeit interesting place. Getting there is actually pretty easy, and you should be able to on every playthrough, granted you might not want to do the chances of survival. On any Jungle level from 2-1 to 2-3, there’s a chance you’ll see a pink, bulbous, dripping protrusion in the walls from which you can suspend yourself. This is the worm’s tongue. To get the Worm to come out, simply throw a living damsel onto it, and wait for them to get up and start running hysterically, as damsels do.
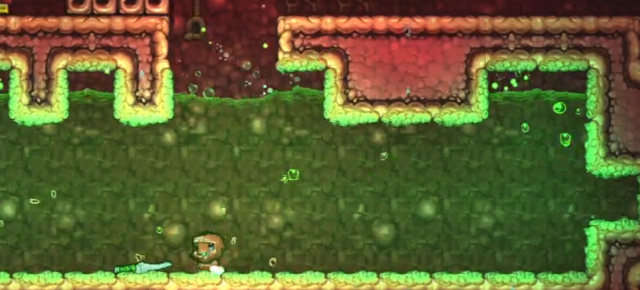
The worm will burst forth from the wall to consume the damsel. If you were a crazy person, you’d have been chillin’ on the worm’s tongue as well, and got consumed with the damsel. Once swallowed, not only will you get the damsel and complete the level, you’ll be taken to the worm’s insides. This place is littered with spiked green balls that trail around any given platform and can add up to serious damage if you’re not careful.
Near the bottom of this area is a massive vat of what we assume is digestive juices. Acid, otherwise. However, this stuff is safe to swim in at least long enough to grab the Crysknife. This knife insta-kills any enemy (or otherwise) you hit with it. Continue on to the bottom of the level (it’s a very long level) to find a green sac with a human-looking silhouette in it. Burst this open to unlock Super Meat Boy.
The Haunted Castle
Credits: Sazaris from Xbox Live for telling us how to get to this area.
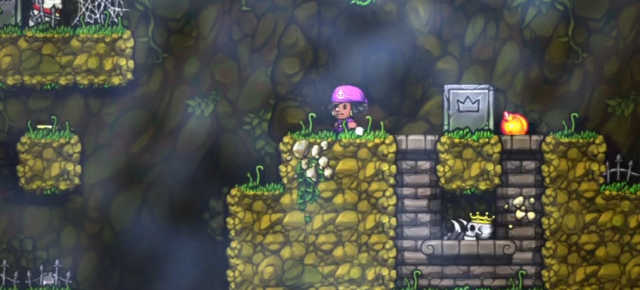
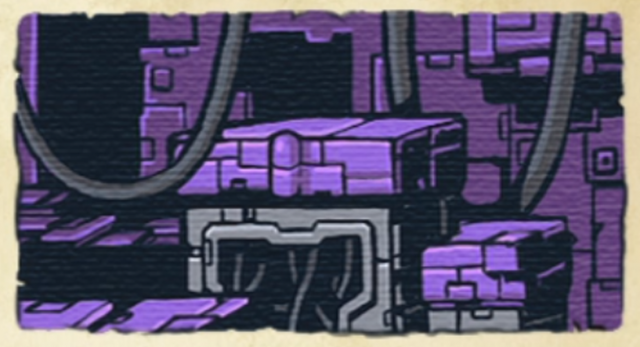
Getting here, as you may have guessed, requires the “The dead are restless” event to occur in the Jungle. Why there are two super-secrets in the Jungle I have no idea, but there are, and you can feasibly do both of them. Getting to this haunted castle and all its ghastly goodness is simple, blow up graves! Well not just any grave, the deceased king’s grave. When you find the tombstone with the crown on it, blow it up (the crown is worth money, which is neat) then drop a bomb where the skeleton rests as well. Below will open up the door to the castle!
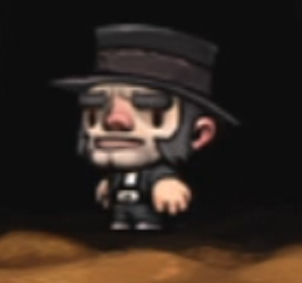
This place isn’t too big and the reward’s not the most amazing thing, but it is quite useful for killing shopkeepers and mummies. The castle has an entrance at the very bottom which closes when you enter. All the undead enemies are here (jiang shi, vampires and skeletons) but also green and black knights. The shield the black knight is carrying reflects projectiles, so just to whip this guy or jump on his head. On this level is a throne which appears to be an altar, though as of writing we are not sure if it is special in any way. Lastly, likely near the top of the castle is the Black character who appears to be some sort of old Van Helsing-esque gentleman.
The Mothership
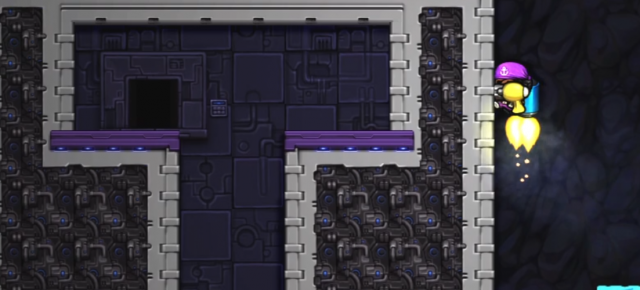
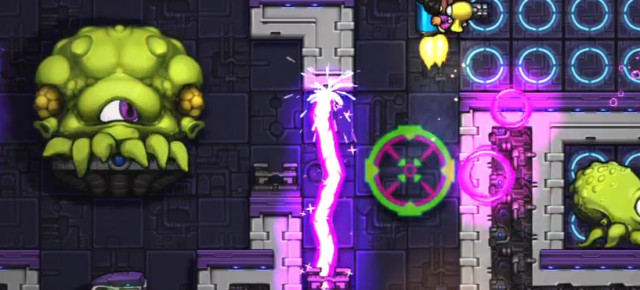
While this isn’t the most secret of secrets, it is off the beaten path so we figured we’d point it out to you. This place only shows up in the Ice Caves during the “4th of July” event. Inside this place are a whole slew of aliens, and you’ll need to visit here if you wish to complete your journal. Included are the basic UFO alien, an alien tank which fires bombs, and several alien lords. Last but not least is the alien queen who fires lasers (like the ones in deathmatch) at you. She’s not very nice.
Getting here is pretty simple, you just have to have the climbing gloves, tons of rope (2 – 3), a jetpack or bomb your way through the top if you’re already up there.
Good luck! This place is incredibly volatile, it’s ridiculously easy to be killed since just about everything explodes or otherwise kills you in one hit. However, if you DO defeat the alien queen, you can see there’s a rocket launcher waiting for you. This place will fall apart the longer you’re inside, we encourage destroying all smaller aliens before taking on the lords and queen. Or just leaving, because it’s scary.
Getting to the City of Gold
This is a step-by-step process which requires you to start from the beginning.
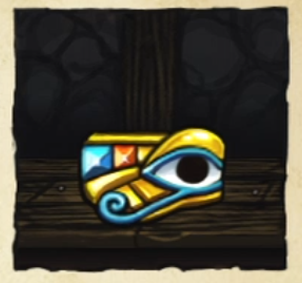
Use the key to unlock the treasure chest in the mines. This will happen sometime between 1-2 and 1-4, but only once. If you miss the chest or key, it’s gone. Opening the chest however gets you the Udjat Eye.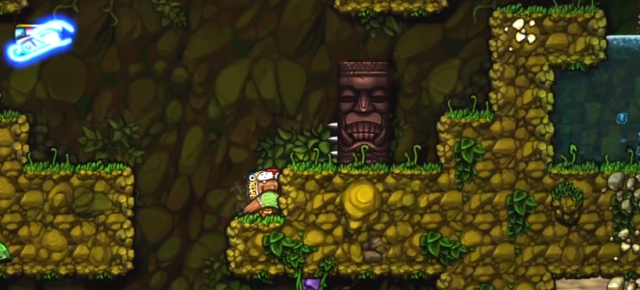
In the Jungle, use the Udjat Eye to find the secret entrance to the Black Market. This happens on either 2-1 or 2-2. The eye will blink and make a noise the with greater frequency as you approach the entrance. Keep in mind the entrance is always hidden, it will never be uncovered as part of the map generation. Also note entering the Black Market counts as completing the level.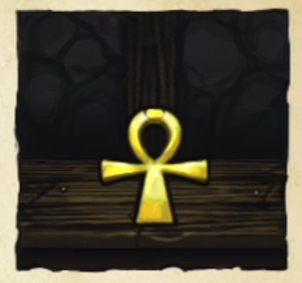
In the Black Market, purchase (or steal) the Ankh. The Ankh will allow you to come back to life once with 4HP if you die anywhere. It costs $50,000 so if you don’t have it and won’t steal it, might as well use the Black Market to purchase supplies.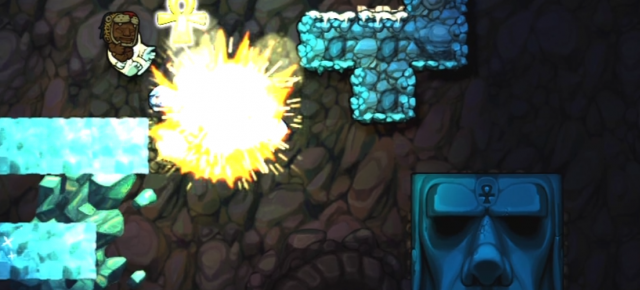
In the ice caves on either 3-2 or 3-3 somewhere in the map will be a giant blue Moai statue. This statue has the ankh symbol on it. Die anywhere in proximity of the Moai (it’s a pretty large range, but we don’t recommend falling off the map or blowing yourself up with your own bombs). When you respawn, you’ll be inside the Moai and now have the Hedjet. Enter the door to complete the level.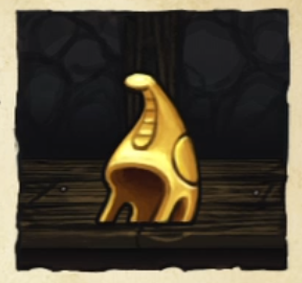
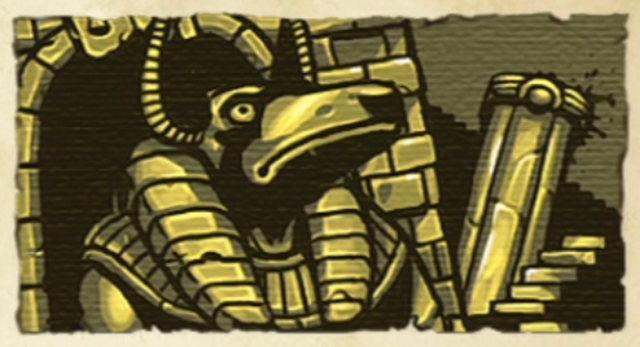
The Hedjet is necessary to enter the City of Gold but as of writing has no other use. When wearing the Hedjet, acquire the Scepter from Anubis. To do this, you must kill an Anubis. Good luck with that. Our advice is to use bombs, but it will take more than one. Sticky bombs work best here as they go through his attacks (corpses don’t) and ignore his ability to fly away. You can also just throw rocks at him, which is fun. This must be accomplished on either 4-1 or 4-2 as the door to the City of Gold is on either of those levels.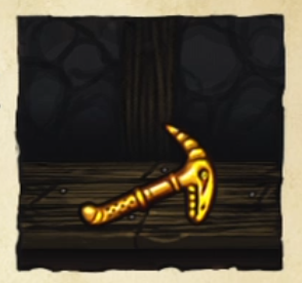
Once you have the Scepter, find the large golden block with a hole in it and simply run over it. As of writing, we believe you need the Udjat Eye AND the Hedjet with the Scepter to get in. If you randomly found the Black Market and acquired everything that way, it won’t work.
Getting to Hell
As of writing, we haven’t made it to Hell, but here’s what we know so far:
- You’ll need to reach the City of Gold to get to Hell, so if you don’t know how to do that see the above notes.
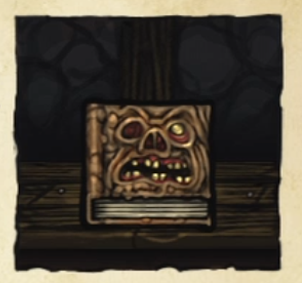
Once in the City of Gold, find the Necronomicon. It’s on an altar all by its lonesome somewhere in the map. The city is only one stage long, so it’ll be there no matter what. You’ll know it when you see it.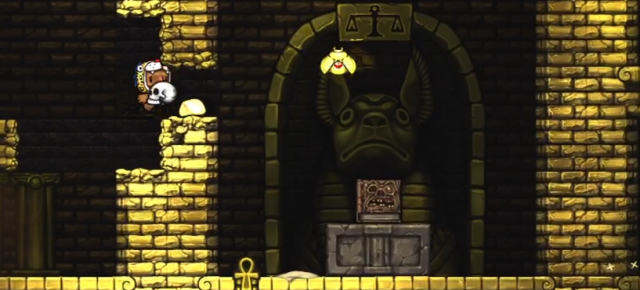
After you grab it, Anubis II will start chasing you. He’s like the regular Anubis enemy, except he spawns infinite amounts of red skeletons all around you and chases you directly (rather than hovering near you).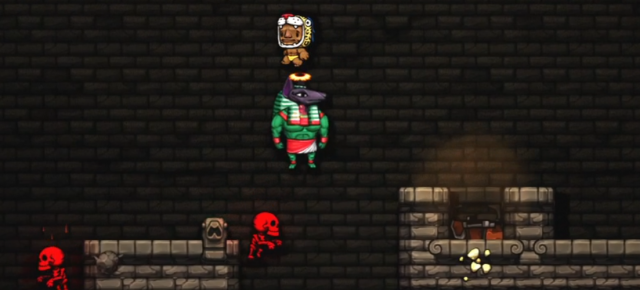
You can kill him here or after leaving the City of Gold (we advise leaving the City of Gold first) but you will have to kill him. The best way to do this is to jump directly on his head assuming you can do so safely. The skeletons only show up on the ground, so he can’t hurt you if you’re bouncing on his head.- Once you kill him, you’ll have to defeat Olmec.
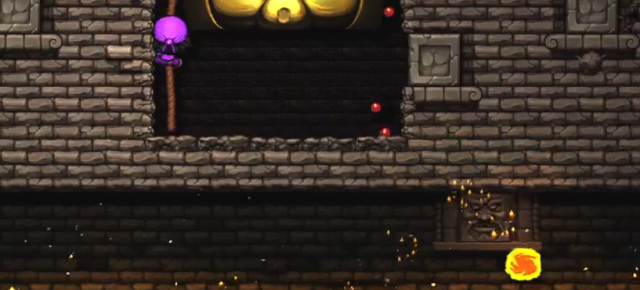
Here is what we haven’t verified yet. We believe the door at the bottom of the map (roughly in the center of the level) is the gateway to Hell, opened only once you have defeated Olmec and Anubis II. The angry face is kind of a giveaway. Also, that ledge is fake unless the door is opened.Update: XBLA community member SnapDragon has both beaten Hell and confirmed that the final character is Mr. Yang, the gentleman from the tutorial. He also confirmed that not only is that the door to Hell, there is no ledge there. You have to enter the door by riding Olmec’s head. Thanks SnapDragon!
Characters
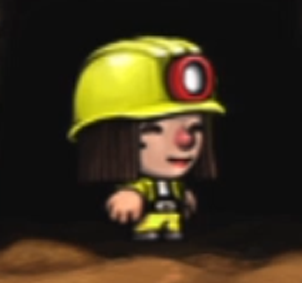
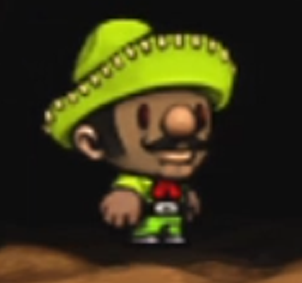
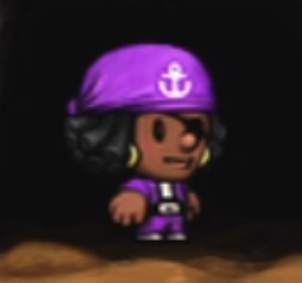
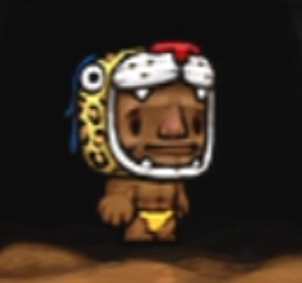
Unlocking Yellow, Lime, Sky Blue and Purple.
Note: None of the characters have names, so we named them by their color.
Update: Each character is still one-per-area, but which you get is random. Thanks to several members of the community for promptly letting us know.
Each of these characters is unlocked within each of the major areas of the game:
Yellow
Lime
There is no other way to unlock them other than to keep on playing. The longer you’ve spent overall in each area, the greater the chances of them showing up. Don’t worry, this won’t take forever. There’s no way of knowing when they’ll spawn, but they’re in coffins which must be opened by hitting them with anything. Once the coffins are open, you’ll unlock the character. No, you don’t have to take care of them after releasing them, they’ll promptly kill themselves anyways.
Note: this cannot be done in coop.
The other four characters have set unlock methods. As of writing, we only know one:
Complete the game – Brown
Worm level – Pink (Super Meat Boy)
Haunted House level – Black
(Picture forthcoming… when I get through Hell)
Beat Hell – Mr. Yang
Credits: SnapDragon on Xbox Live
Please help us update this guide by tweeting @XBLAFans or @Emessai or by emailing us at todd@xblafans.com. We will give you credit for either finding something new or by confirming our suspicions regarding any element of the guide.
Back to Tips & Tricks

