Little Nightmares Collectible Guide
About Collectibles
This is a Little Nightmares Collectible Guide. It will guide you to all collectibles as well as the missable achievements. The collectibles save right away after you have collected them. You can find what levels you are missing things on by looking at chapter replay. Also, once obtained, they will no longer show up in the game.
Statues: These must be picked up and thrown so that they break.
Gnomes: These must be found, sometimes needing to find out where they run off to. Then, you must hug them, which is just picking them up.
Achievement opportunity: I will point out times when you should be aware of an achievement that you can obtain. This way, you can follow just one guide to get everything.
Chapter 1: The Prison
Statue 1 (1/2)
As you progress from the start of the game, you will go up a set of stairs. Soon after, you should see a statue in the background area. This is near a broom. You must pick it up, and throw it onto the ground.

Achievement Opportunity – Highly Sprung
There will be a room with a couch and a bed shortly after the first statue. Jump on the bed several times to gain the achievement.
Gnome 1 (1/3)
When you get to the fridge, move past it. To the right is a hole you can duck into and find the first gnome. You must press RT to pick him up.
Gnome 2 (2/3)
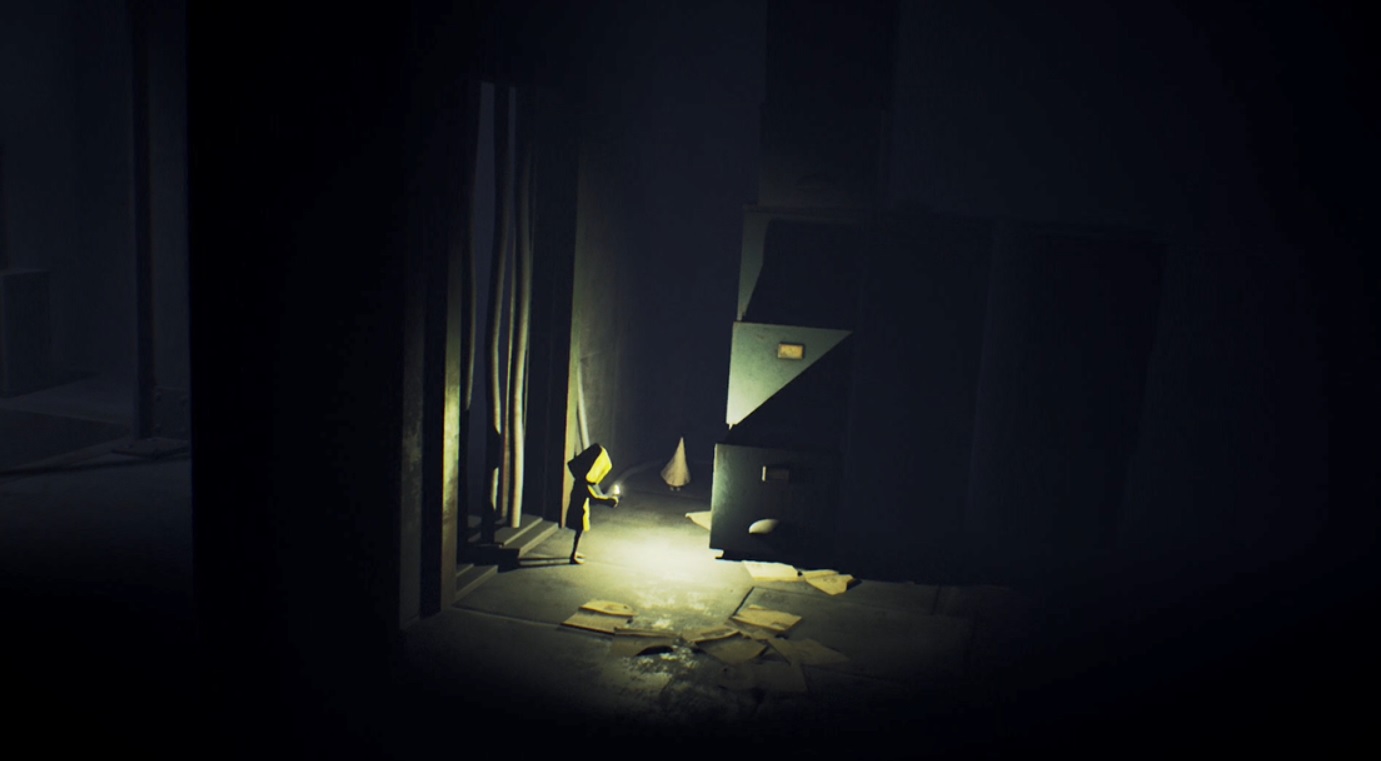
You will find yourself in a large room with what appears to be an eye spotlight looking around the room. Head to the right, and there are a bunch of filing cabinets you can climb on. To the right, you’ll see a cage. Once you reach near the top, go to the right and down to the cage. Duck into the next room within the cage, to find the next gnome.


Statue 2 (2/2)
After climbing the filing cabinets in the room with the searchlight eye, go left. There is a statue to break in a room.
Achievement Opportunity – Elusive
While in a room with beds, basically a creature enters. His arms are very long, and he is blind. He will sniff and try to find you. If he starts chasing you, you can run and slide to dodge him grabbing you. This can be somewhat difficult to do, but if he catches you, then you reload at the checkpoint right before him. If you successfully dodge his arm, you will see the saving icon on your screen which means you were successful. Do this a total of 6 times for the achievement. This can be done throughout multiple enemies and playthroughs, but you can get this out of the way here if you want.
Gnome 3 (3/3)
You’ll get to a room where you must turn off electricity for the second time in the chapter. After climbing up cabinets and pulling the lever, continue left. You will see the gnome in a cage on the left side of the room. Open it, then follow to the room on the right to do your hugging.

Chapter 2: The Lair
Gnome 4 (1/3)
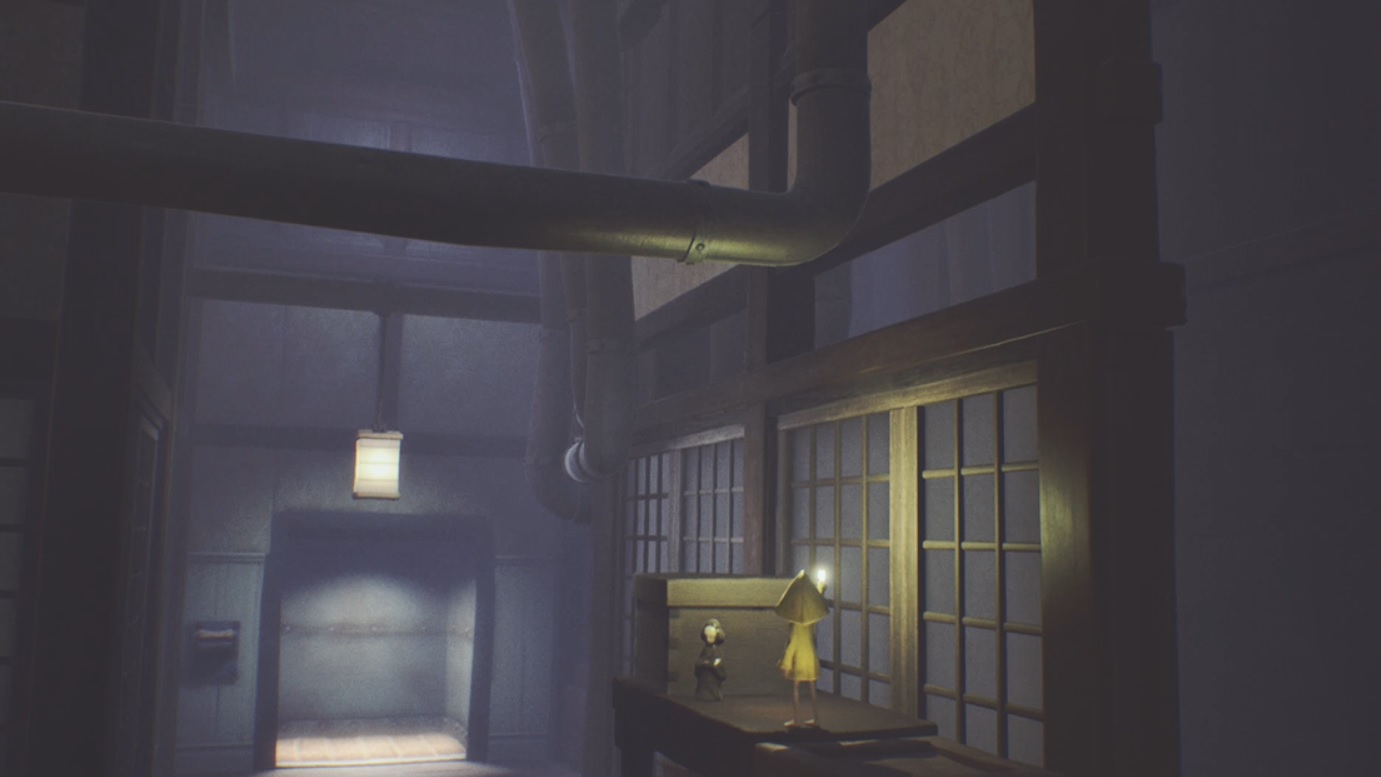
Near the start of this chapter, you’ll come to a long staircase. There will be a door after one floor, and you’ll have to go in and make the gnome run from you twice. Then, come back out and you’ll see him run up the stairs.

Statue 3 (1/2)
Once in the room with the switch that lowers the bed, climb onto the bed and up the drawers. To the left, there is a statue you can break.
Gnome 5 (2/3)
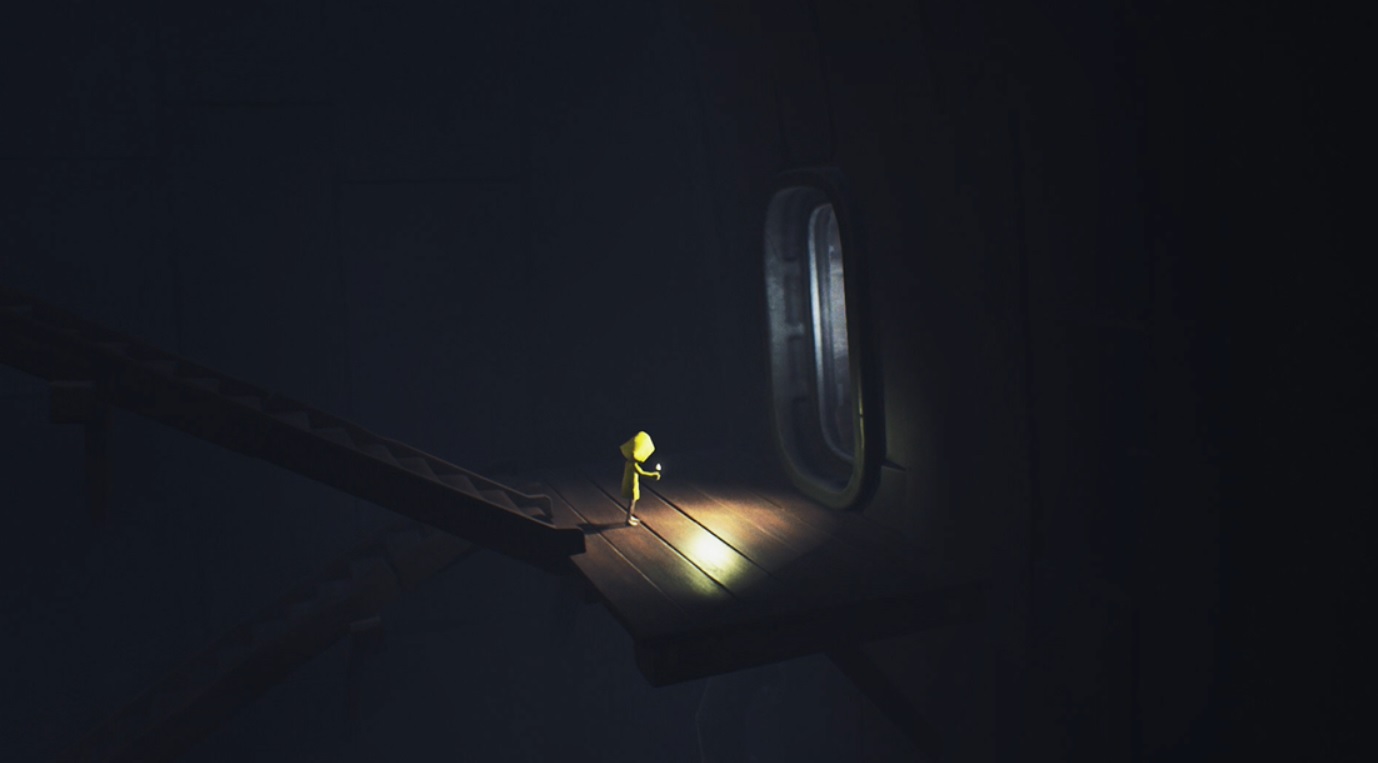
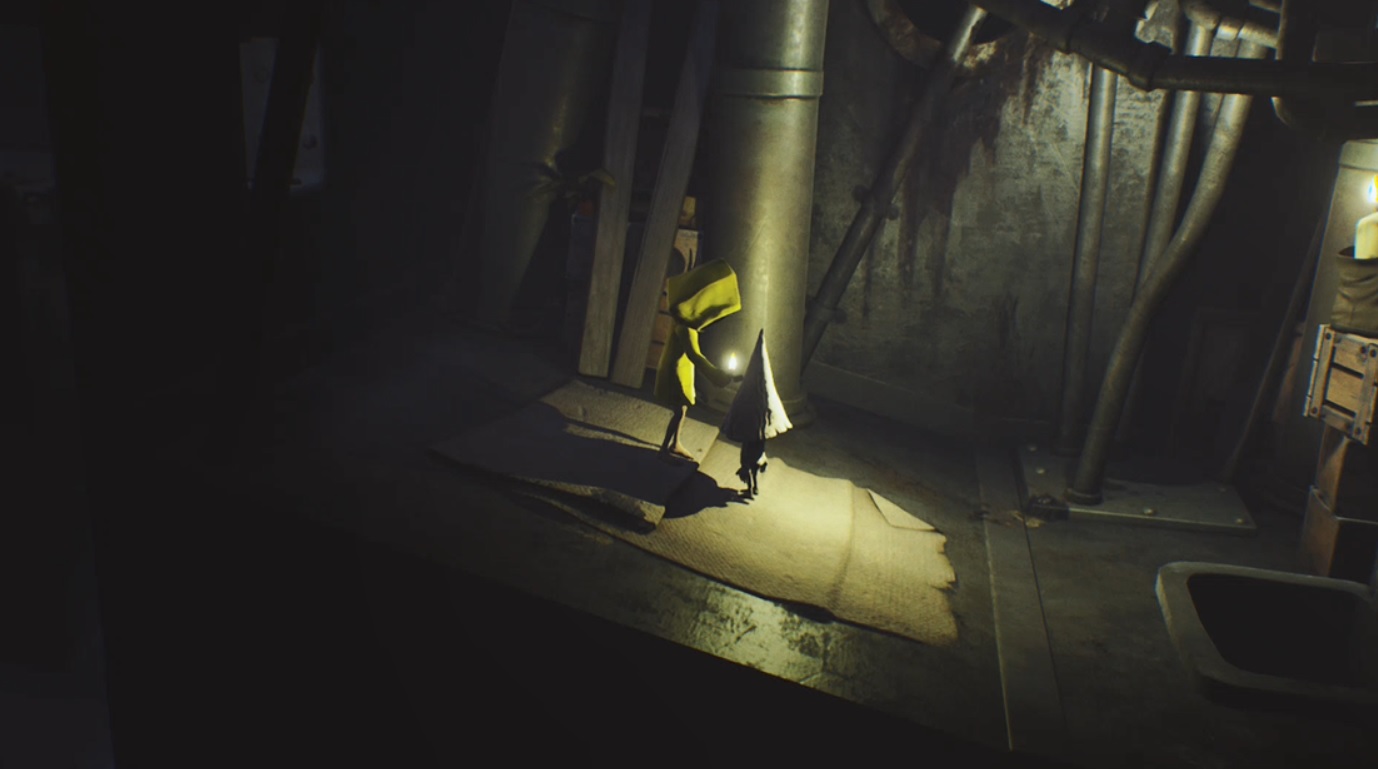
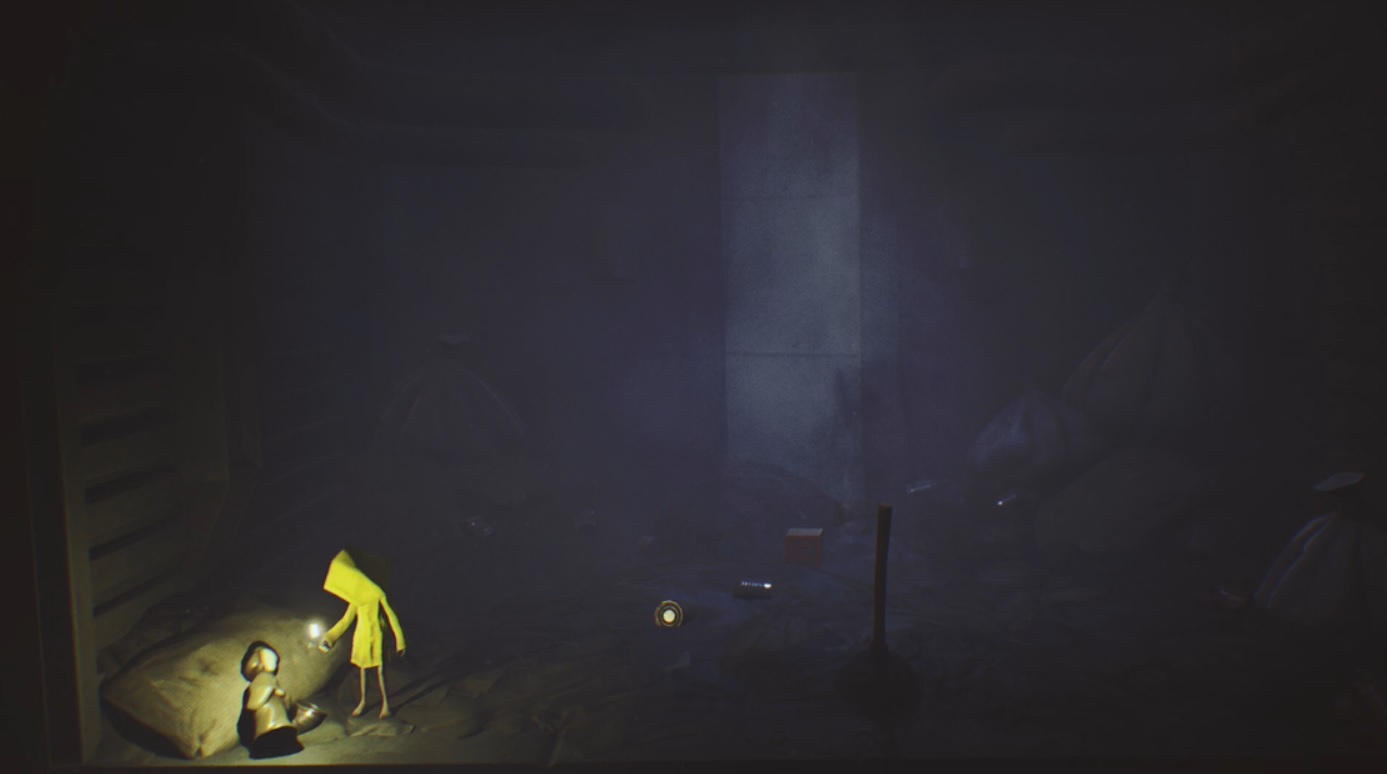
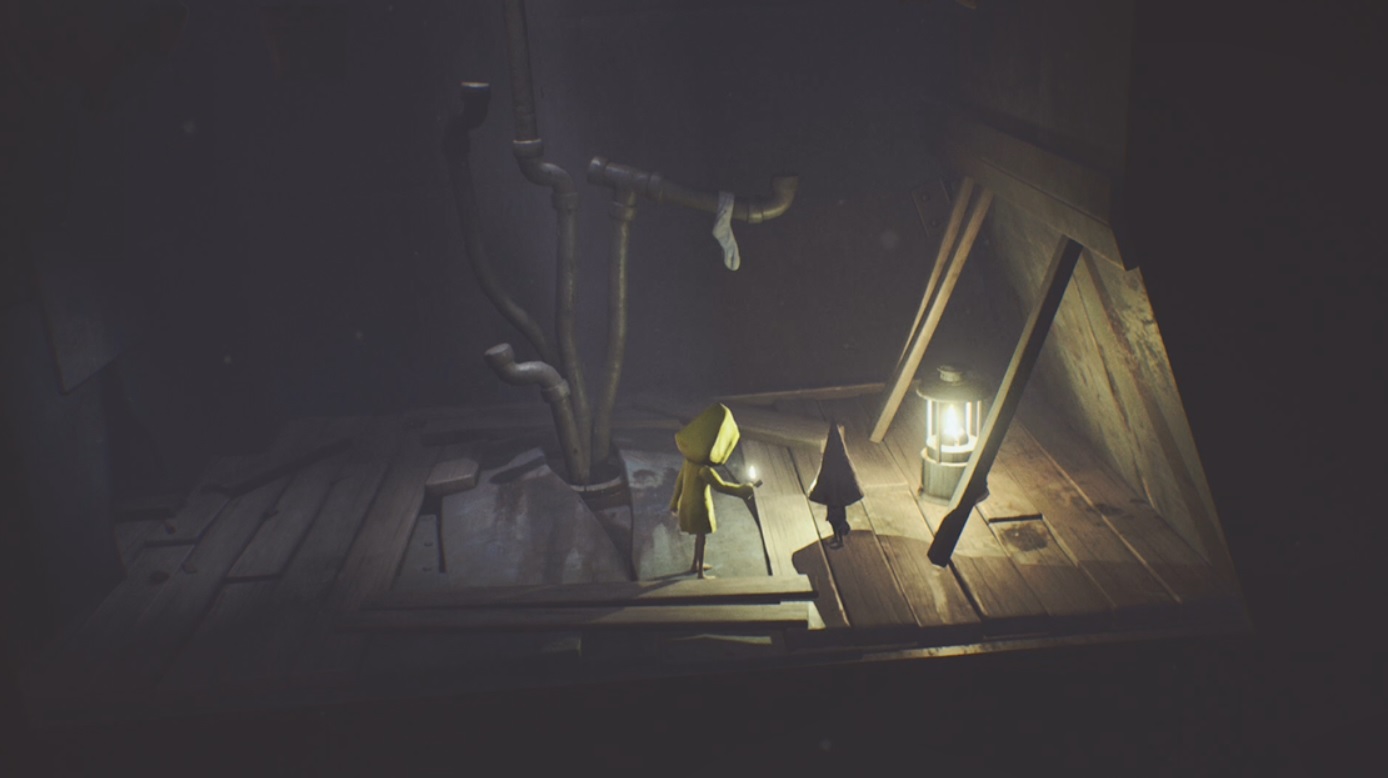
After opening a hatch and escaping the long-armed creature, you’ll come to a room with a lantern and suitcase. There is a ladder on the wall in the background of the suitcase. Climb up to see the gnome and make him run.
Statue 4 (2/2)
You will drop down under the floor, while the creature with long arms lurks above you. Continue to the right until you see the background out of focus. Head into the background to find the statue.

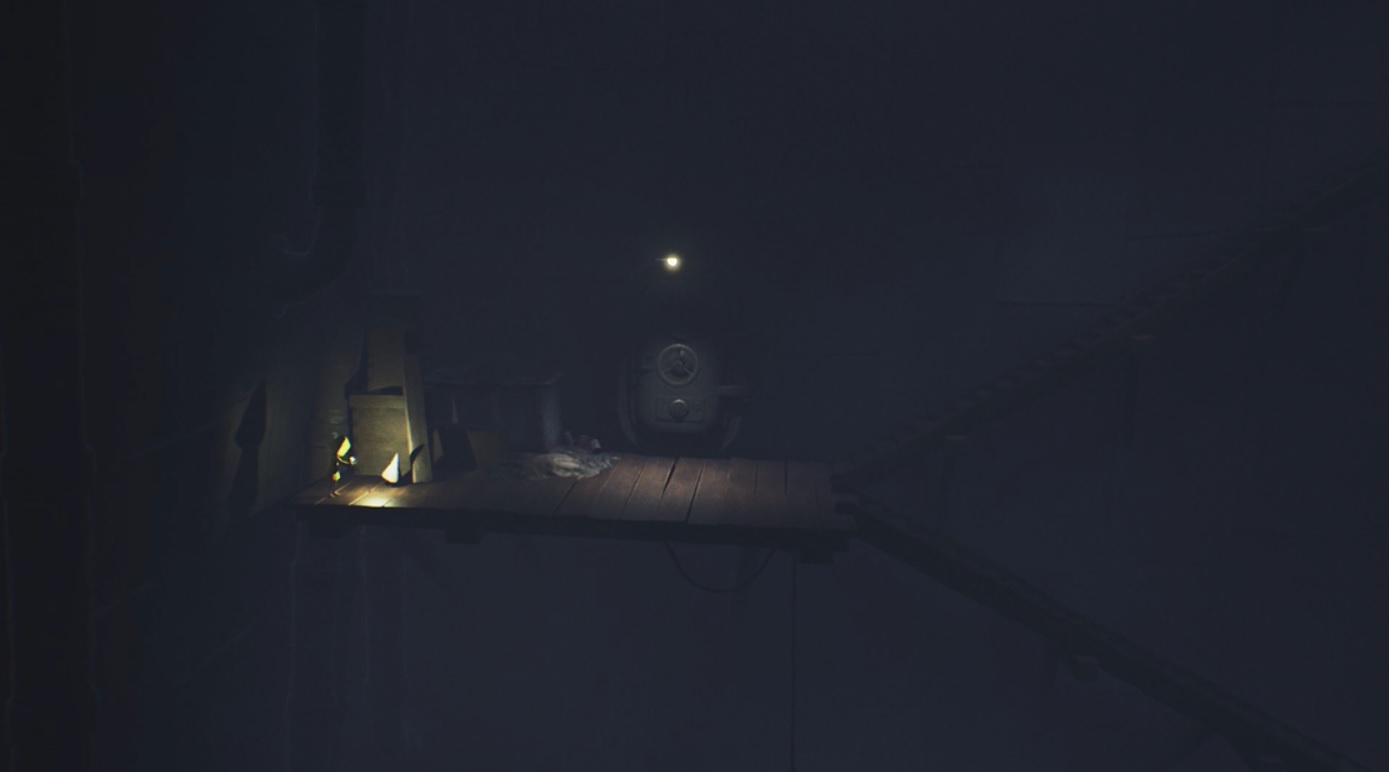
Gnome 6 (3/3)
After escaping the long-armed creature in the clock area, you’ll be in a room with stacks of books. Go to the right and under the desk to get the gnome to run out. Go left in the room to find him near the stack of books (first stack you can climb). Push over the books left of it to find the gnome.
Achievement Opportunity – Six’s Song
After the previous gnome, you’ll climb up the right side above the desk. There is a swinging piano in this room. Jump on it, and run along the keys to get this achievement.
Chapter 3: The Kitchen
Statue 5 (1/3)
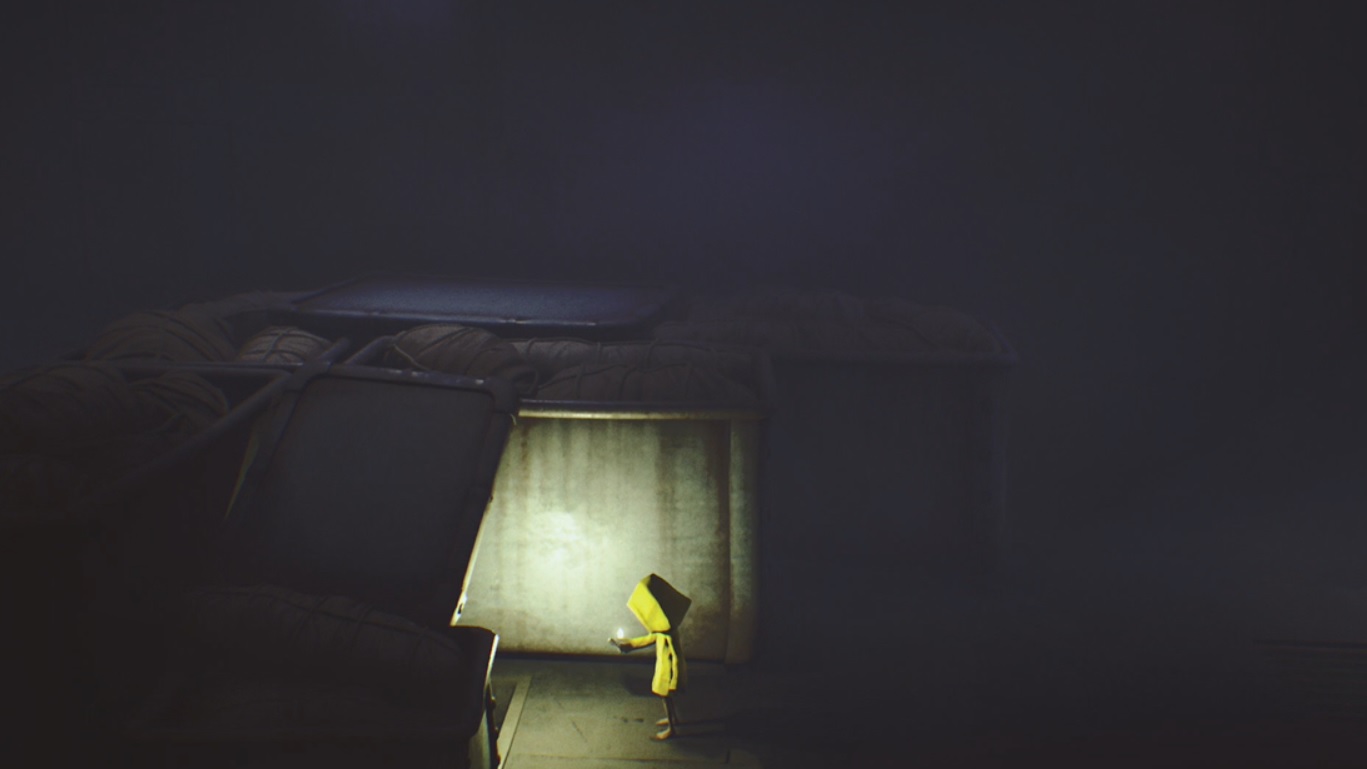
You’ll reach a laundry room (looks like body bags). There will be double doors ahead, with blood leading up steps. Before going through them, turn around and go backward. You should notice a hole in the ground by the bins. Drop down to find the statue.

Achievement Opportunity – Kitchen Hand
Once in the pantry area, you will see scattered food. Take some with you. Sneak under the table and into the next area. The chef will chase, but he never can get you under the small areas. There is a pot of water in it at the back of the kitchen area. You must throw three food items into it. The chef carries a sausage but drops it if you make him chase you. If you don’t make him drop it, it will vanish. There is a fish head under the large table. You can use those two items for the achievement plus whatever you brought with you. Hold the throw button long enough for it to reach maximum distance, or you’ll fall short and have to return to the pantry.
Gnome 7 (1/3)
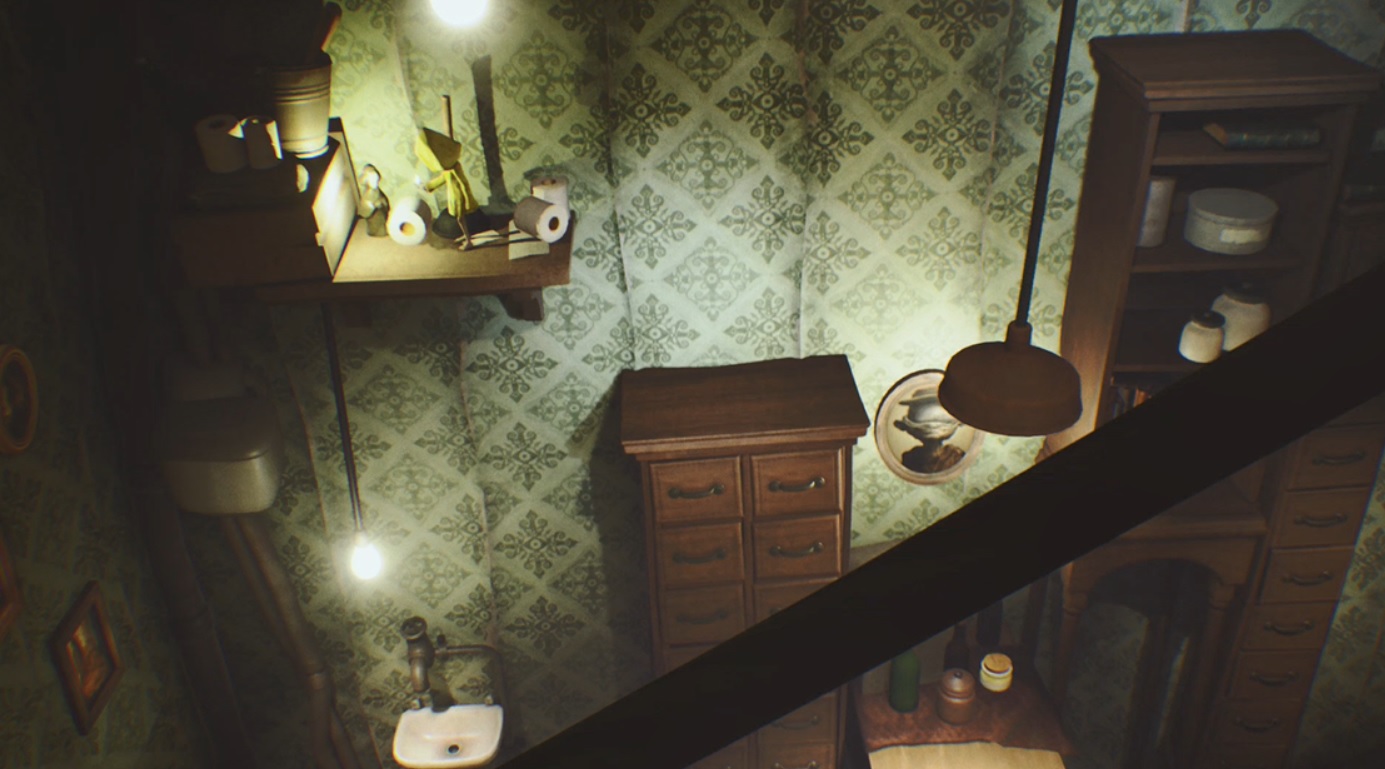
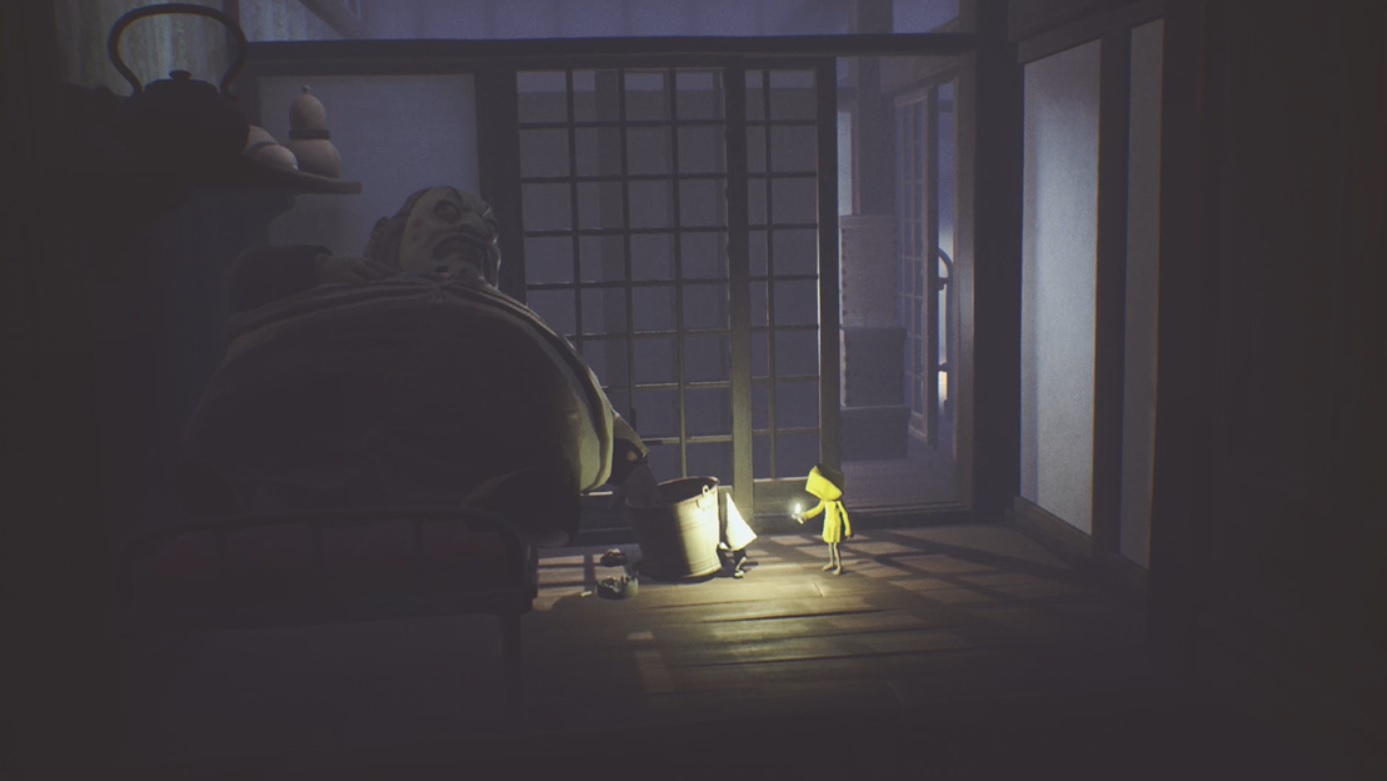
After obtaining a key in the room with the sleeping chef, you’ll have to go back through the bathroom. A gnome has hidden to the left of the toilets after you have obtained the key.

Gnome 8 (2/3)
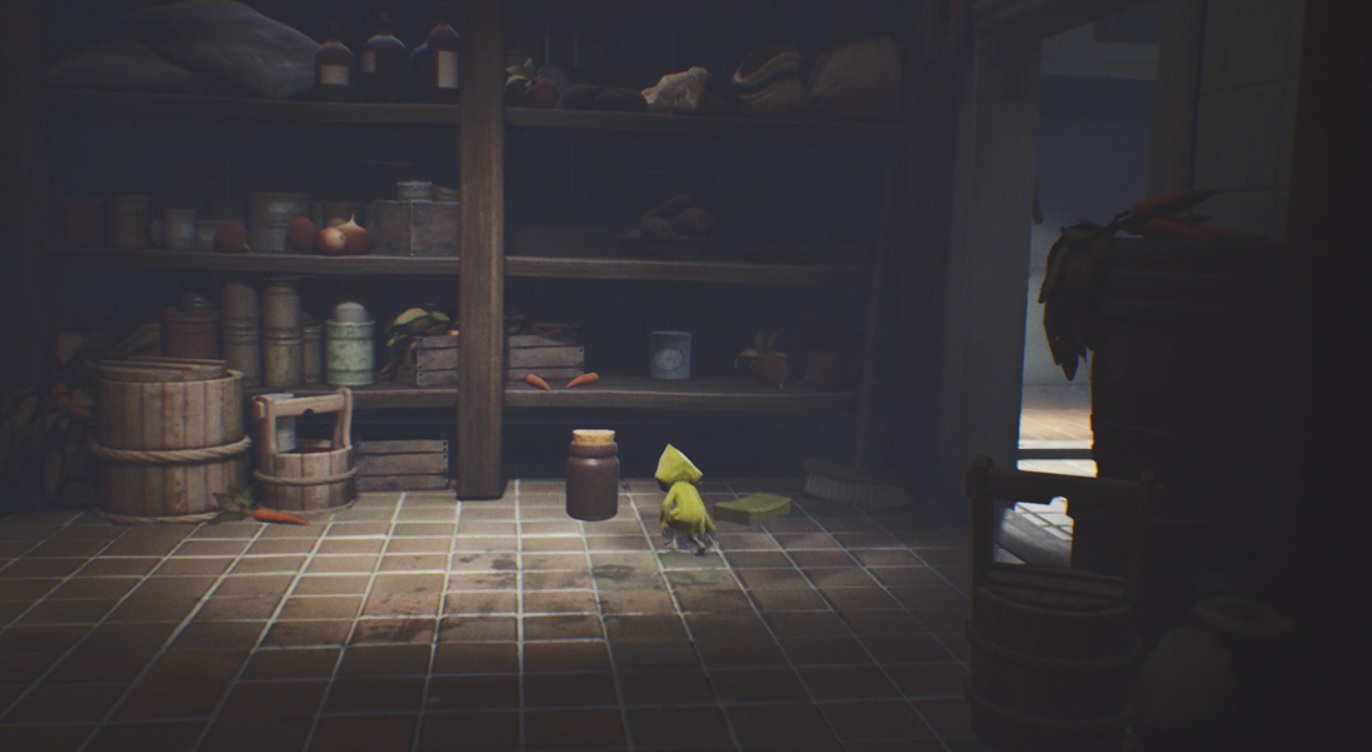
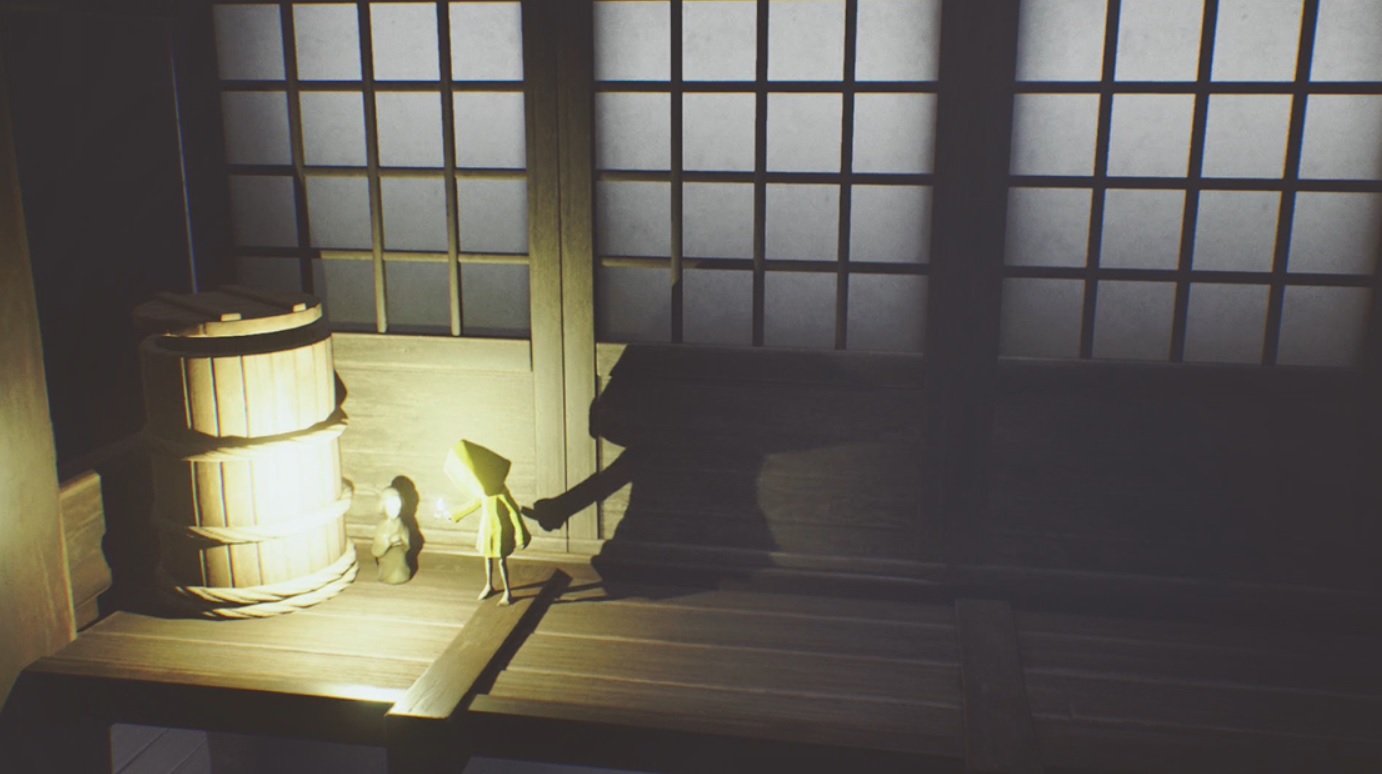
Once you’ve taken the lift (right after the previous gnome), you will be back near the pantry. Go inside the pantry to find a gnome inside of a jar. Throw it to break and hug the gnome. Be careful; the chef will come in this room!
Gnome 9 (3/3)
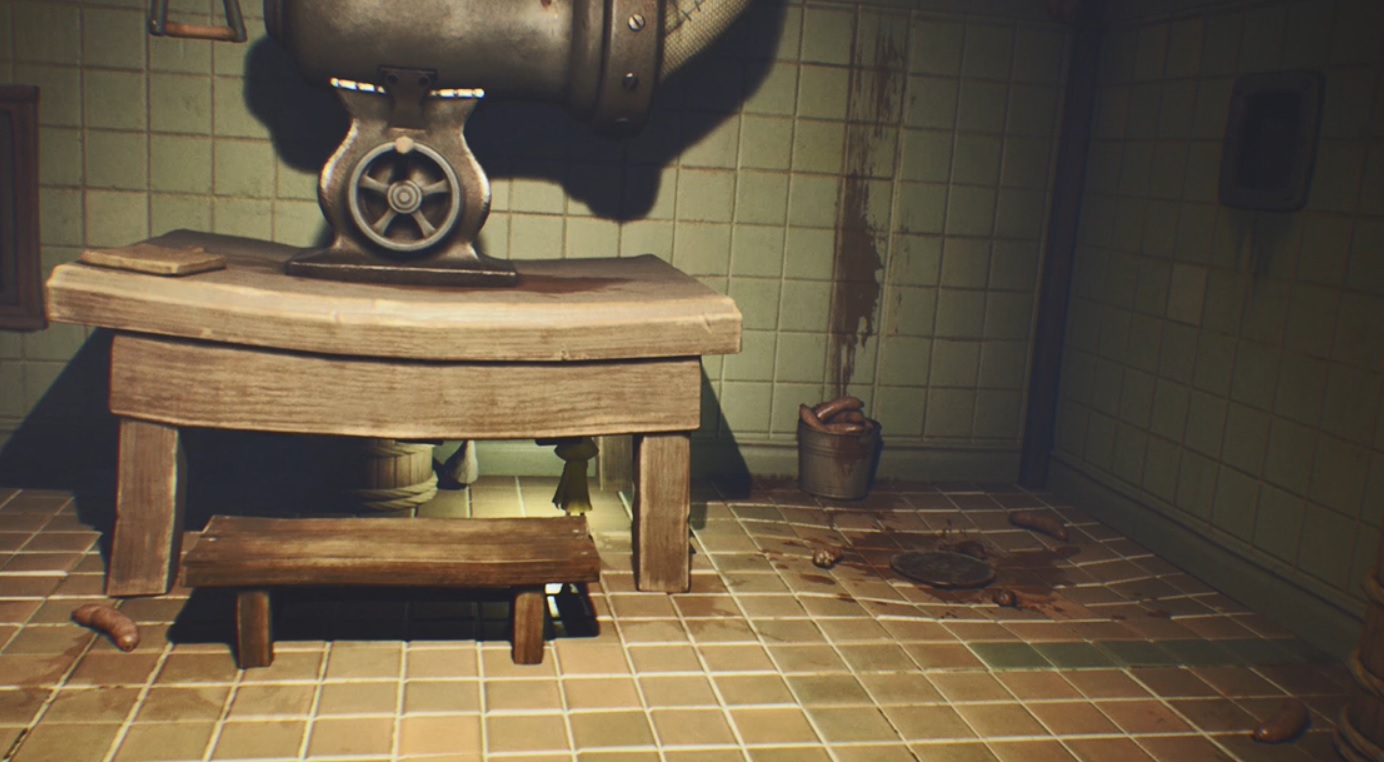
Once you have found yourself in the room with the meat grinder, you can spot the gnome underneath the table.
Statue 6 (2/3)
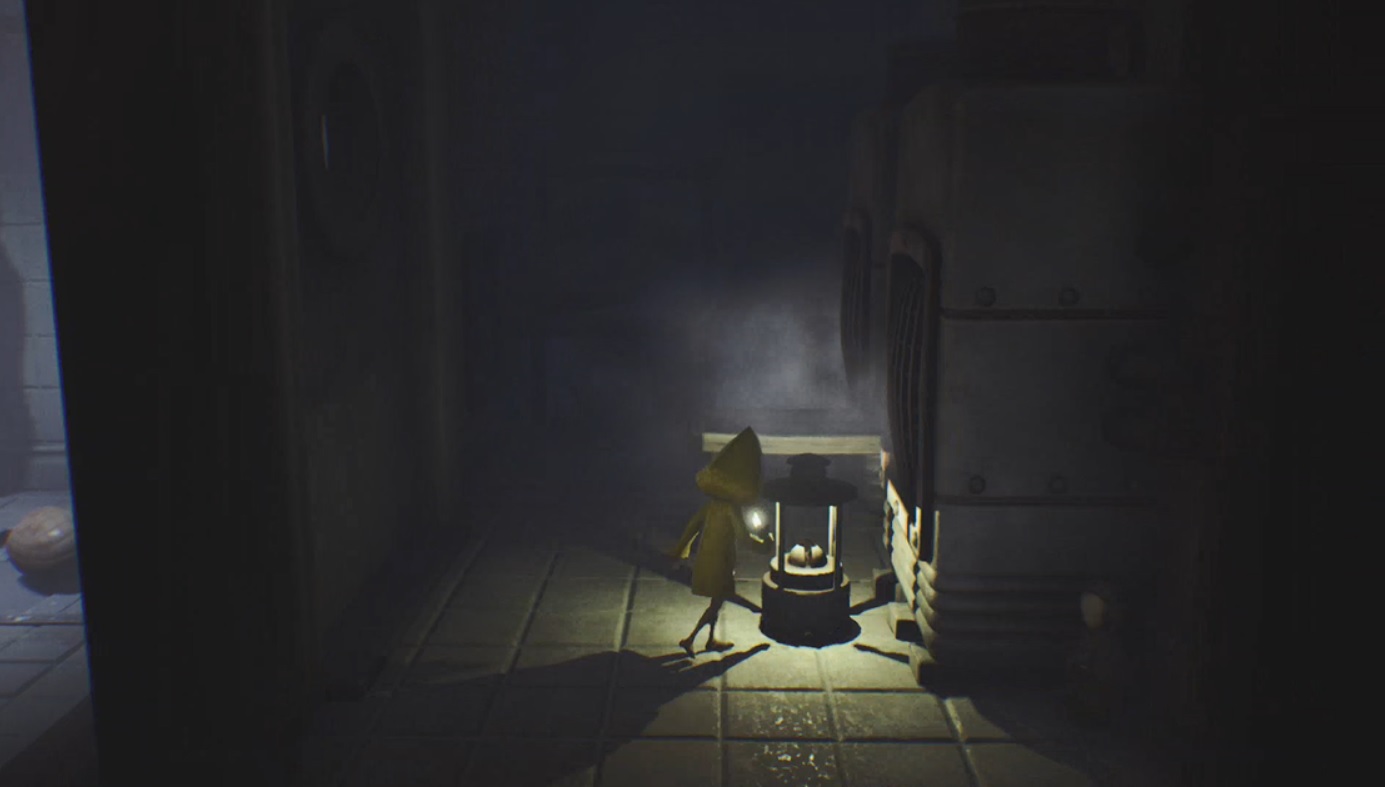
After going up to the freezer area and putting the food on the hatch, go into the next room. There are loud machines in here. There is a lantern, and by that lantern is a statue.
Statue 7 (3/3)
You will need to get a second key and unlock another door. Once inside and have hidden until the chef left, go down the shoot. Left of the plunger, you will find a statue.
Chapter 4: The Guest Area
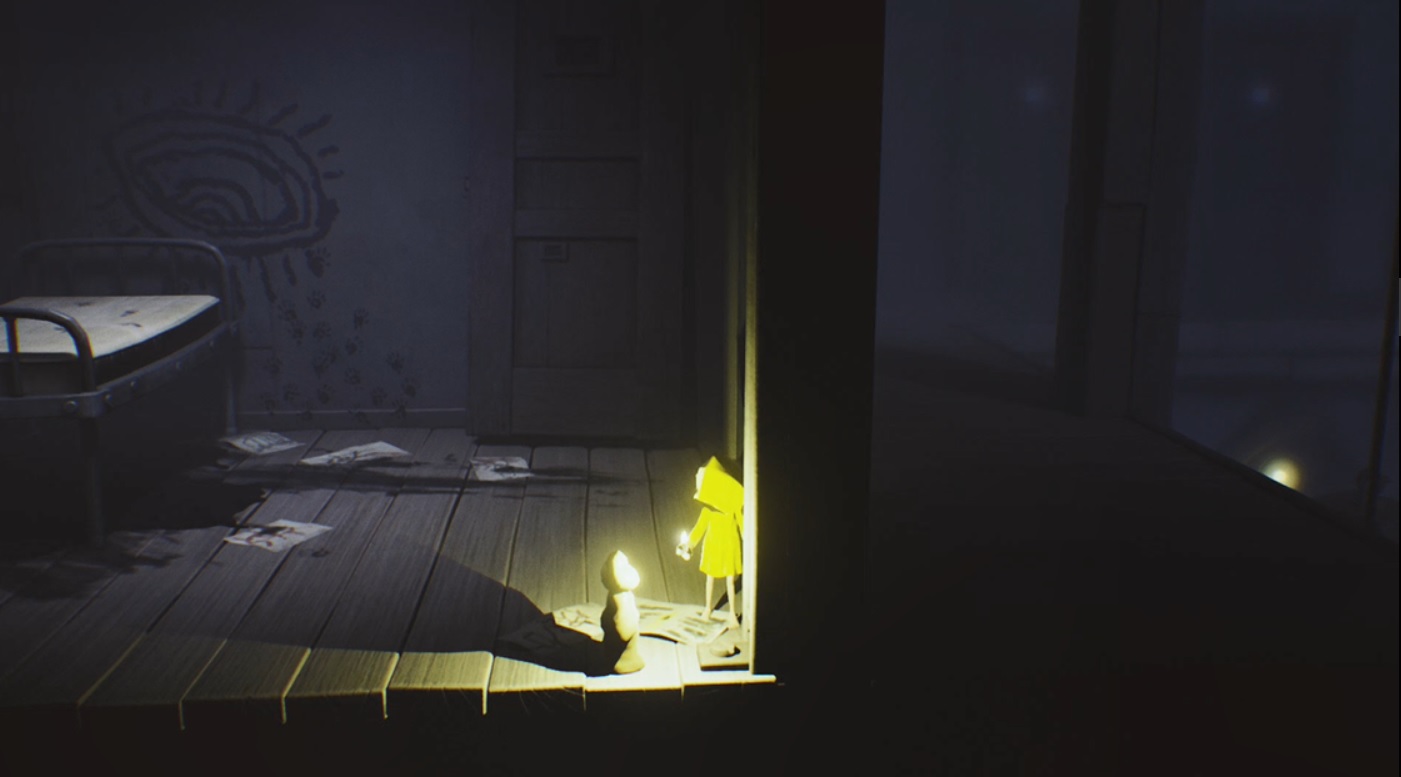
Gnome 10 (1/4)
As soon as you start this chapter, go left. There will be a gnome in the room.

Gnome 11 (2/4)
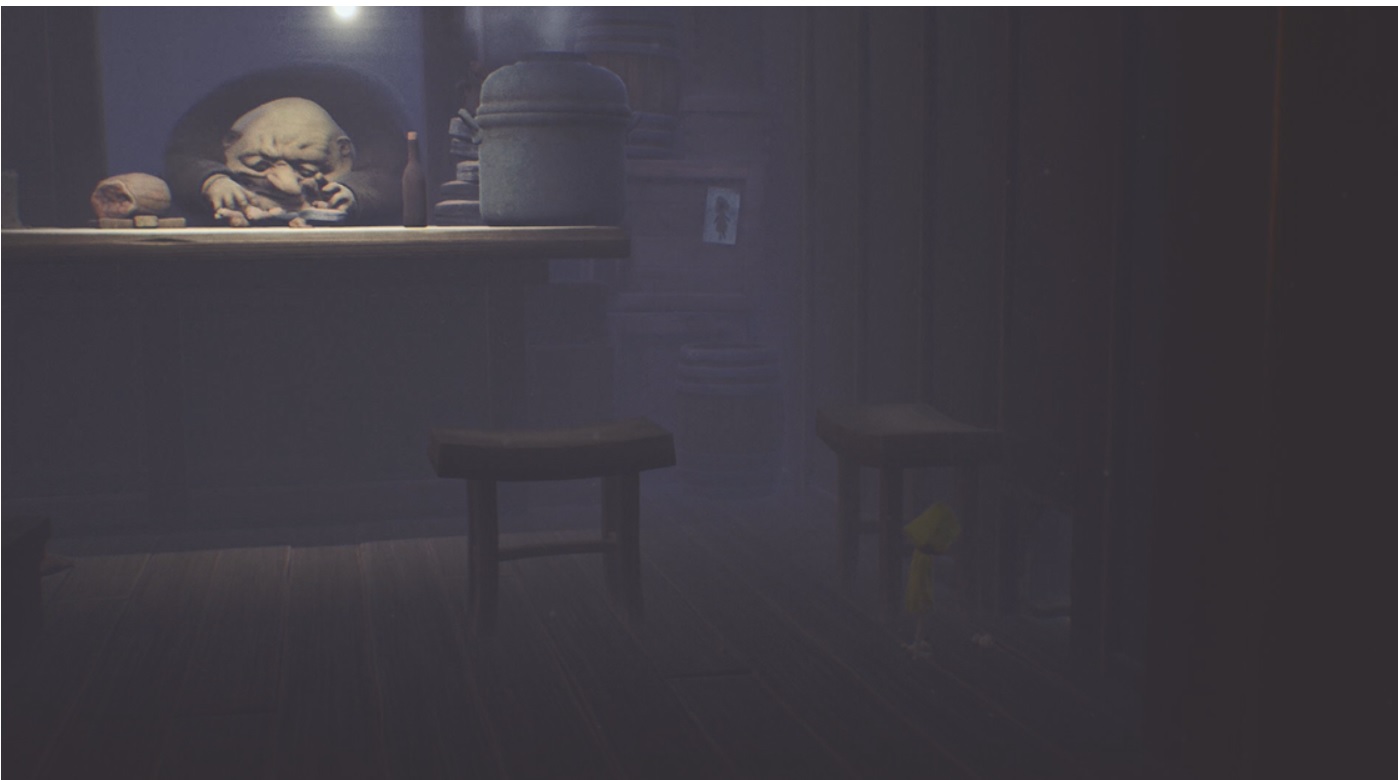
You’ll eventually be running through rooms with many guests. One such area has a lantern that you swing from in order to jump over a female creature. You’ll see stools in the next part. Run to the right of until you see a stool that is right next to the wall. Move it for an entrance that has a gnome in it.
Statue 8 (1/2)
A chef will eventually come up an elevator, and you’ll be hiding in a bathroom. You may have seen the statue in the room with the elevator, but could not have grabbed it. To get it, throw the can that’s in the bathroom into the mirror. Go through the newly broken entrance, and follow the path until you drop down to the statue.
Gnome 12 (3/4)
Right after the statue, go up the elevator. Exit and squeeze through the opening on the left side of your screen. The gnome is next to the sleeping guest.
Gnome 13 (4/4)
The final Gnome in the game is unmissable. You will find it when you get hungry. He is holding the food you need. Such a nice guy!

Statue 9 (2/2)
After the gnome, continue until you go up a ladder and through a hatch. The statue is to the left. This room is one with an elevator in it, which requires a thrown item.
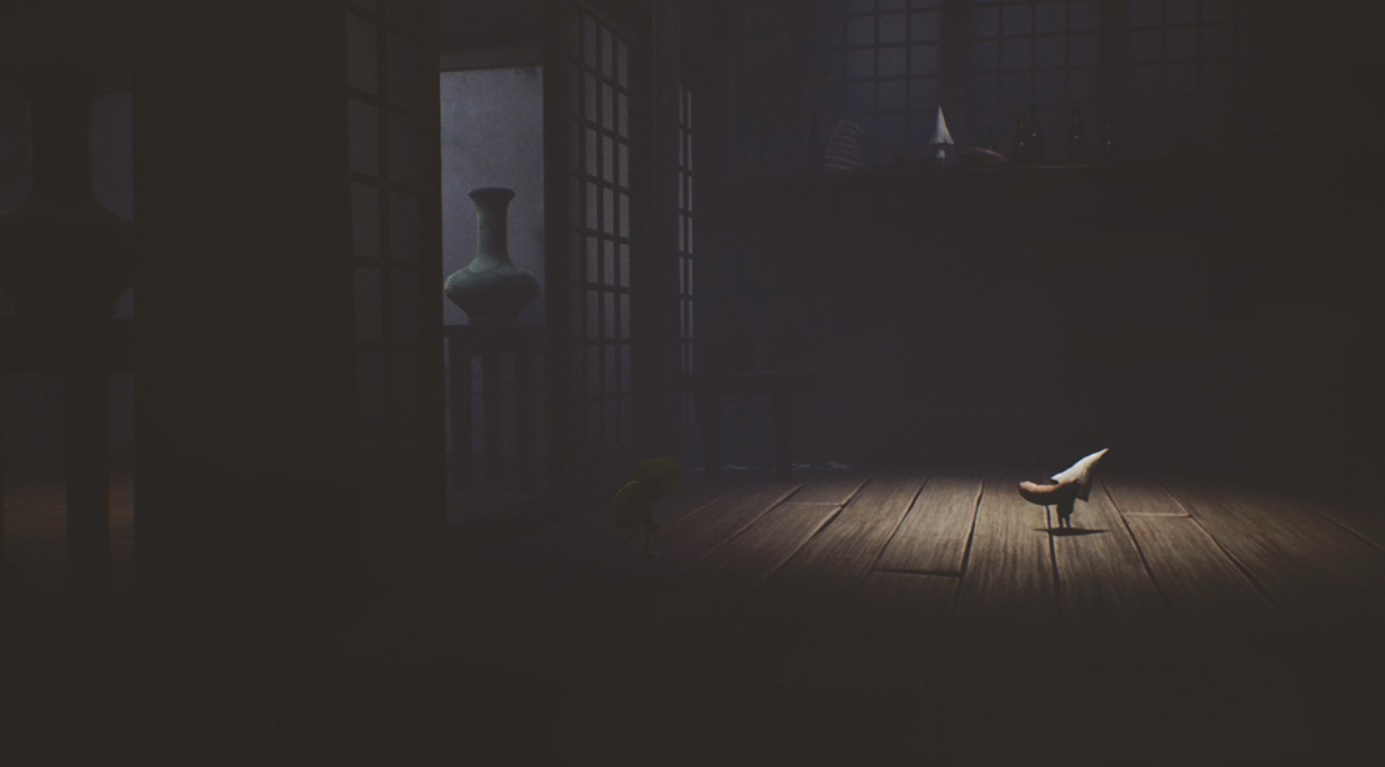
Chapter 5: The Lady’s Quarters
Statue 10 (1/1)
The final statue is in the final chapter. After running upstairs, you will have to sneak past “the lady.” Break the vase, and she will disappear. She was standing in front of a broken mirror, which has the final statue next to it.