
Skulls of the Shogun – XBLA Fans Guide – Region One
Hello and welcome to the XBLA Fans guide to the first region of Skulls of the Shogun (Skulls.) On this page, you’ll find a walkthrough to each of the levels in this region, as well as how to win all of the gold skulls for that area. Enjoy!
Please note that to get the most achievement points possible from Skulls, you’ll need to play on normal difficulty, which is the default anyway.
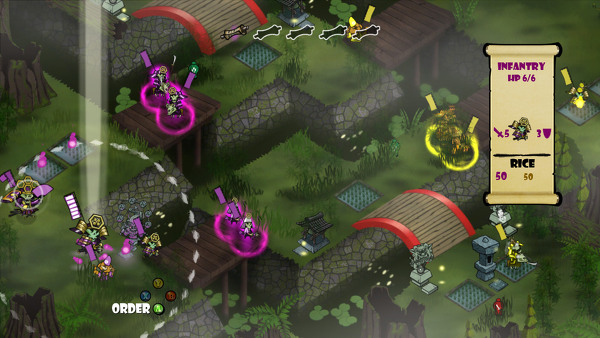
Region One – Level 1 – Line Limbo
Round 1
Watch or skip the opening cutscene, then use General Akamoto to kill the cavalryman.
Round 2
Use your newly joined cavalryman and Akamoto to drop the enemy infantryman’s life down to 1. End your turn and the infantryman will then attack you, causing him to be killed by the counterattack. Watch the next cutscene.
Round 3
There is no round 3 on this map.
Round 4
Use Akamoto to attack the infantryman near the ledge, causing him to fall to his death. Then, use your cavalryman to attack the enemy cavalry unit to the right and move both infantrymen up in support.
Round 5
Defeat the cavalryman.
Round 6
Success in the battle at this point is critical to winning the only Gold Skull on this level. Do nothing on round 6 and let the enemy come to you.
Round 7
Use your closest two infantrymen to defeat the enemy cavalry, then use any unit that can reach to eat the skull and move the others up in support.
Round 8
Use infantrymen to attack the infantryman who comes from the south, finishing him if possible. Use your 2 cavalry to attack and defeat the enemy cavalry. Use the third infantryman (preferrably the most damaged) to eat the first skull which dropped. It’s around this time when you will have the greatest chance of losing a unit on this level – and it is a high chance. Keep your cavalry behind infantrymen when you can and pull them back if you’re looking likely to lose one, or eat a skull instead of attacking.
Round 9
Attack enemy infantry with your own, use cavalry to finish off weakened units and withdraw them. It could take a couple of attempts, but you can should be able to get the enemy down to maybe 1 or even 0 units by now, with all your own still intact.
Round 10
Use the archer to attack the enemy reinforcements to the northeast. Then finish off any remaining enemy with your infantry/cavalry, but be careful that the cavalryman up top is likely to move down to attack – so don’t leave weak units exposed.
Round 11
Finish the enemy.
Gold Skull 1
Do not lose a unit – explained above.
Region One – Level 2 – Bedlam Beach
Round 1
Watch or skip the cutscene. Use the two archers to kill the infantryman across the water, making sure to stand then next to each other to form a spirit wall. Use the infantryman and the cavalryman to attack the archer, but note that the infantryman has a chance to miss seeing as he is so far away. Use Akamoto to attack the cavalry.
Round 2
Finish off the remaining archer/cavalry depending on how things went. You should now have unlimited time to consume all 3 skulls. We reccomend you allow the infantryman, Akamoto or one of the archers do this, rather than the cavalryman. Head North once you’re done and watch the cutscene.
Round 3
Form up two infantry on the waters edge in a spirit wall, then bring up the two archers behind them. Attack both the enemy archers to weaken them both to 1 HP, which will considerably reduce their attack power. If you have a demon archer, you can attack twice to kill one of them.
Round 4
Repeat your attack on the archer(s) as per round 3. If you have a demon archer, then you will be able to save both attacks for the cavalryman who is likely to have advanced. If not, just weaken him but do not advance too much with any single unit, as the likelihood of being knocked into the sea is high.
Round 5
Finish the enemy and ensure you eat all the skulls, upgrading another unit to Demon status in the process. Advance North and watch the cut scene.
Round 6
Use your 2 cavalry to knock 2 of the enemy off the ledge. Retreat as far as you can and/or ensure they are in a spirit wall so as to avoid knockback. You could then use a demon archer (if you have one) to finish the enemy cavalry on the right hand side. Position your units carefully for the next turn, bearing in mind the 2 archers in the centre – best to save them for the cavalry later.
Round 7 and beyond
Your actions here will depend on what the enemy does really. We found that with a demon infantry and a demon archer, we could advance straight into the bamboo to the left of the starting position, enabling us to kill the enemy archer and hold the infantry at bay. It’s risky without demon units however. Another way is to us cavalry in the middle, but chances are they will die if you cannot defeat the archers on turn 7 at the latest.
Gold Skull 1
Do not lose a unit – explained above.
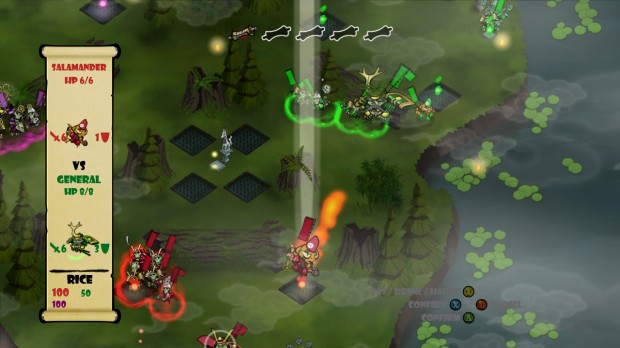
Region One – Level 3 – Archer Ambush
Round 1
Advance any 2 archers/infantry to the rice paddies and haunt them. Move the cavalry up towards the archer, so that both will be able to advance to him next turn. Don’t move into his range though. He won’t advance, so just be careful of getting really close. Watch the cut scene.
Round 2
Use the cavalry to attack the archer. Chances are 1 of your attacks will miss, so you may need to call upon an archer to help finish him. Advance around the north of the rocks, remembering to allow infantry to lead if possible.
Round 3
It’s quite likely that the enemy infantry will have moved within archery range by now, so feel free to attack them. Finish with cavalry or infantry if you can, but also try to consume 1 or 2 skulls this turn.
Round 4
On the enemy’s round 3, you’re likely to have come under archer fire. Be careful how you proceed, but let the weak eat skulls and the strong attack – finish the infantry with archers if you can and then the archers with cavalry.
Round 5
You’ll still be fighting the fight that started in round 5 here, so do as above and finish the enemy off. Enemy reinforcements should arrive at the end of this turn, once you’ve killed the last unit(s.)
Round 6
On the first round following the arrival of enemy reinforcements, you’ll receive your best chance of hitting the 500 rice Gold Skull, because you’ll be able to go after at least 2 rice paddies unopposed. Do so and then move up any other troops – using their turns to eat skulls or the potion which will have appeared.
Round 7 and beyond
Once you have secured a total of 4 rice paddies, you will have no problem with the 500 rice Gold Skull, so now you just need to keep everyone alive. Keep your archers in bamboo and consume skulls if possible, but also make sure your cavalry don’t get embroiled with the enemy infantrymen. Weaken them with archers and finish with your own infantry, one of which you should try to upgrade to demon status. Remember that if the enemy tries to haunt a paddy, you will be able to attack them without any risk of counterattack – should enemy infantry do this, capitalise immediately!
Gold Skull 1
Finish the level with 500 rice – see turn 6 above
Gold Skull 2
Do not lose a unit – explained above.
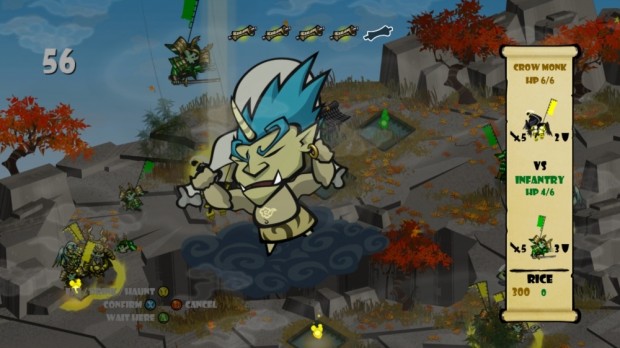
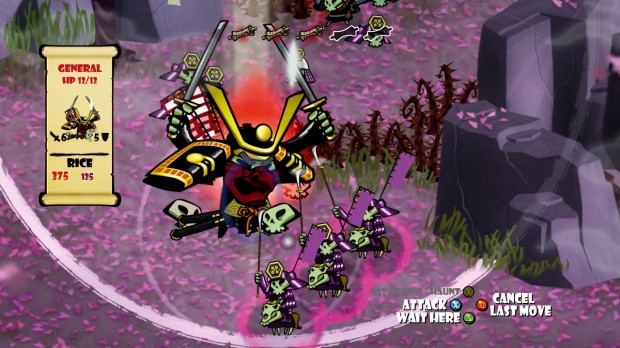
Region One – Level 4 – Glorious Gates
This is probably the most frustrating and difficult level in Skulls, so the guide format will change following the first turn. You’ll have to use all of the tactics you’ve learned so far to be successful and gaining all three Gold Skulls will take several attempts. Don’t get too disheartened!!
Round 1
Use either 2 cavalry (or 1 cavalry and 1 archer) on each side, to attack the enemy archers. Follow up with an infantry unit on one side.
Round 2 and beyond
It’s likely now that the enemy will kill 1 or more cavalry, but they may also go after your archers (whether they attacked or not) so be prepared for that. It’s useful if you can withdraw any surviving cavalry so as not to lose their skulls right up near the enemy. If you can withdraw them in good shape, use them to attack whatever cavalry came for your archers.
The enemy will then begin to advance, so keep what you have consolidated and use the potions in both bamboo groves to the right and left, as well as any enemy skulls which look reachable to keep health and perks up. Withdraw surviving archers to the bamboo if possible.
Akamoto will meditate for the first time in this battle, so keep him sedentary until absolutely neccesary. The enemy fox monk will be a problem, so defeat him as soon as possible. It will take at least 1 archer at full strength and any other unit to kill him in one turn, or three infantry/cavalry attacks. Attacking him for damage but not the kill is pointless, as he will heal himself every time.
Gold Skull 1
Beat the level without awakening your general – This goes hand in hand with skull 3, as the only way to do it is to have as many demon allies as possible.
Gold Skull 2
Defeat the enemy general with your general – This is the easiest Skull to gain on this level and quite likely if you finish it at all. Obviously this one will require a separate playthrough to the first Gold Skull as well. We did it by drawing the enemy cavalry down to Akamoto, killing them, awakening him and going into demon mode as quickly as possible – this keeps the enemy general weak.
Gold Skull 3
Beat level with at least 2 demon allies alive – To achieve this, you’ll need to focus your skull eating into just 1 unit at a time. I like to use an archer as the attack power unlocked by having two orders is intense, but you’ll also want to consider using infantry for this task. Once you have a first, get rid of the fox monk ASAP (if not already) whilst you gain skulls with the other unit. Then attack Kurosawa as soon as possible – he will quickly awaken, but will have meditated less and can be killed by 2 demons in as little as a turn or two. That’s the theory anyway, it won’t be as easy as that!