
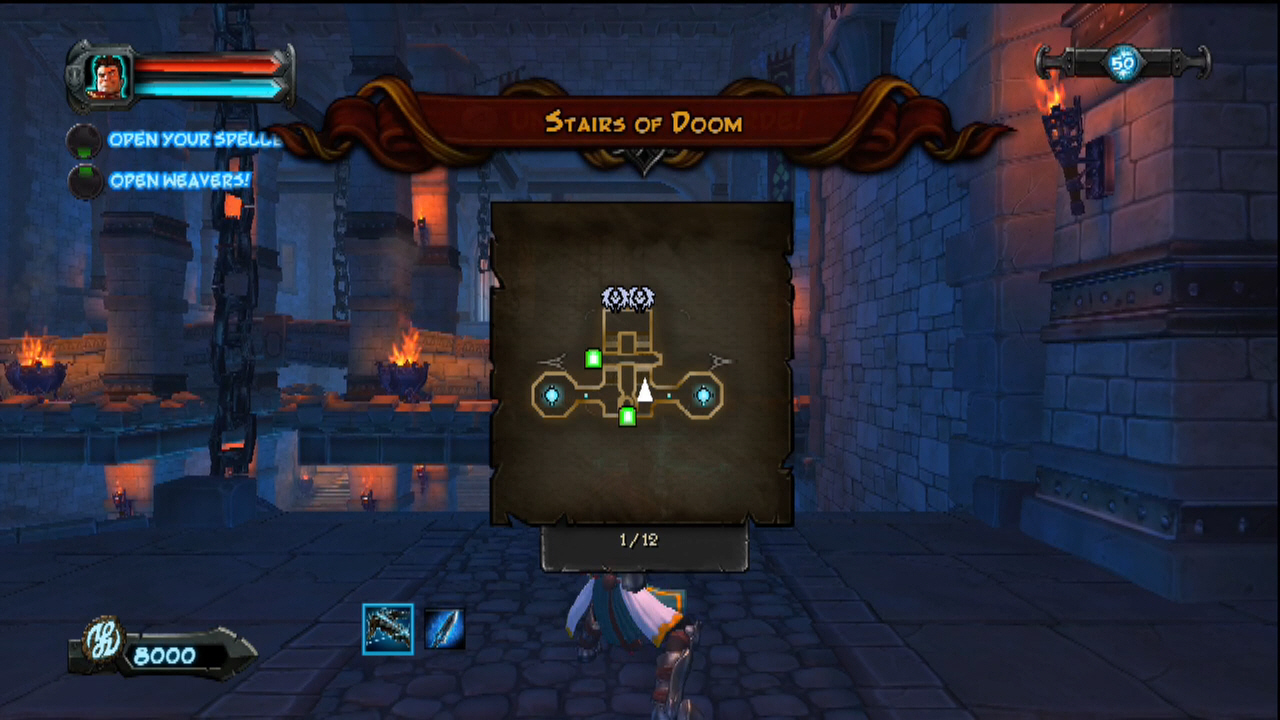
Orcs Must Die!: Stairs of Doom (Level 23)

New weapon
Spore Mushrooms – The first enemy to walk over these is charmed into becoming an ally, and will remain on guard around the mushrooms until death. After dying, the mushrooms will reset after a decent bit of time.
Enemies
Orc Warriors
Crossbow Orcs
Kobold Runners
Kobold Sappers
Gnoll Hunters
Fire Ogres
Frost Ogres
General survival skills
- Go with Knowledge weavers and get the rift defense
- Use decoys and guardians as super insurance as there’s no way to teleport from one rift to the other
- The bulk of the action should take place under the bridges with brimstone, tar and swinging maces
- Bring both ice and fire to combat the fire and frost golems respectively
- Kill all kobolds before doing anything else!
- Don’t jump the gaps unless it’s really necessary; it’s a good way to die
- Use the logs on wave 3 and wave 6 after the Kobold and Gnoll rushes respectively; use chandeliers for clutch defense
Five skull guide
“Stairs of Doom” is an entirely too-appropriate name for this level. Most times two paths in this game aren’t too much to deal with, usually being settled by blocking one off at an ideal place, but this level is designed such that no path can be blocked off. The ballista on the map is also nearly worthless as reflexes and mobility are way too necessary to spend time sitting in a slow-firing contraption. However, the Stairs of Doom are thankfully topped with dual logs on each side, taking this map from nearly impossible to five-skull to quite reasonable. Don’t be freaked out by the beginning, waves 1 – 6 are pretty darn brutal, but waves 7 – 9 are a gentle breeze compared, and even the last set isn’t very difficult.
However, there is much to do before victory can be achieved. Unlike most levels, we’re following a very specific setup here. That means start with the speed boost (Knowledge Weavers) and 3 brimstone traps followed by 3 tar traps on each side under the bridge. Wave 1 has kobolds on the right, 2 on the left, so right when the wave starts drop a fire wall there (bring fire, not lightning this time, along with ice) at the entrance to take care of the kobolds, then again on wave 2. Before wave 3 starts, drop another line of brimstone behind the tar lines on both side, then get ready to use fire blasts on the kobold sappers. Then, once all the orcs are spawned (or most of them, they take a bit) and the front line is up to the last row of brimstone traps, hit ONE log trap on either side. If somehow the other one also gets triggered, consider restarting. In the go break, setup paladins (depending on how much money has been acquired thus far) and two decoys on each side towards the rift (behind the paladins).
Wave 4 and 5 aren’t too bad, just don’t get killed by the gnoll hunters. The newborn paladins and decoys should help in dealing with them, don’t let orcs slip by the paladins if they’re busy though. During this time the Rift Defense should be purchased (the whole middle line is helpful, but chiefly the traps beget mana center slot) and swinging maces should start being placed. Wave 6 seems easy because Ogres really aren’t too big of a deal by themselves, but when up to their shoulders in orcs they are really, really not awesome. That means kill the gnoll hunters, then let the ogres get as close as possible (end of the brimstone line again) and hit the remaining logs (if not acquired already, this should net the pancakes achievement as well).
Now the level gets easier. Tons of money should be in the bank, finish up the floor plan with tar traps behind the brimstone and complete the swinging mace setup. If there’s more money, feel free to finish up all of the Weavers, but really only the orc resurrection will be helpful, and not much at that. A better plan would be to have three paladins on each side, and then cake the top wall with archers (five per bridge should be a nice start). From there, enjoy the absolute ease of the next three waves, bolster the archers, put any extra traps that haven’t gotten any use. We recommend Autoballista, but anything that was brought should be helpful as long as it kills stuff.
The last set isn’t very difficult either as there aren’t any orcs included. Use the opposite elements on the ogres, kill the kobolds quick, down the gnolls and a five skull victory is realized!
Waves
- (A – West) Orcs (B – East) Kobold Runners
- (A) Kobold Runners (B) Orcs
- (A&B) Kobold Runners & Sappers, OrcsGo Break
- (A) Archers (B) Shield Orcs (A&B) 2x Gnoll Hunters, Orcs
- (A&B) Kobold Runners & Sappers, (A) 1x Fire Ogre (B) 1x Frost Ogre
- (A&B) 2x Gnoll Hunters (A) 2x Fire Ogre & Shield Orcs (B) 2x Frost Ogre & Shield OrcsGo Break
- (A&B) Kobold Sappers, Shield Orcs
- (A&B) Shield Orcs, Archers,
- (A&B) Shield Orcs, 2x Gnoll HuntersGo Break
- (A&B) Kobold Sappers, Kobold Runners
- (A&B) 2x Fire Ogre, Archers
- (A&B) Kobold Runners, 1x Gnoll Hunter, 2x Frost Ogres