Mark of the Ninja scrolls and challenges guide – A Blade at his Neck
Scroll #1
Scroll #2
Challenge Gate
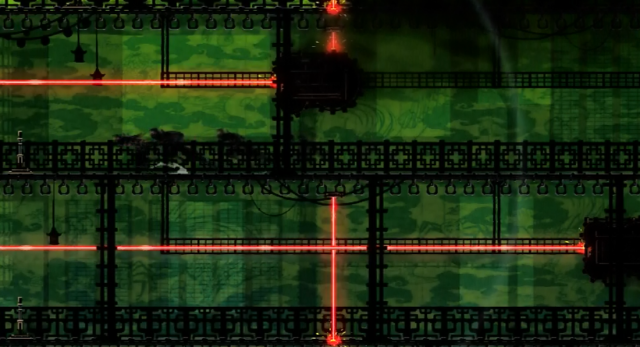
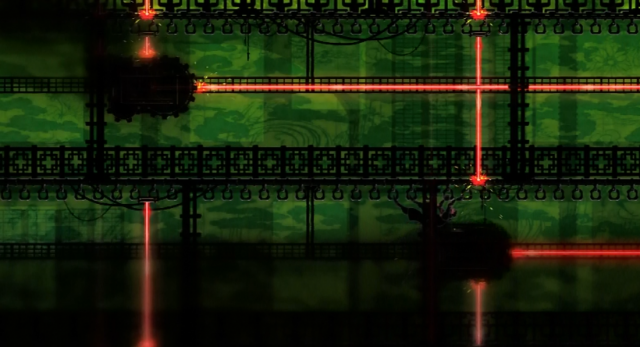
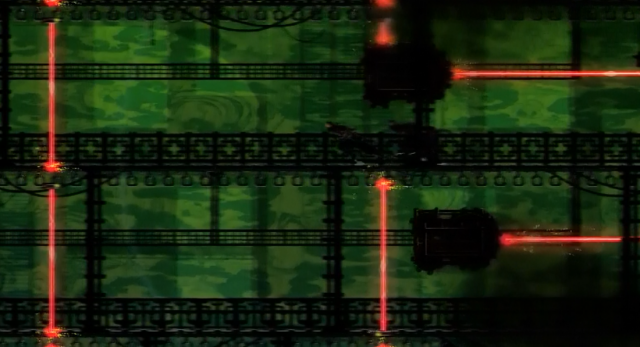
This puzzle genuinely stumped us at first. We had limited our minds to the idea that we could only progress if we stopped the laser-box over the other laser, that that was the way to beat it. That’s not the way to beat it. The key is motion this time around. Well, it will be. First step is to stop the bottom box over the right laser and the top box over the left laser, then make your way over to the left-middle lever (not the very top one).
After that, set the top box into motion and run under it so that you’re in the center-middle (absolute center) of the nine squares that the lasers divide the room into. As the box opens up space, climb up to the center-top square and hit the switch. With the top box still moving you’ll be able to drop down and get over to the left-top section and pull the door-lever.
Once you’ve got the gate open, pop back down to left-middle and wait for the box to cover the left laser again and pause it there. Then drop down to the left-bottom and set the bottom box into motion. When the lasers are covered, make your way over to the right-middle section and move the top box over so that it’s still and covering the right laser, with the bottom box still moving.
Finally, with the top box stationary over the right laser, rush on down to the bottom-middle section and hit the final switch to switch the lasers back to aiming left. Then make your way to the scroll without bursting into blood and you’re one piece of paper closer to an achievement.
Scroll #3
Back to Guide Hub > Back to The Inner Keep > Skip to A Shattered Stronghold

