Hellblade Lorestone Collectible Guide
Achievements
This game has only 14 achievements. All of them are story related except for one, which is to find all of the lorestones. This can be missed if you do not collect them all in one playthrough. You must follow carefully and make sure you don’t venture too far before collecting, as there are several points of no return. If you do miss some, you can go back and replay the game and they will unlock when you find the missing one.
What is a lorestone?
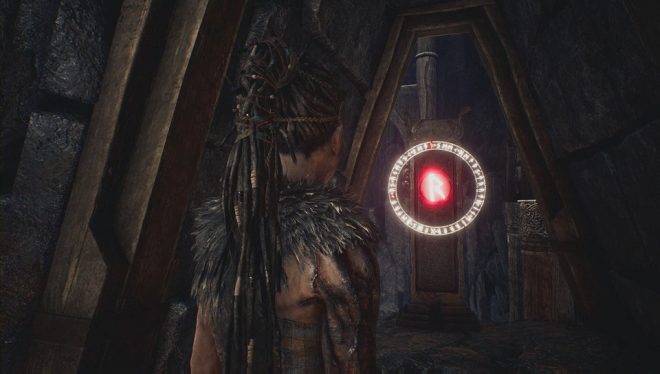
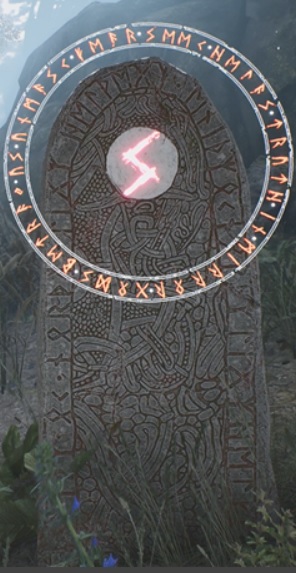
A lorestone is a means for the game to give you some more story through collectibles. They are stones that as you go on, appear on different objects. The objects stand up straight and are easy to spot. They glow when you get near them. Most are on the normal path. However, there can be some hard ones to find! To collect the stone you must focus on it with the RT button. It will turn blue indicating you have it. You must get 44 in total.
Important!
Missing one will void the achievement. Going too far will make you miss out. You must focus and turn the collectible blue! If you think to yourself, wait did I use focus on my last collectible? Then you may be too late. I found one late in the second to last chapter and thought that as I was climbing down a ledge. I had no clue if I got the previous one or not. When I exited the game, it had already saved me going down the ledge. So that means a replay, for one collectible that’s about 7 hours into the game. Don’t make my mistake!
Also, if you die or exit the game, you must get any collectible in that area again. It’s best to check just in case. This makes these collectibles extremely difficult as far as games go. There is no way to tell how many you have, which ones you have obtained, and there is no chapter select. Missing one means you get to play the game over and find the ones you missed.
This guide will allow you to keep track of all the lorestones without having to follow a video and spoil the expierence. We hope it helps.
ROAD TO HEL
Lorestone 1
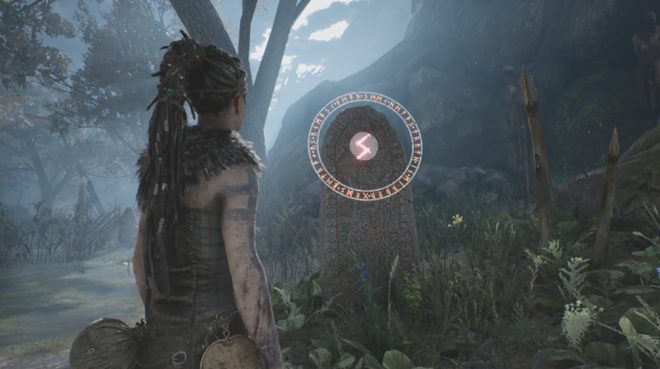
As soon as you take control of the character, you’ll see this right in front of you. Hold RT facing it to collect it.
Lorestone 2
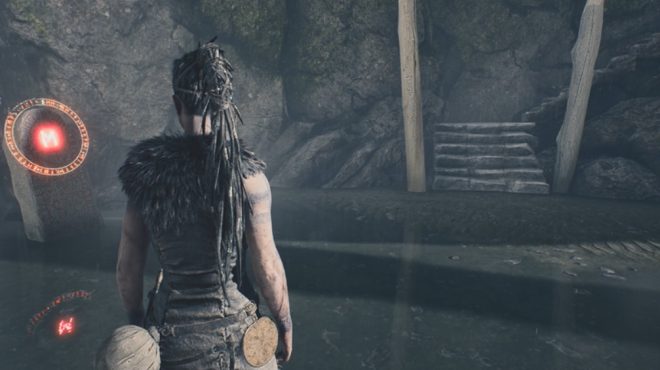
This will be spotted next to some stairs, after traversing a beach area.
Lorestone 3
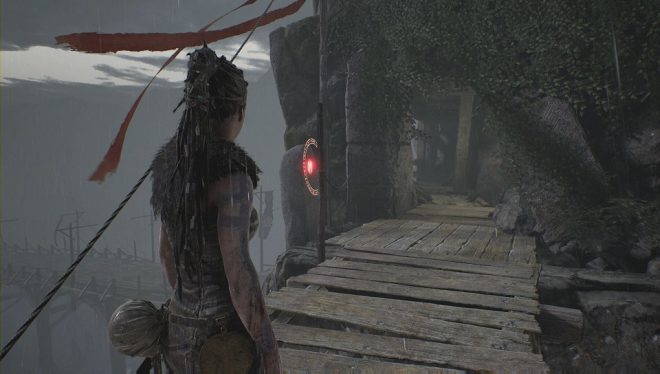
After climbing two ladders and then crossing two beams, you’ll see an entrance to a cave. Before heading inside, look to the left.
Lorestone 4
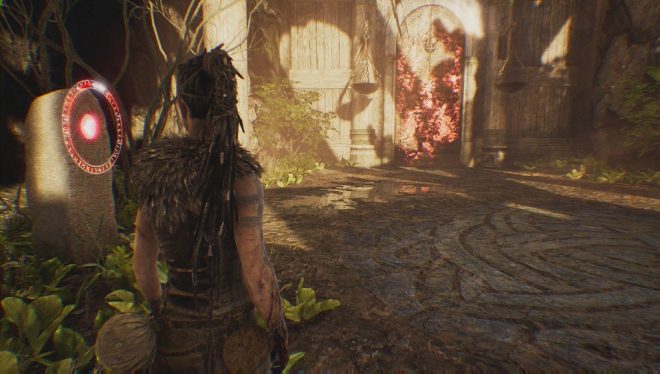
You will engage in your first enemy encounter. Afterwards, before leaving the area via a rune gate, find this stone nearby.
CHOICE!
You will have to open the rune gate but can’t until you finish two other areas. Turn around and you’ll see two doors. The left is Valravyn’s Keep and right is Sutr’s Domain. We will be visting Valrayvyn’s Keep first
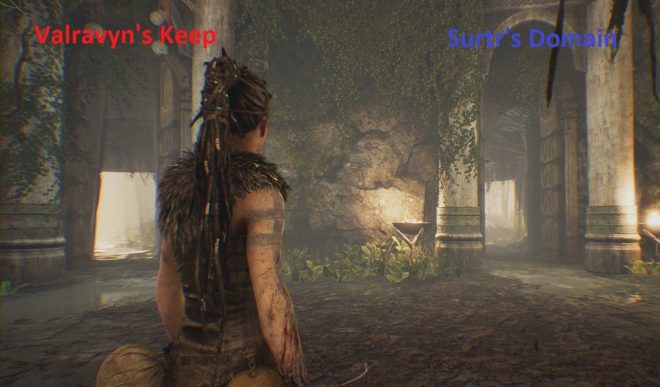
VALRAYVN’S KEEP
Lorestone 5
Choosing the left door, continue forward but keep right. You’ll see a lorestone up some steps.
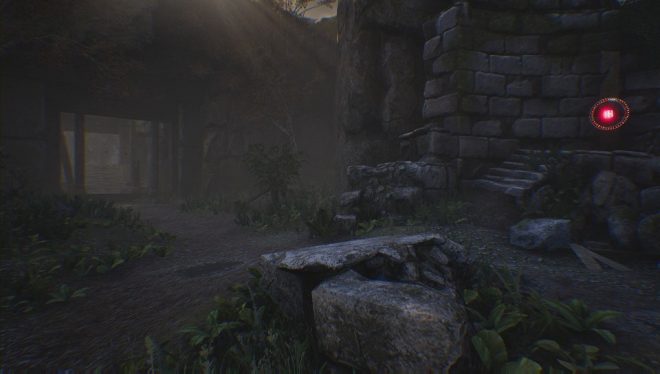
Lorestone 6
Once you have gone through a Raven Door (where you align symbols), you will get to a second one. There are portals that are very tricky until you know what they are. There are archways that have an animal skull hanging from them. On one side is a portal. It changes the environment. If you face the portal and move, you’ll see what is changing. In the next area there are 3 total. The first one is near
the second Raven Door. To the left, you’ll spot this. Going through it gives you a new pathway. Follow this, and you’ll find a second one. This one controls a wall, so what you’ll want to do is use it, then get to the fort area. Unlock both doors ahead by lifting the bars off of them. Now, go back through the previous portal again. Now you can get inside the fort since the doors are open, but the wall has now appeared.This wall acts as a bridge to the next stone! Afterwards, I just made the portals all close the pathways and at the final one that you climb to in the fort, made that create the stairway to align the symbols.
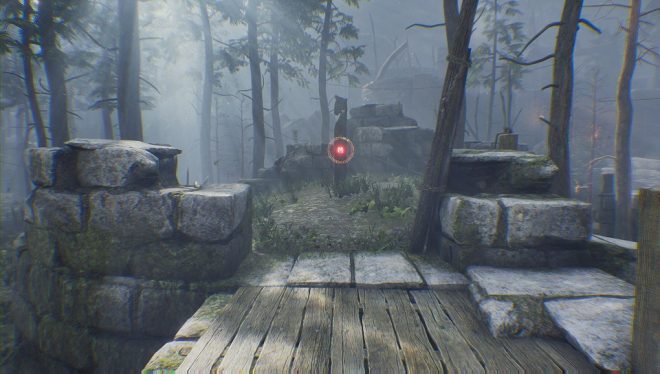
Lorestone 7
After heading through second Raven Door, you’ll encounter some enemies. To the right of the hanging dead body, you’ll see a ledge. Climb up it to find the stone. Alternately, you’ll pass this if you just run along the path to the right of the entry to this area.
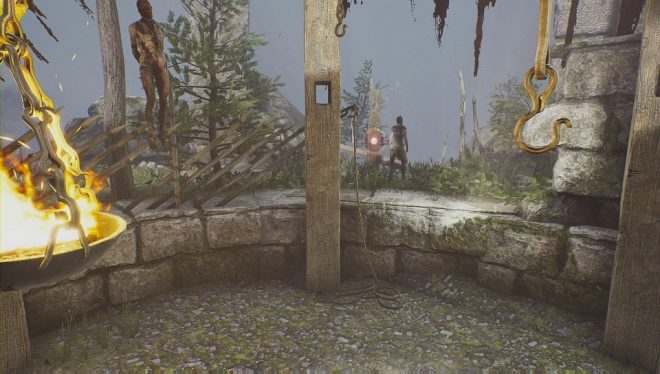
Lorestone 8
As you come into a forest area with lots of hanging symbols, keep right. You’ll notice the stone wall ends and you can go into the area there. You’ll see one of the portals. If you turn around, you should spot the stone in the direction you had come.
Lorestone 9
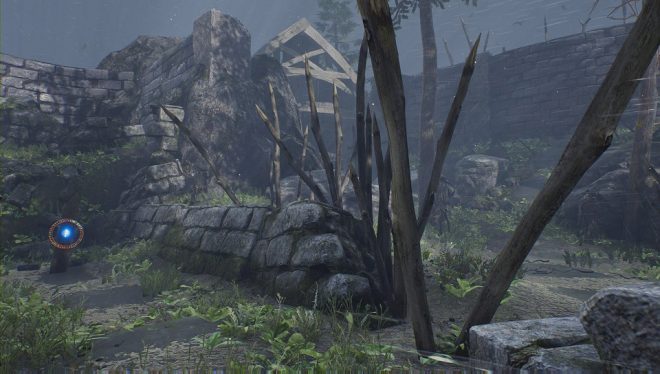
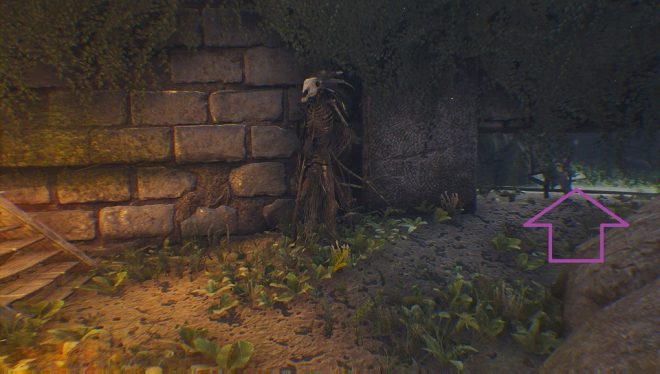
Another fairly tricky one. More of the portals. However, these ones are more to erase the symbols hanging, so that you can narrow it down to three of them. The stone is inside a fort across the trench area. This place is somewhere you must go in order to solve the puzzle. Once inside this fort, you’ll see a fire by stone stairs. Near that, is a place you can duck under and find the stone.
SUTR’S DOMAIN
Lorestone 10
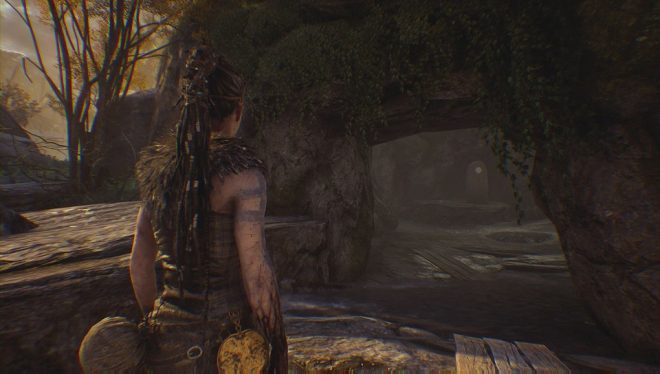
Once back to the original room with door choices, you’ll have to fight a shield enemy (roll around him and strike). Now, head through the right door. Keep on the right path as it splits, and you’ll go over a river and into an enclave.
Lorestone 11
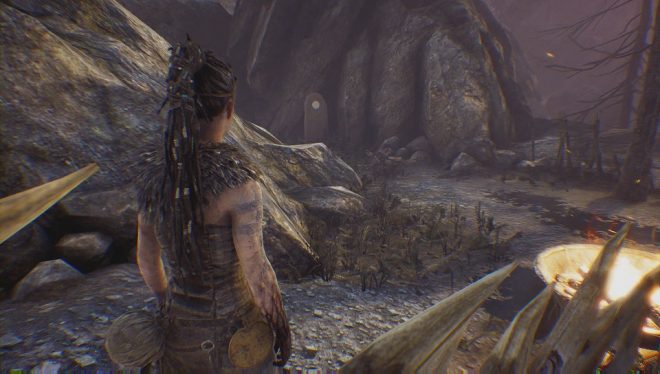
This comes after completing a puzzle with symbols that resemble H and Y. There are two piles of corpses in the area, you must find the symbol that the environment contains. The Y is one of the hanging body poles with another lone pole in front of it. The H is used by using the poles that have the rope. Continue on until the world basically catches on fire. Continue forward until you find a bridge.
Look left and go down the small hill, then look left at the bottom.
Lorestone 12
After the previous stone, you will head into some woods. Keep to your right to find this stone.
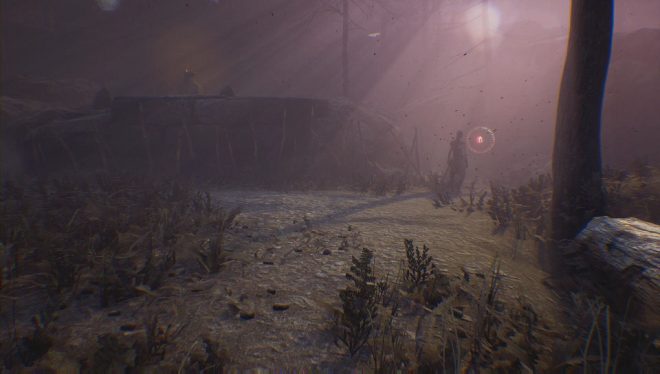
Lorestone 13
You’ll be faced with another door with symbols to collect. You’ll spot a wooden house. To the right of it is one of the shapes in front a smaller cabin. You’ll see trees in the shape of an X. Use that. Then go through the big house, up the stairs, across a roof, and you’ll see a spot you can jump down. But don’t jump yet, look to the right to get the R shape from the fire on the ground. Jump off of the ledge and turn around to find the stone.
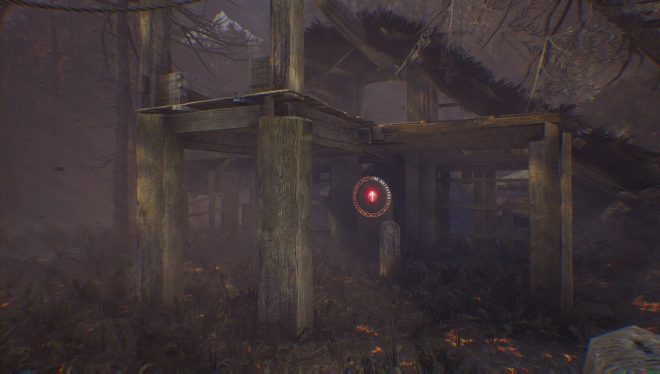
Lorestone 14
After the fire event, you’ll come to a ladder that leads to the second story of a house. Head left across a bridge, then left again when inside. The stone is on the balcony. To solve the puzzle, the P shape is back up where you climbed the ladder, The cross or T shape is on the side of the building (that has the stone). The last symbol is up high. Go up the ladder and onto the end part. There is a pole that you must use to create the D part.
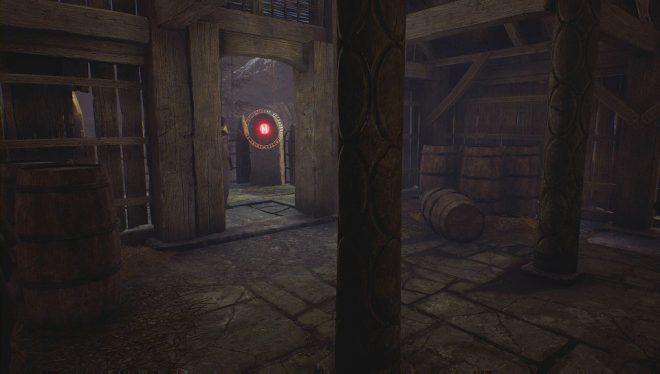
The Bridge to Hell
Lorestone 15
Extremely easy to find. This is to the right of the first rune door.
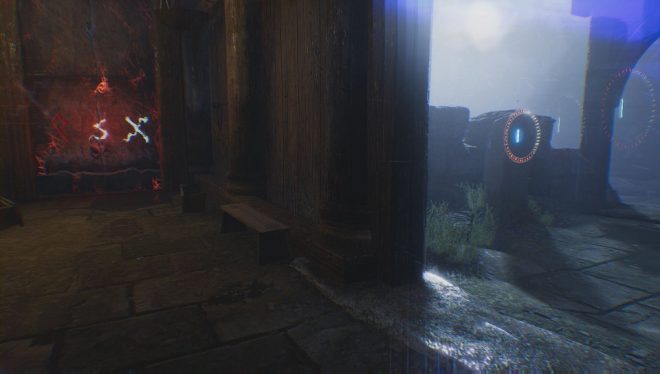
Lorestone 16
Start by finding the symbols. To find X, go back to the area where you just battled. Turn around and look up to see the X in the sky. To find S, go back to where you found the previous stone. Step onto the boat and look out toward the area you fought before. Focus to create stairs. Go up them and use the same items from the X to form instead an S. You must then go outside from the top floor (continue after S) and step onto a ledge. Go forth and focus on the roof with the face. Backtrack, and now there is a new path back inside to your left. There is a ladder up to get the last symbol, and the ladder down has the stone as well as a shortcut back to the door.
Shipwreck Shore
Lorestone 17
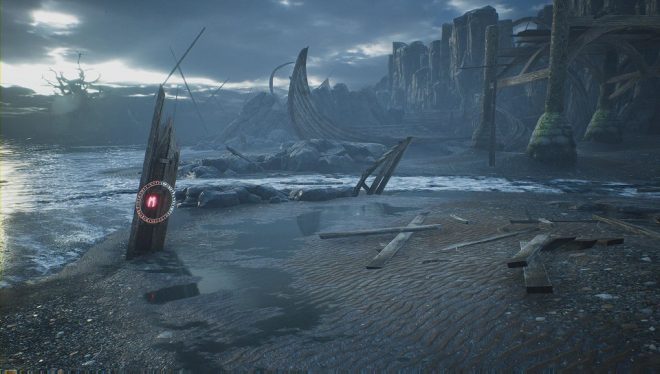
You will come to a beach after dropping down from a ledge. Continue on, and you will do this once more and be at another beach. There is lorestone to your left, which is on a piece of wood sticking out of the sand instead of its normal stone look.
Lorestone 18
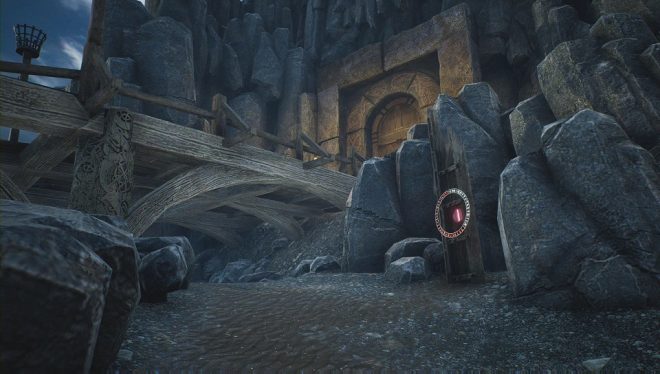
From the previous stone, turn to see the broken bridge. To the right, you should notice a slope that leads to some stairs. Go up first set of small steps to discover the stone.
Lorestone 19
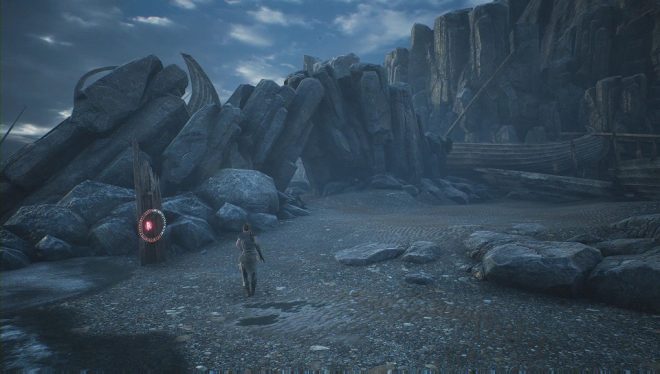
After the previous collectible, go under the bridge and down a ladder. Head toward the front of the long boat on the shore. Look right, and you’ll find it near some rocks.
Lorestone 20
Move on for a ways, getting to some broken down ships. The path will have a few rope piles. Once you get to the part where the path curves right, instead hook around left. There’s a hidden area here.
Lorestone 21
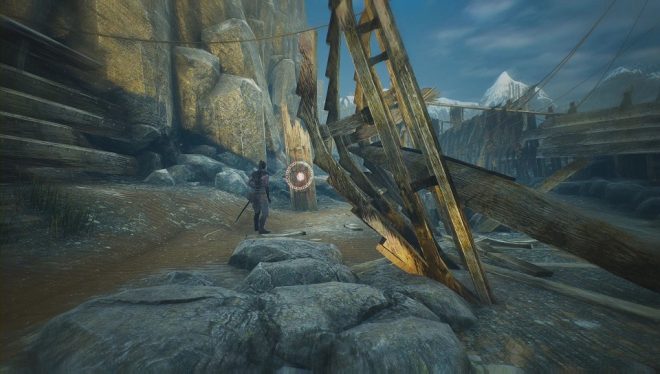
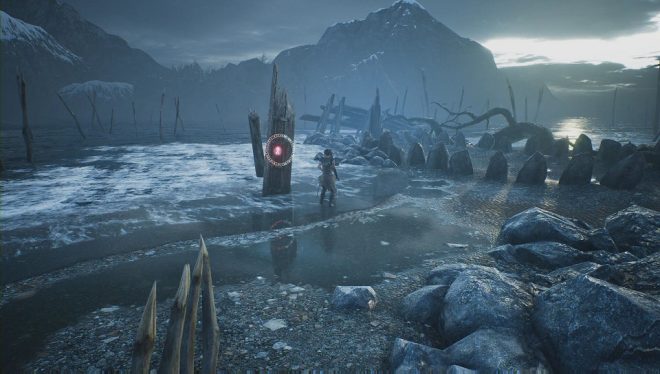
After a scene with a tree, you’ll be back in control of your character. Head towards the tree but take the path on the left when presented. Head to the shore past what appears to be a lorestone, but isn’t! The actual stone is in the water nearby.
Lorestone 22
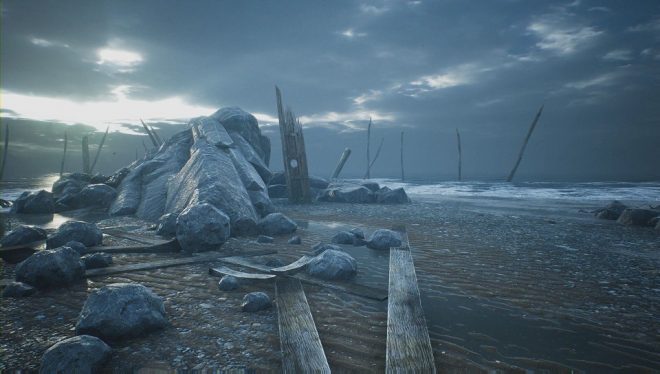
Continue on the path and you’ll spot the next stone as well, near the rock formation.
CHOICE!
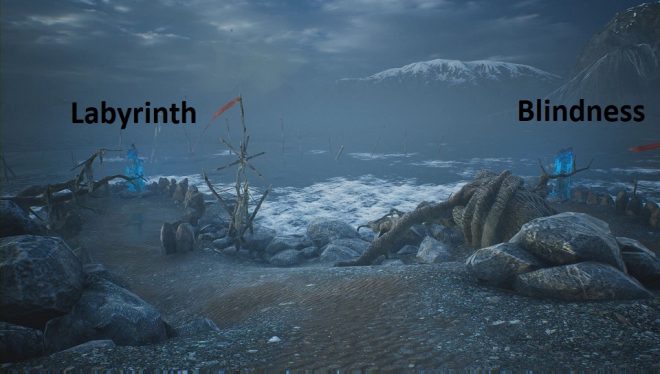
After trying to pull the sword out of the tree, you will need to do some trials. Turn around from the tree, and you will notice blue glowing objects. We will be completing these from left to right. You can do them in any order, but it may be easier to follow the guide by doing it in the order I did.
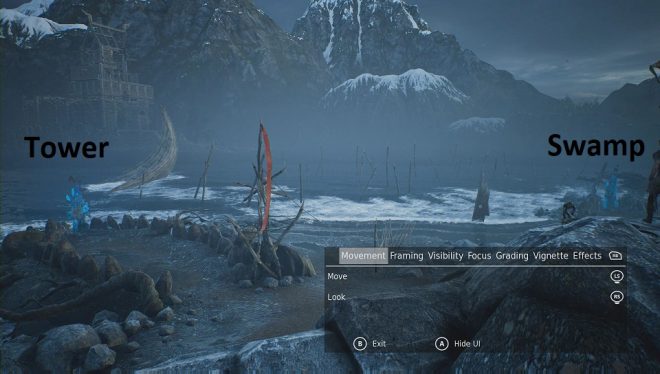
Labyrinth Shard Trial
Lorestone 23
After activating the blue glow, you will be on a beach. Keep left on the shore to find the first stone in this trial.
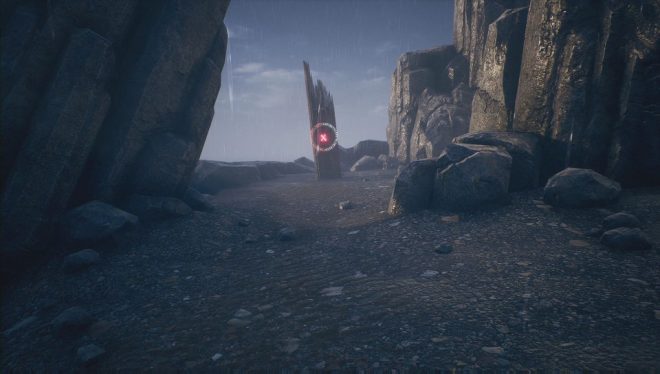
Lorestone 24
You will go into the labyrinth, a dark area. You will collect a torch. Continue inside and choose the left path. Stick left again. It will be a dead end, however, you will find your precious lorestone!
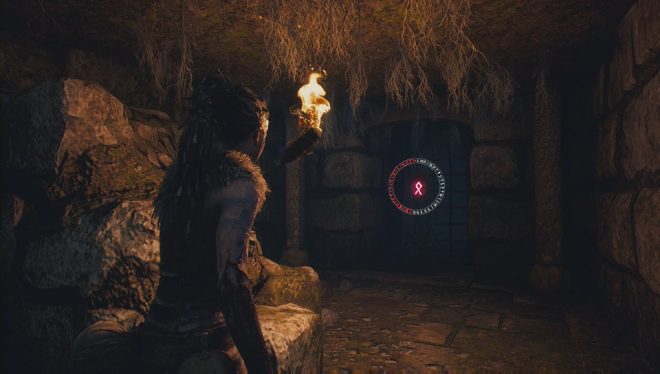
Lorestone 25
Now backtrack to the room where you went left. Note that you can light other torches to keep the rooms bright. Continue forward (the route that was to your right originally). To your left, you’ll see a room with another stone.
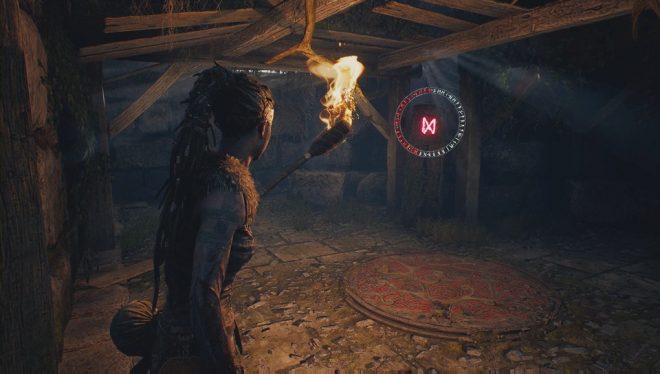
Lorestone 26
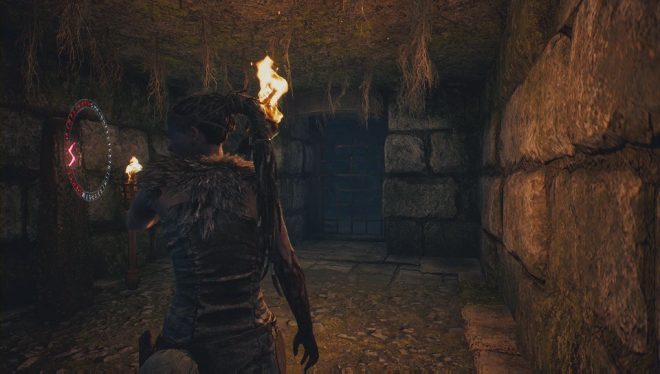
This really is a labyrinth. You can feel like it never ends. Basically, there will be left and right routes. The right way seems to be the direction of a shield you haven’t seen. Each room has a torch and a shield. If you go towards the shields you haven’t seen, you should eventually see a room on the right that’s dark but still kind of lit up. What you want to do for the stone is continue to go the wrong way. There will be rooms that are dark with no shield and a gate. Continue this way to find the stone. Then you will have to backtrack. To be safe, just know the room that’s the right one has environment you must duck under.
Blindness Shard Trial
There are no shards in this segment.
Tower Shard Trial
Lorestone 27
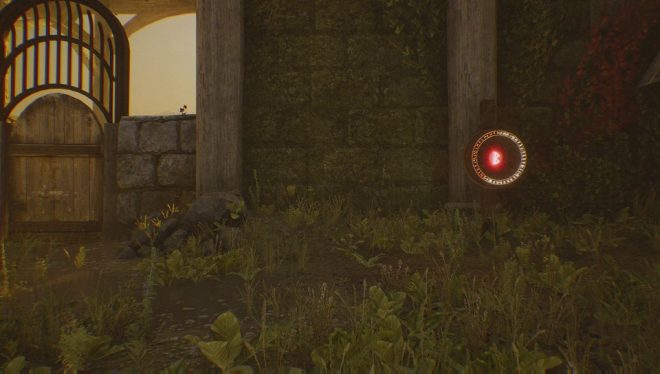
You will activate a mask that places you back into the past. The color of the world will shift lighter. Go across the bridge that is now there, and you’ll see a wooden door. To the right is a stone.
Lorestone 28
Go back to the present, and the gate right of the rune door will now be opened. Head through it, then use the mask to go to the past. Head inside the wooden door, and the stone is between the set of staircases.
Lorestone 29
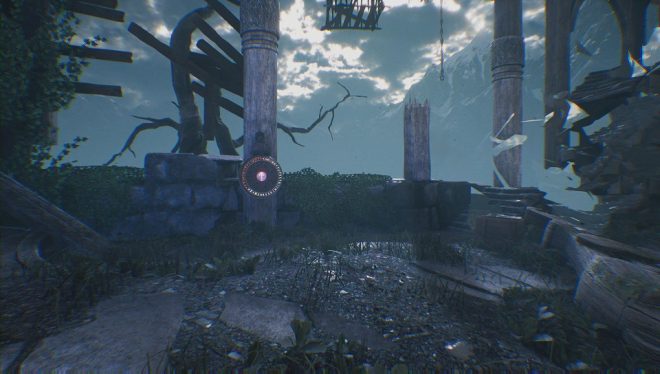
Use the symbol that looks like an F inside the above room. It is the light shining on the wall and some crates. Now, head through the rune door. As soon as you go through the next gate you’ll see the next stone straight ahead.
Lorestone 30
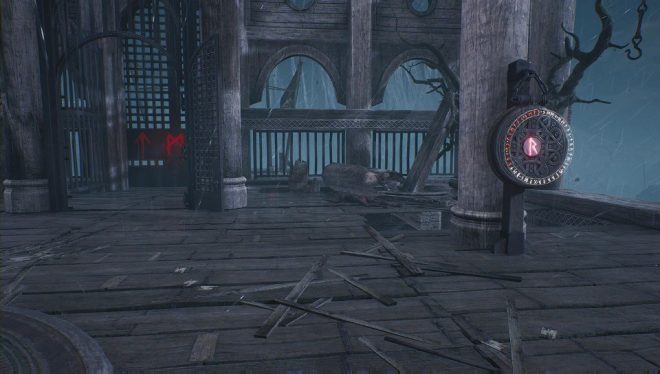
After grabbing the previous stone, create the staircase by focusing. You will see it in the blur if you move around. You will go up some stairs to another rune gate. To the right of this gate in plain site, is the stone.
Lorestone 31
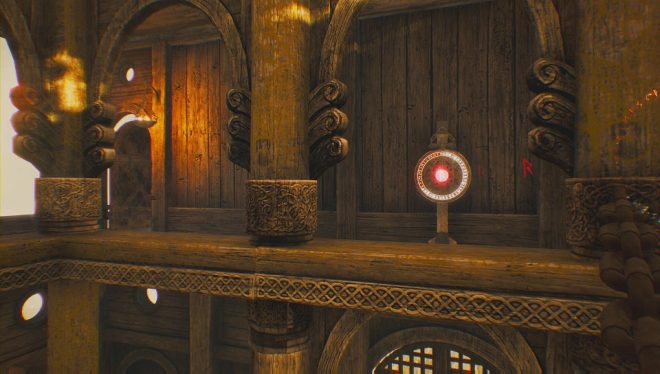
For the rune door, keep climbing to the top and go through the door. You will see a a bluish figure in the distance. The symbol matches with the rope and polls. Be sure to unlock the other door. Backtrack and use the mask to go in the past. Now head back to the balcony. Get the lorestone that is in the middle of the two doors.
Lorestone 32
Go to the present and push down the bridge. Go to the past and cross it. Go around and get the backwards Z symbol on the balcony. Then as you head back you will see the stone. Head all the way downstairs and use the arrow in the window to complete the puzzle and exit through the rune gate in the present.
Note: I may have done the puzzle in a weird order, you can do it any way you want.
Swamp Trial
Lorestone 33
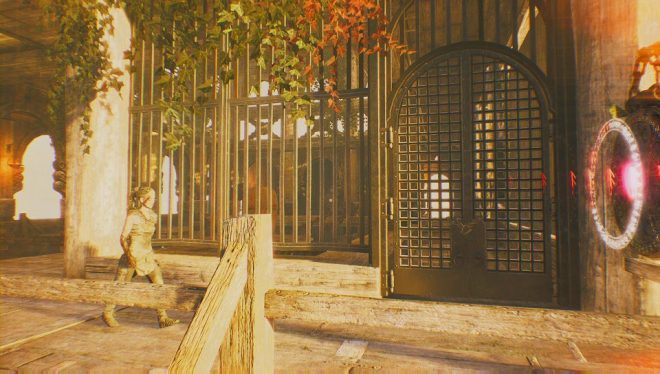
As you head through a swamp, you will go past the portal arches. Behind the third one you use, is a lorestone.
Lorestone 34
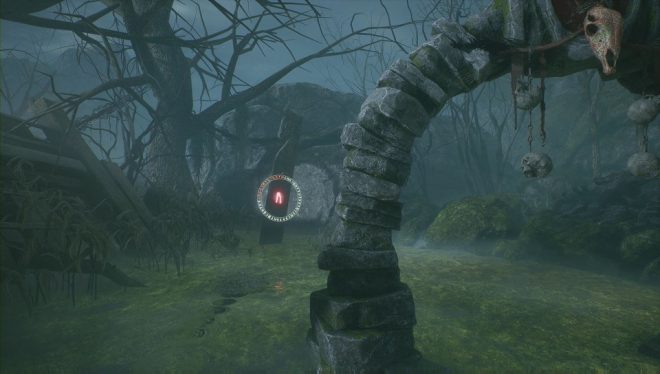
This stone is very easy to miss! Once you construct the bridge and go into a shack, DO NOT go to the rune gate. Opposite of it, which is to your right, is the stone. If you go to the rune gate it will transport you into another place and you cannot return to the swamp. Also, good luck with the next section it’s quite intense!
The Sea of Corpses
There are no lorestones in this chapter. There are a lot of tough battles though!
Helheim
Lorestone 35
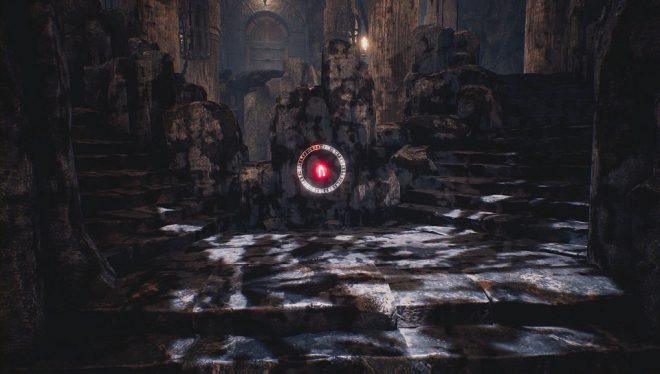
Once back at the beach, climb the ladder and head into the big door you could not enter before. As soon as you enter, you’ll see this stone right in front of you.
Lorestone 36
You will discover a rune door. You will head down a winding stairwell and be running, staying in lighted areas. This is because you will have to dive underwater at one point and you lose the torch. You will eventually find another. Backtrack, lighting the other torches. To the left you will see this stone. Also near one of the torches you light are wooden planks in the water. They will form the symbol you need to match.
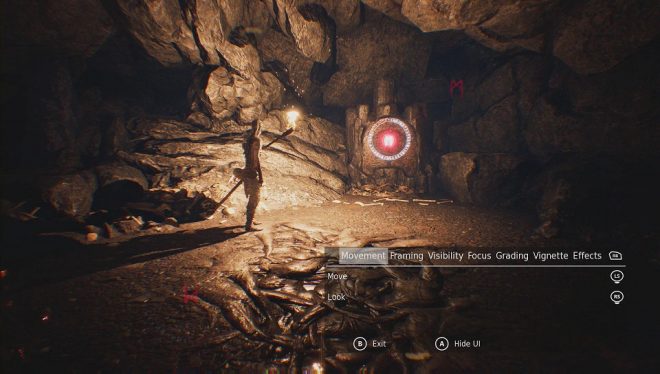
Lorestone 37
Continue on and head up another set of stairs the wind. Instead of heading through the door, go to the left and climb up for the stone. You can get the other runes too. Where you went down the winding staircase, instead go up to find the P in the shadow of a torch. Then the last symbol can be obtained down the hall opposite the rune gate in a room to the side where you fight enemies. The symbol is the blood on the floor.
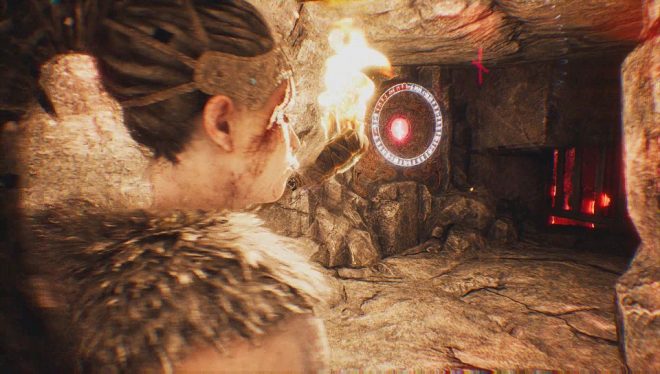
Lorestone 38
You’ll eventually get to a rune gate with one R shape. You have to light a fire above where you fought the enemies, then circle around to match the symbol with beams. After going through the rune door, you will pass through a waterfall and the torch will go out again. Run to the next fire to light it. After crossing a beam, keep to the right where there is a little area with a stone.
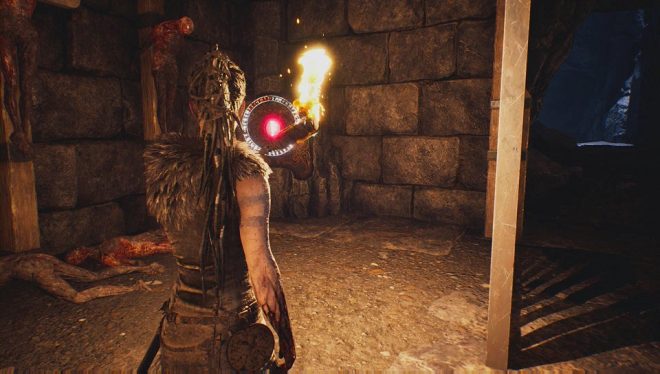
Lorestone 39
Continue to the next rune gate below. The next stone is just left of it.
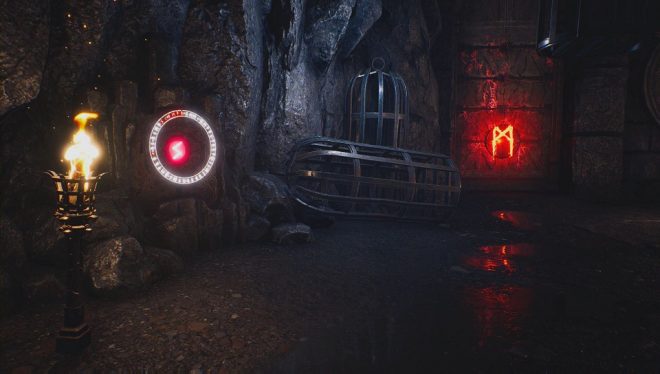
Lorestone 40
To solve the rune gate, backtrack to a tunnel you might not have noticed opposite the gate. Follow it to light a fire. Return and run through the waterfall. Quickly run right and towards the fire you lit. You will knock down a bridge and get to it, hopefully. Now go back and you can light the other fire to get the shadow you need. Head through the door and you will see this in the cave to your right.
Hela’s Sanctum
Lorestone 41
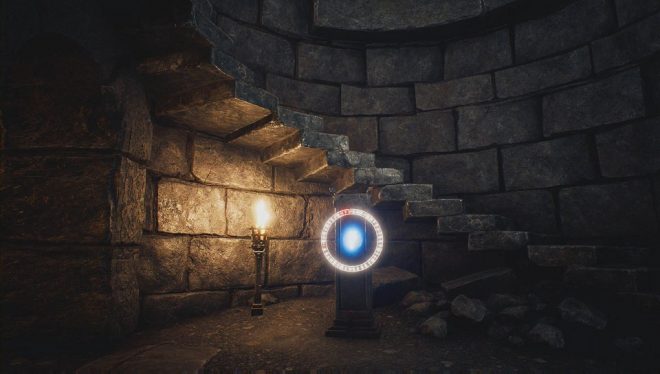
At the start of the area, head up the stairs and to a strange ladder on the left. Climb up, and you will be going right up more stairs. There is a stone under the winding staircase.
Lorestone 42
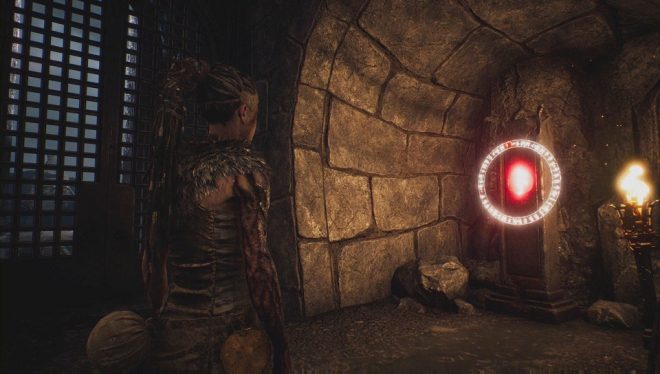
Once you get to the giant bridge that isn’t complete, there will be a scene where the character looks at a gate. This is opposite the door you will eventually need to enter (the bridge leads to it). The stone is to the right near the gate.
Lorestone 43
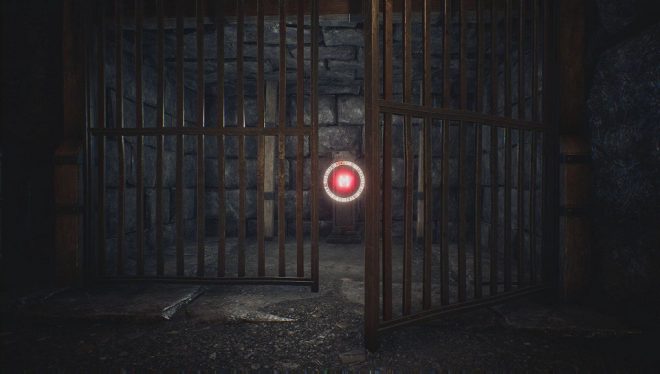
As you continue, you will come into a room with a locked gate and. To the right is the stone in a a prison cell. To the left is where you exit, by ducking under the hole.
Lorestone 44
After ducking under the stone, go into a room with a winding staircase. Go all the way to the top to find the last stone in the game. If the achievement doesn’t unlock here, you will have to replay to find the one or ones you had missed.
