
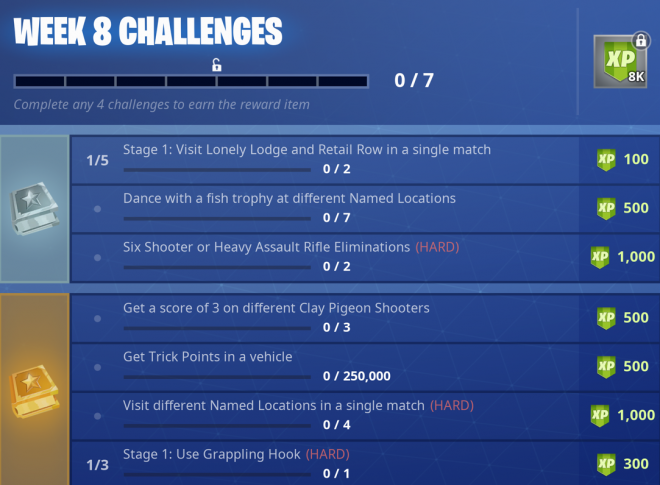
Week eight of Fortnite Battle Royale challenges have arrived and immediately upon setting eyes on some of these, you may feel that you’ve already done most of these before. A large portion of the list are challenges we’ve already seen plenty of times throughout season six, and some challenges were part of season five, brought over to season six and not modified in any way. Completing four of the seven challenges will reward players with 8,000 XP and yet another loading screen. Presented to you are the seven challenges of week eight of season six of Fortnite Battle Royale.
Stage 1: Visit Lonely Lodge and Retail Row in a single match
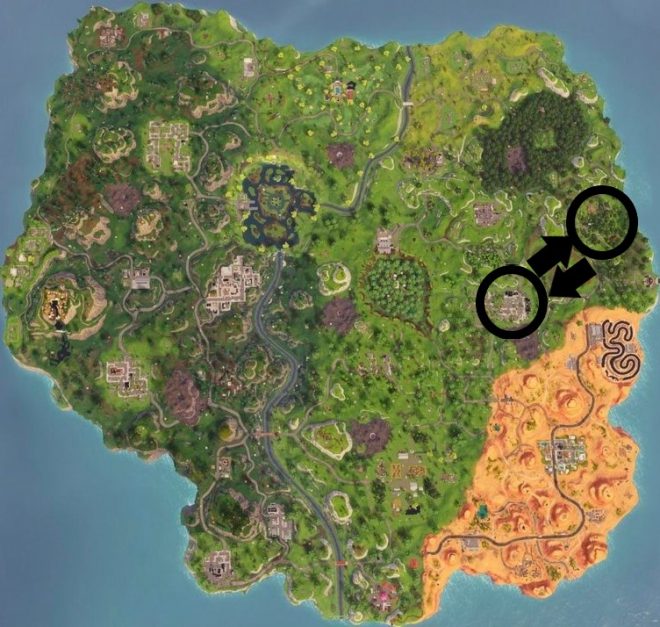
The first stage of this five-stage challenge asks players to visit Lonely Lodge and Retail Row in a single match. These two locations are the easiest, as they’re literally right next to each other. For this stage, landing at either location is fine, as long as you make sure to head over to the other location. Personally, it’s best to land at Lonely Lodge and head to Retail Row, considering how much more popular Retail Row is to Lonely Lodge. After visiting both locations, finish the match to unlock the next stage.
Stage 2: Visit Junk Junction and Pleasant Park in a single match
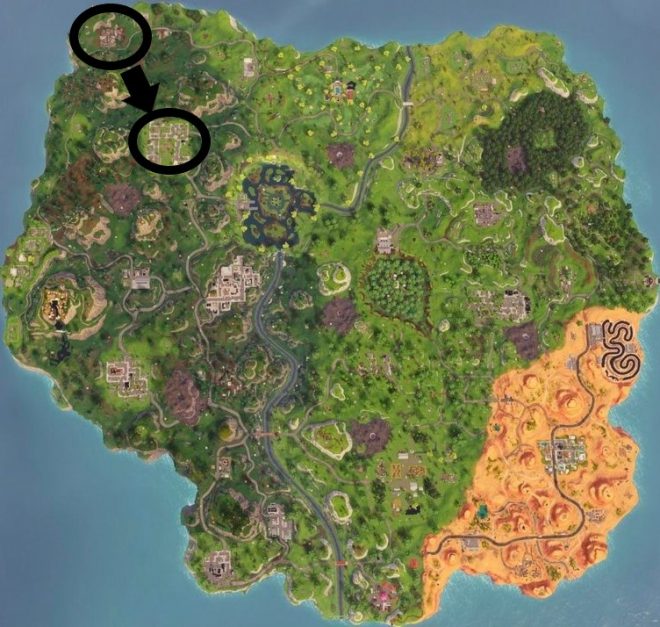
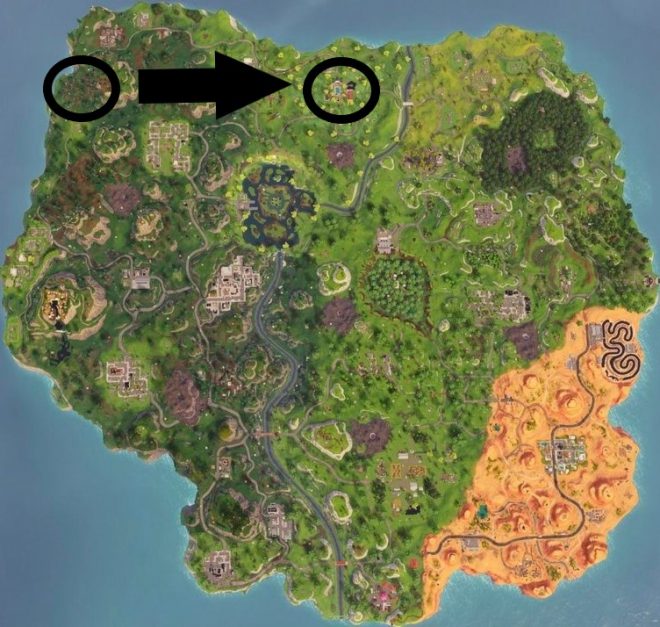
Stage two will ask players to head to Junk Junction and Pleasant Park in a single match. This stage is probably a no-brainer, but you’re going to want to land at Junk Junction and immediately head over to Pleasant Park after. The storm rarely ends up in the north-western part of the map, so landing Pleasant Park first and then going towards the edge of the map would be unwise. After visiting both locations, finish the match to unlock the next stage.
Stage 3: Visit Flush Factory and Fatal Fields in a single match
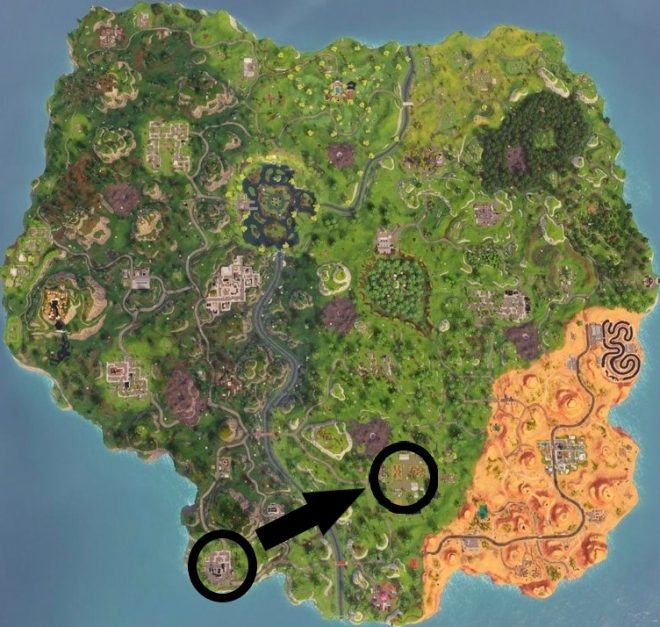
For stage three, you’ll be tasked with visiting both Flush Factory and Fatal Fields in the same match. Flush Factory is the better landing option here for a few reasons. First, Flush Factory is the least popular named landing location in the entire game, so the odds of meeting opposition here are slim-to-none. Fatal Fields is a bit more popular of a landing location, so by the time you rotate over to this location, a large majority of battles will have already played out, and enemies will have scrambled to other locations. Obviously, you don’t need to step into the middle of the location, simply walk near the location and you’ll be counted. Finish the match for the next stage.
Stage 4: Visit Haunted Hills and Lazy Links in a single match
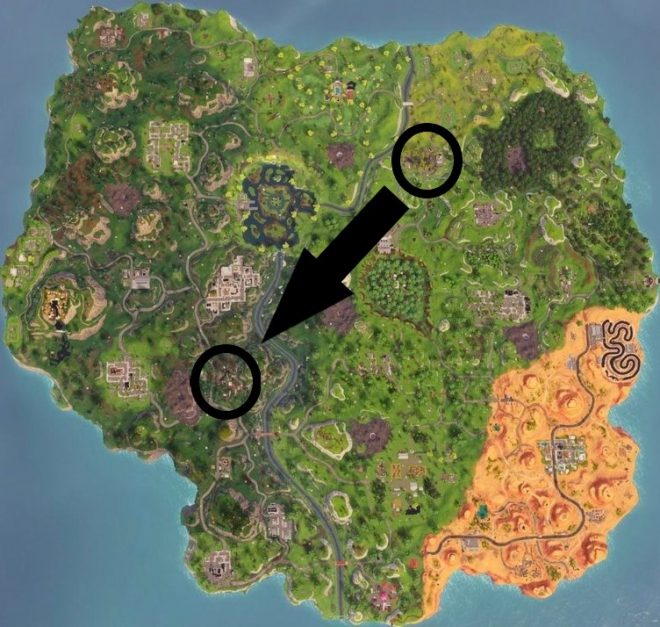
Stage four will have you heading to Lazy Links and Haunted Hills. Haunted Hills is definitely the better starting location for this challenge. You can land up on the mountain in the castle structure and it will reward progress, then simply going down the mountain either by building, rifting or by any other means to get to Lazy Links just to the east will be quick. The only dangers here are coming across players coming from Junk Junction, or those who landed at the motel. After visiting both locations, finish the match to unlock the final stage.
Stage 5: Visit Tomato Temple and Shifty Shafts in a single match
The final stage has players treading across the longest distance. The two locations required for the final stage are Tomato Temple and Shifty Shafts. Landing Tomato Temple is a wiser choice here. As most people know a lot of players land at Tilted Towers. Those who fail to get to a drop fast enough may resort to flying to Shifty Shafts to arm themselves. This would mean there would be opposition and some struggle to try and get out alive. The best way to do this challenge would be to start at Tomato Temple and then head into Shifty Shafts. Getting a Rift-to-Go or a launch-pad to allow you to travel a long distance to Shifty Shafts would be ideal, but it’s not always optimal, especially when the loot doesn’t drop in your favor. After visiting both locations, finish the match to finish the challenge completely.
Dance with a fish trophy at different Named Locations
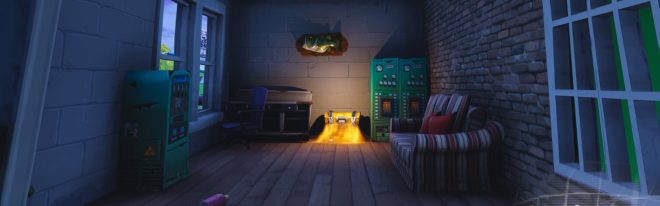
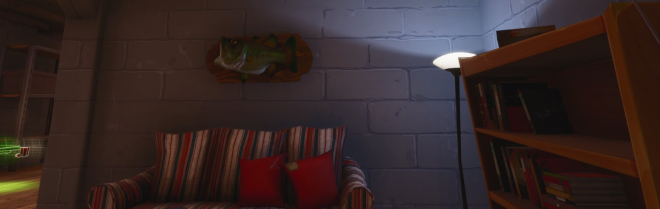
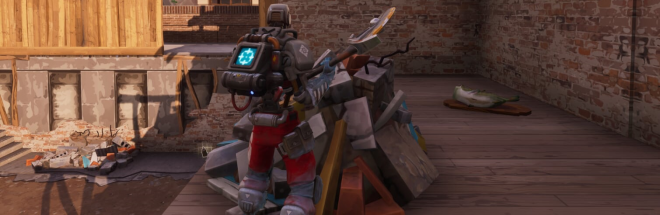
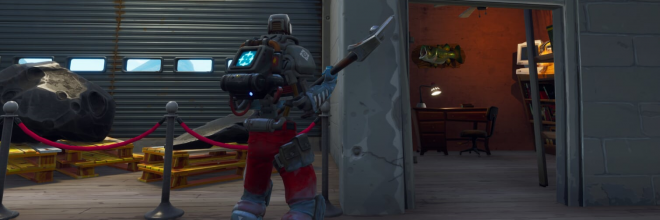
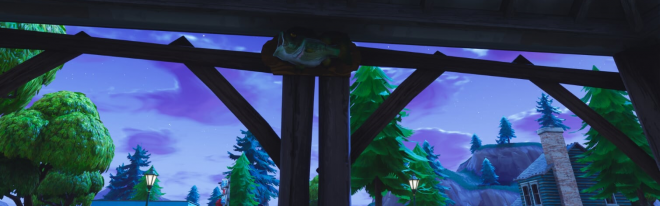
Consider this the unique challenge of week eight. Players are required to visit different named locations and dance in front of a fish plaque that’s hanging on a wall. The fish on the plaque will also start dancing and you’ll be given progress. You’ll be required to dance next to seven different fish, and there are about 17 different locations where you can find these plaques so this challenge won’t be too difficult. Ultimately, the hardest part of this challenge is finding the various fish locations. Below is a list of the locations, as well as a map to every location the fish plaques can be found.
- Risky Reels – Second floor of the projector building in the northern area of Risky Reels.
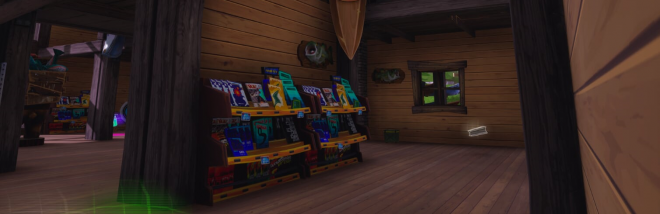
- Lonely Lodge – Inside the first floor of the lodge, there are multiple fish plaques on the wall.
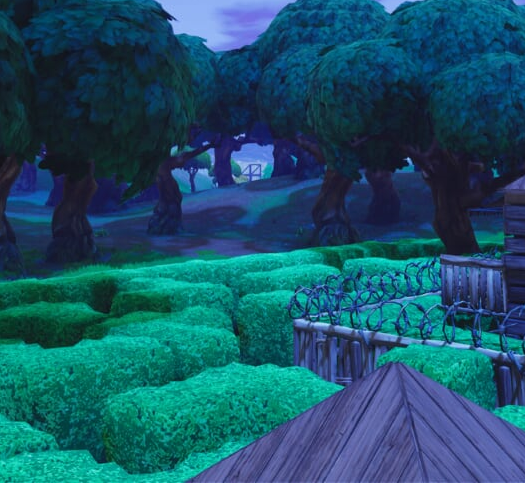
- Wailing Woods – At the center of Wailing Woods is a garage. if you destroy this garage and go down the elevator shaft, you’ll end up in a bunker. There are multiple fish plaques on the wall down here, all of which count towards the challenge.
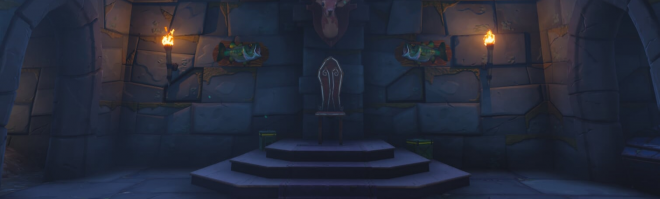
- Haunted Hills – The castle on top of the hill to the east of Haunted Hills holds this fish. It will be on the bottom floor of the castle, there are two of them on opposite sides of the throne.
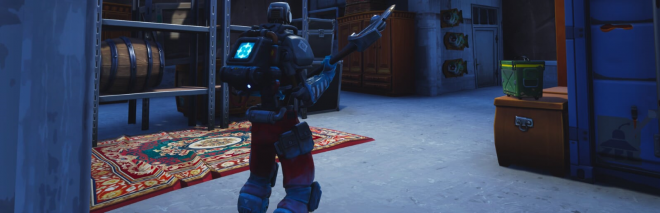
- Junk Junction – Inside the main building of this location, right above the mattress thats on top of pallets. If you walk under the garage door, this will be to the immediate left behind the metal wall.
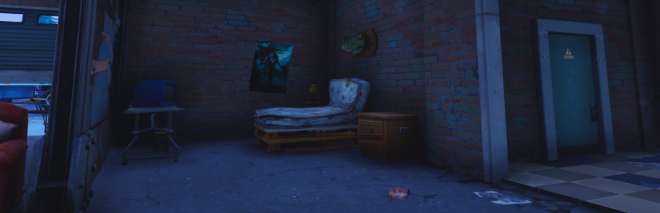
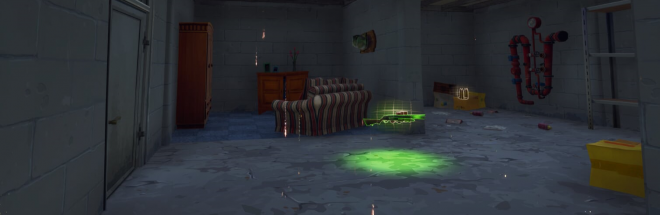
- Snobby Shores – This fish can be found in the southernmost house in Snobby Shores. The plaque is in the basement of the house above a couch. To access the basement stairway, destroy the dresser in the bedroom.
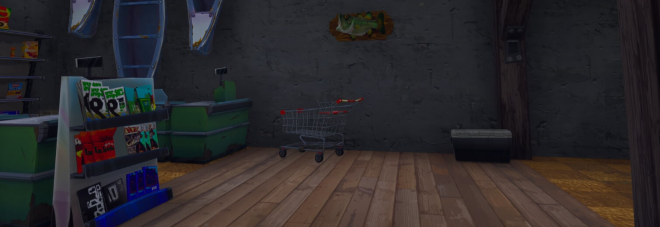
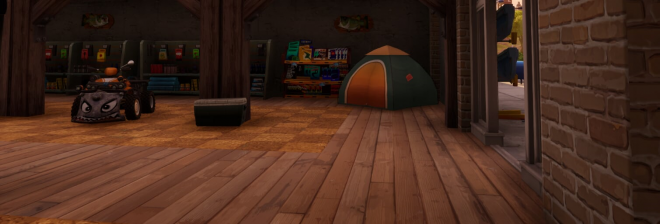
- Greasy Grove – In Greasy Grove, the stone building with a wooden plank hanging from the roof is a hunting store. Inside this store to the immediate left of the entrance is the plaque hanging on the wall.
- Tilted Towers – This plaque is laying on the ground of the destroyed building in Tilted Towers. The destroyed building is to the immediate left of the grey stone building. The fish plaque is on a lower level.
- Dusty Divot – Inside the building that was made into the diner at Dusty Divot, this plaque can be found upstairs inside an office.
- Pleasant Park – There is a picnic area in the center of Pleasant Park. This plaque sits underneath the wooden structure hanging above.
- Shifty Shafts – This building is a bit hard to explain. It’s a white sheet metal style building with wooden stairs leading up to it. Inside the building is a picnic table that usually has a chest sitting on top of it. The fish plaque is on the right wall next to the chest.
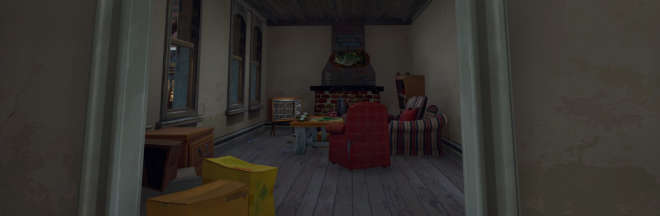
- Fatal Fields – On the first floor of the large white house. This plaque is simply placed over the fireplace. If you’re walking in the front door of the house, the fireplace will be to your immediate left.
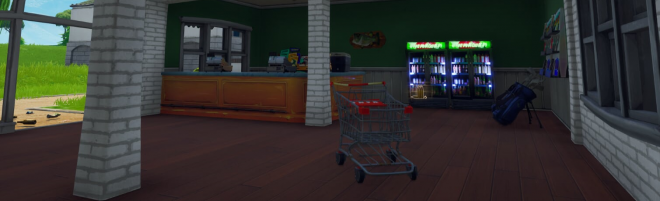
- Retail Row – There is a hunting store in Retail Row that can be identified by the large fish plaque hanging over the entryway. Walk into the store and you’ll two fish plaques hanging over some metal shelves on the right. Either counts.
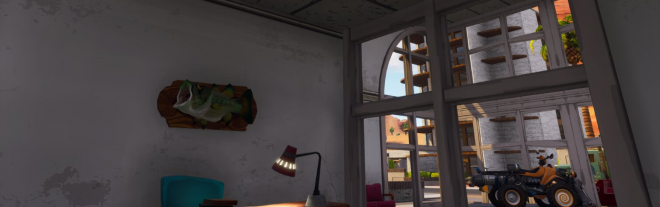
- Lazy Links – There is a golf shop in Lazy Links. This building is directly west of the pool. The fish can be found on the wall of the shop.
- Paradise Palms – This plaque can be found inside the car dealership hanging on a wall of the first floor of an office in the back left side.
- Salty Springs – The Salty Springs plaque can be found in the basement of the white two-story house with black window shutters on the west side of town. You should see the plaque immediately in front of you the moment you reach the bottom of the stairs.
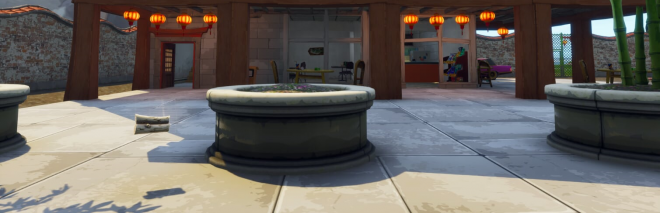
- Lucky Landing – The Lucky Landing plaque is in the southeastern building in Lucky Landing. It’s on the first floor and you should be able to see it from the outside of the building in the back of the building hanging on a wall.
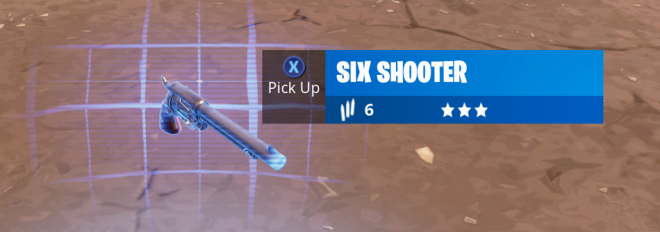
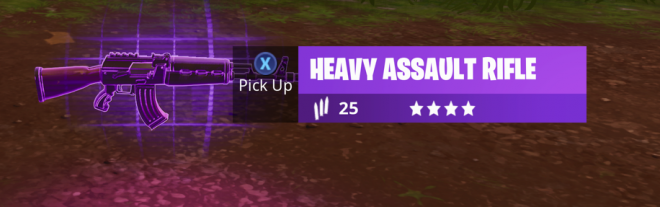
Six Shooter or Heavy Assault Rifle Eliminations
A simple challenge that simply asks you to get your hands on one of two newest weapons and get two eliminations with said weapon. The six-shooter is the new style revolver that can be hip-fired for a faster rate of fire, or players can aim down sights for a more precise shot and a slower rate of fire. The Heavy Assault Rifle is a little bit more powerful than the standard Epic and Legendary Assault Rifles (SCAR), but also has a slower rate of fire. Choose your poison and eliminate two opponents with the weapon to complete the challenge. Here are the weapons to look out for.
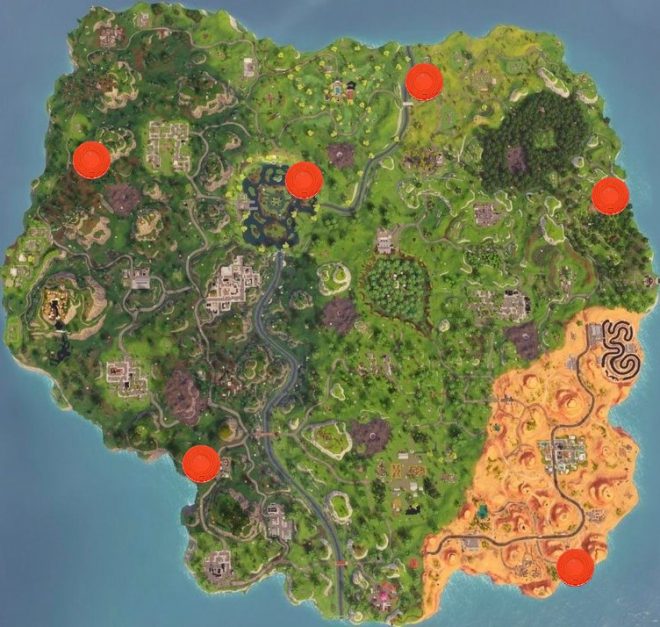
Get a score of 3 on different Clay Pigeon Shooters
This is pretty much a copy paste challenge from last season that asked players to get a certain score on clay pigeon shooters around the map. The locations of the clay pigeon shooters have not changed at all, so simply head to any of the locations designated on the map below, preferably with a shotgun in hand, activate the launcher and destroy three clay pigeons. let the fourth one fly off and miss, and the challenge will add progression. You’ll need to head to a total of three locations and earn a score of three to complete the challenge. Here is a map to better help you find your way.
Get Trick Points in a vehicle
Find a Quadcrasher ATV and then build a ramp at least four or five levels high. Charge up your boost and drive up the ramp, hit the boost (LB) and as you fly off the ramp, do a flip or two, being sure to land on flat land on all four wheels once you reach ground level again. This should net you 300,000+ points easily and complete the challenge. If you happen to land upside down or wipeout, the points will not count and you’ll be required to do it again. This is the best vehicle to do the challenge with, using any other vehicle can be annoying and make this challenge far more complicated than it needs to be.

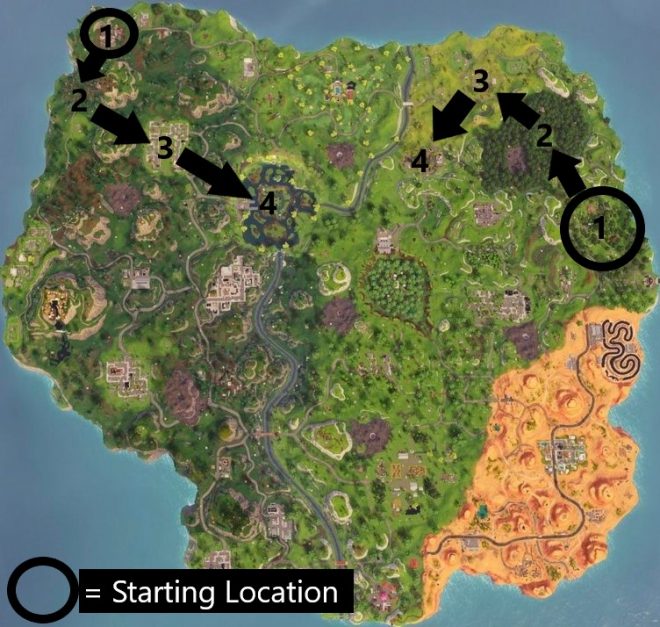
Visit different Named Locations in a single match
This challenge will have you heading to four different locations in a single match. This is yet another recycled challenge from the previous season and the best paths to take have not changed.
First path – Land at Junk Junction, and head to Haunted Hills. After arriving at Haunted Hills make your way to Pleasant Park. After gaining progress for Pleasant Park, immediately head to Leaky Lake to complete the challenge. Finish the match.
Second path – Land at Lonely Lodge and head immediately to Wailing Woods. Once you reach Wailing Woods head to Risky Reels. Once you gain progress for Risky Reels, turn around and immediately head to Tomato Temple. Challenge Complete. Finish the match.
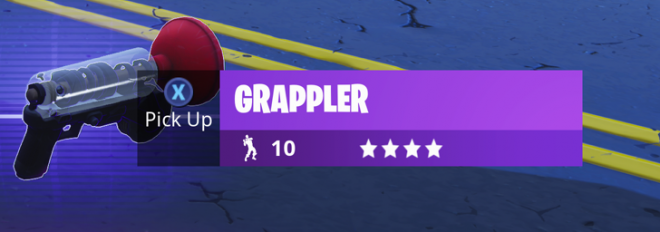
Stage 1: Use a Grappler
The final challenge for week eight will have you using a few different items. These challenges are also in stages so it will take three different matches to finish the challenge entirely. For the first challenge, you’ll be required to get your hands on the grappler and simply use the item to fling yourself somewhere. Pretty simple and self-explanatory. Finish the match to unlock stage two.
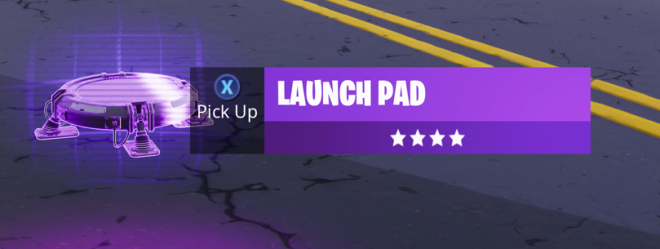
Stage 2: Use a Launch Pad
For stage two, you’ll be required to find a Launchpad and use it. This stage is a bit more annoying this time around, as the drop rate of launch pads compared to other items has been seemingly reduced. It’s still possible to come across a launch pad easily if you find a llama or open a supply drop, but in regards to standard floor loot, don’t expect to happen to come across this easily. There is also the possibility of checking epic (purple) colored vending machines as they do sometimes sell launch pads. Once you have one in-hand, simply place it down and jump on top. The challenge will then add progress. Finish the match to unlock the third and final stage.
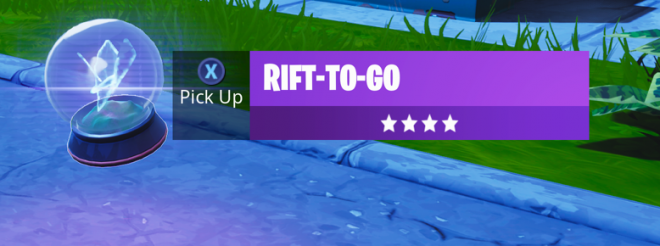
Stage 3: Use a Rift
The final stage of this challenge is a bit confusing. The challenge simply states to use a rift, but it’s not as easy as that. The idea of using a rift may have players seeking out the blue cracks around the map that teleport you back up into the sky to soar far distances, but this is incorrect. The challenge is actually worded quite poorly. You are required to use a rift, but it’s actually the item, the Rift-to-go. The item looks like a snow globe with a shard inside of it. When used, the player shakes it like a snow globe and it teleports them, putting a rift at the location the item was used. Simply find this item in chests or as floor loot, use it and the challenge will add progress. Finish the match to finish the challenge completely.
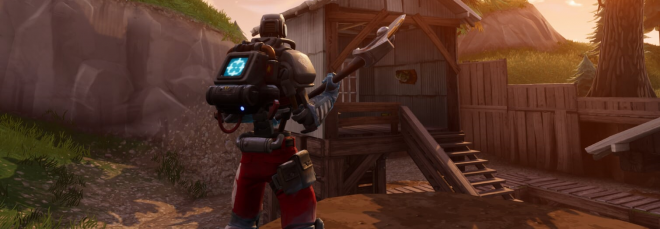
Have you unlocked A.I.M. the robot yet? Do you still have other challenges to complete? Be sure to check out our Season Six Challenge Guide Hub
Fortnite Season Six: Where to find the Battlestar Banner for Week Eight
The Author