The Precinct Artifact Guide
Introduction
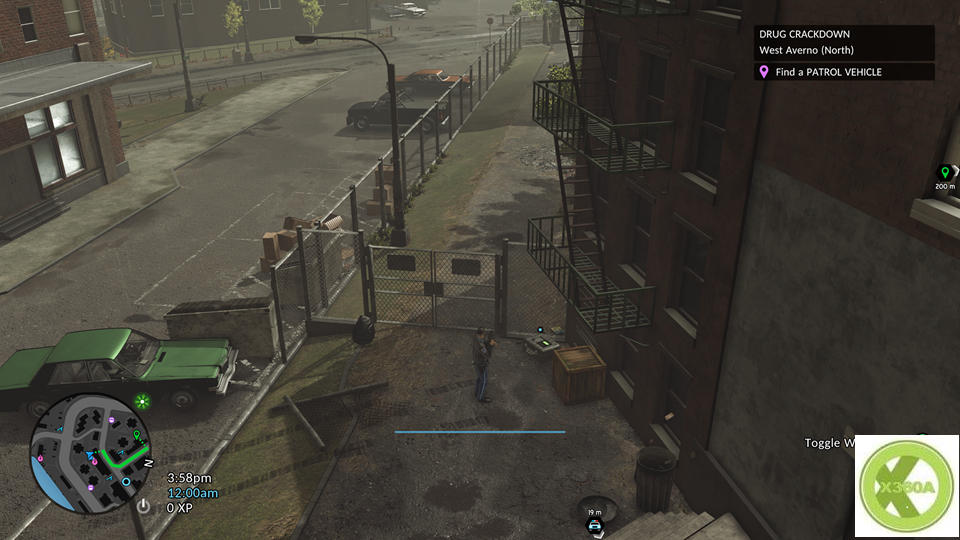
There are 20 artifacts that you will need to collect in order to obtain the achievement “A Sharp Mind”. The first one is part of the story, but the rest you will need to find roaming around. I chose to do this after completing the story, and would just start shifts that were in the daytime. Turn off Callout Options in the RB menu. If you happen to have a crime happen near you, just ignore it.
Note: You will gain a new ability upon hitting Police Officer Rank 16. It is called Artifact Detector. You can turn this on in the Callout Options (it is not set by default). It will help you know you’re close with a flashing icon by your mini map, as well as a beeping sound.
IMPORTANT: Please be aware that the collectibles are listed as I personally found them. Each area doesn’t contain a specific artifact. Instead, it just counts up from 1 to 20. Luckily, once you have obtained one, there will be a green check on the location so you know not to look again. The only reason I named them was so that you could follow along while you scrolled down.
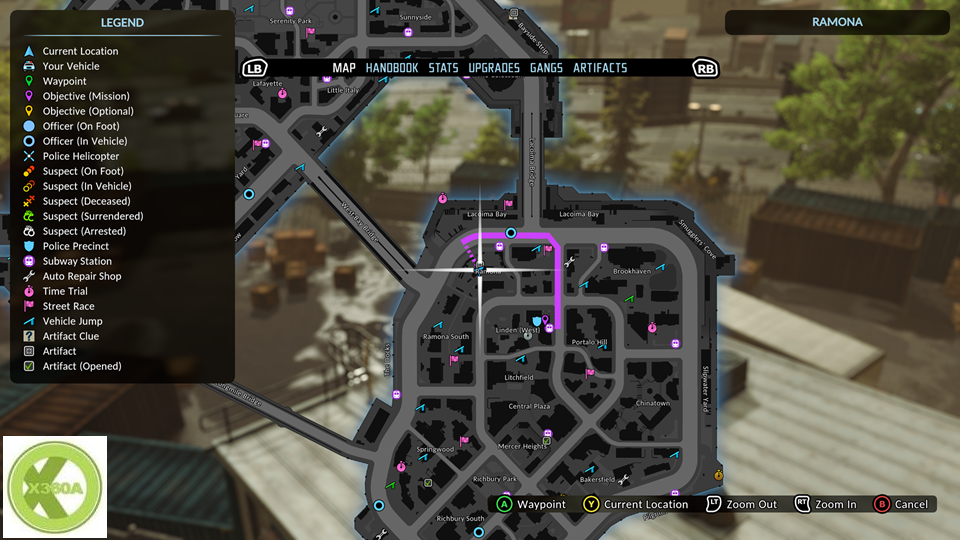
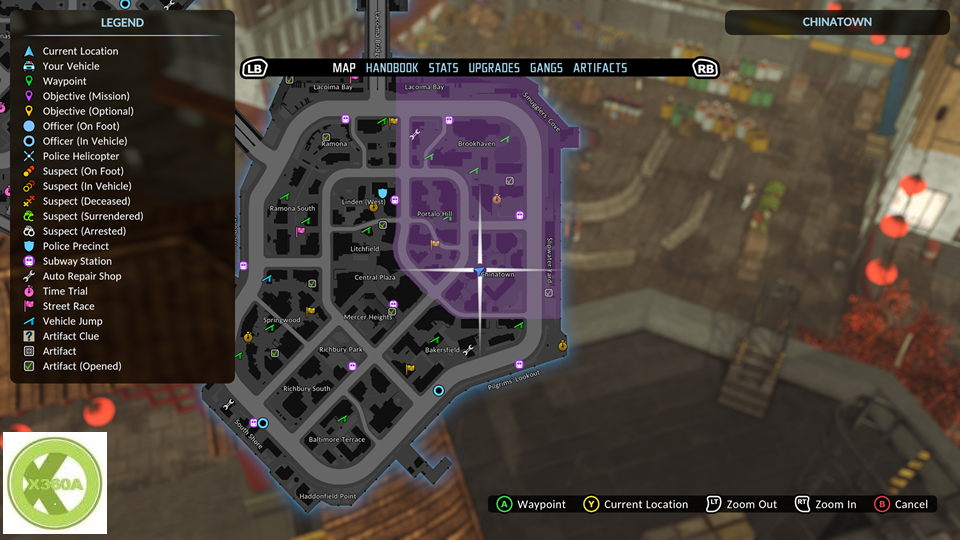
The map saves the ones you’ve completed, so if you don’t need a detailed explanation, you can just see the maps completed below. If you’d like more assistance, you can keep following.
St. Harry’s Cellar Key
Location: Between two garbage bins in Mercer Heights, this collectible serves as a tutorial and is part of the story.
Code: The code is given to you on a note, close to the box.
Mummified Index Finger
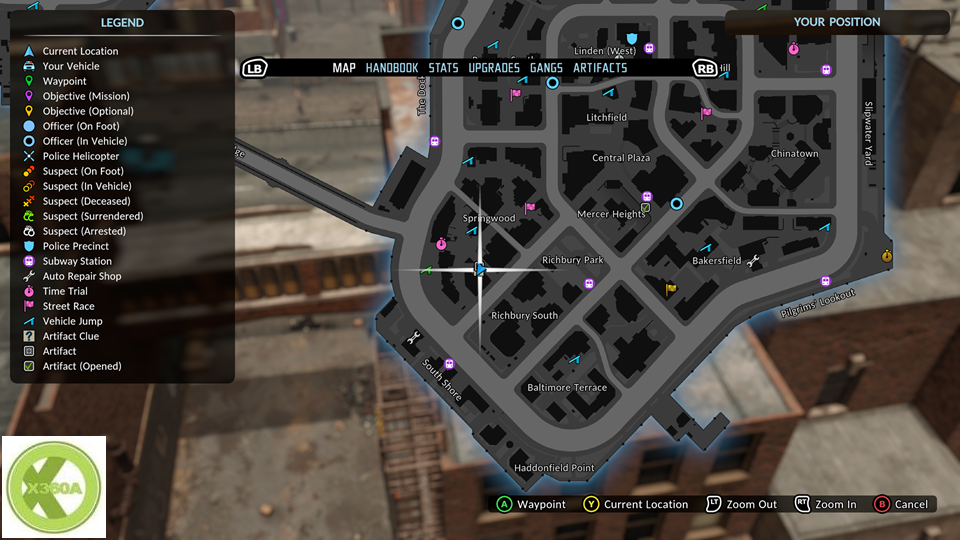
Location: North of the South Shore subway terminal. This is on top of the roof. There’s a ladder between two buildings on the fire escape.
Code: 1999
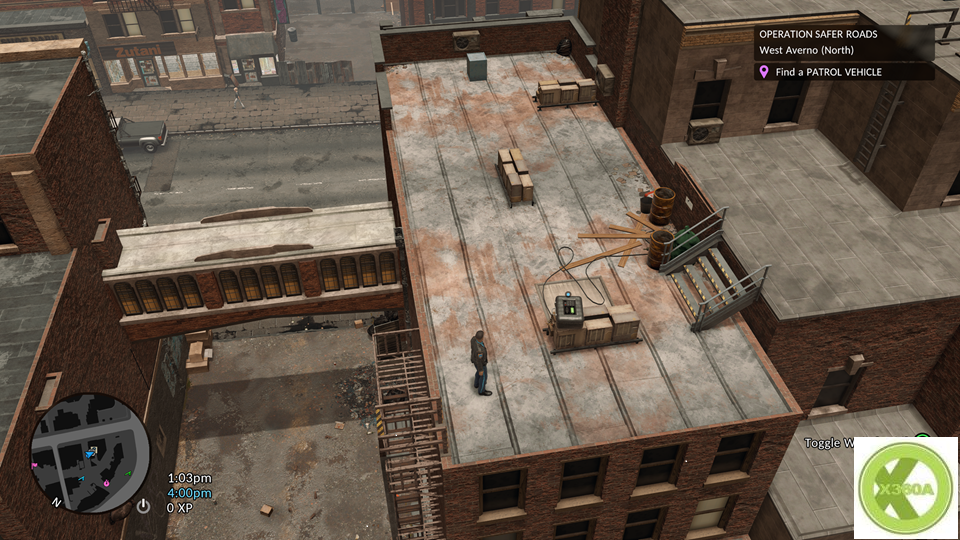
Mummified Big Toe
Location: Southwest of the Ramona subway terminal. On the rooftop of an area with a lot of boxes and some shipping containers. The ladder is on the front of the smaller white building near the fences.
Code: 1122
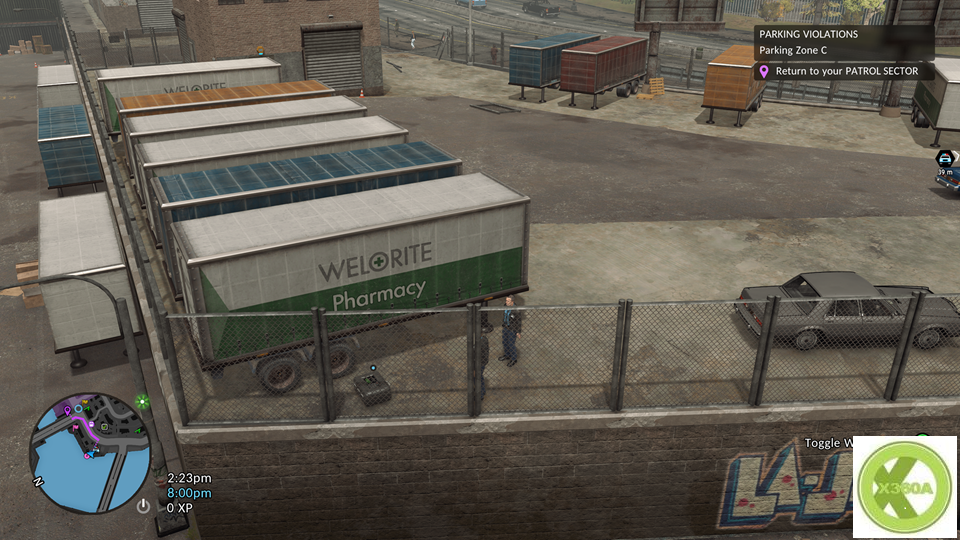
Sanguis Jewel
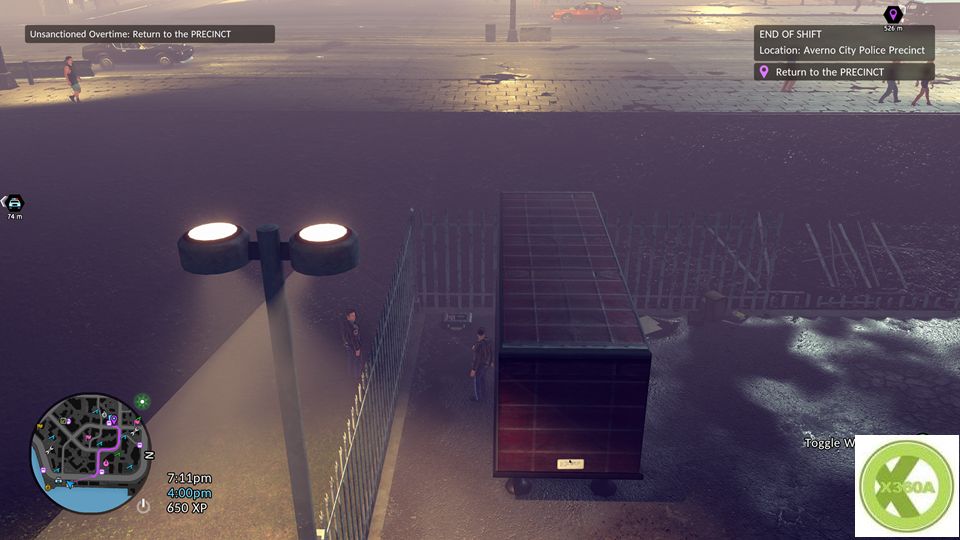
Location: On the East side is Slipwater Yard. From the “d” on the map, go south until you see a lone red semi trailer near a gate entrance. The box is next to it.
Code: 3317
17th Century Compass
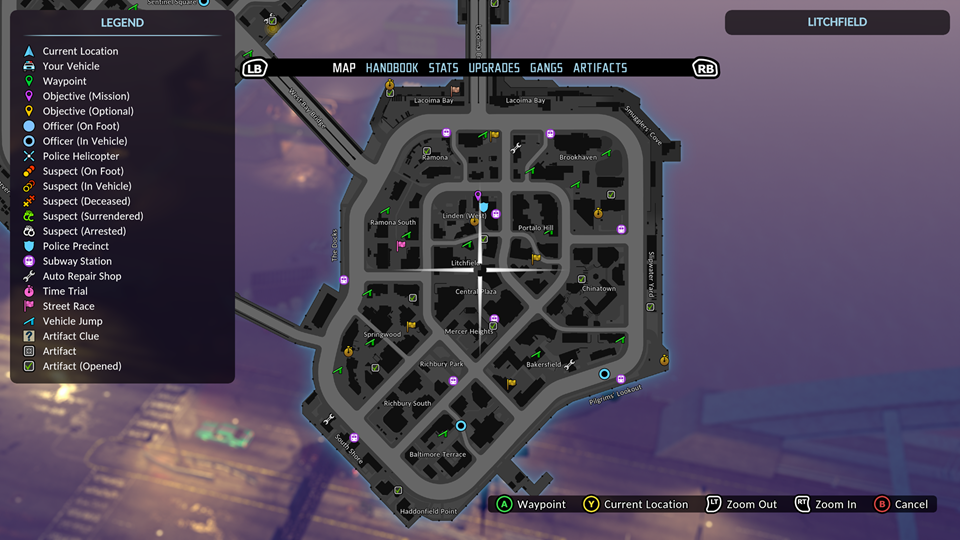
Location: West of Central Plaza in the top right part of Springwood. On a small ramp.
Code: 1848
St. Harry’s Fishing Hat
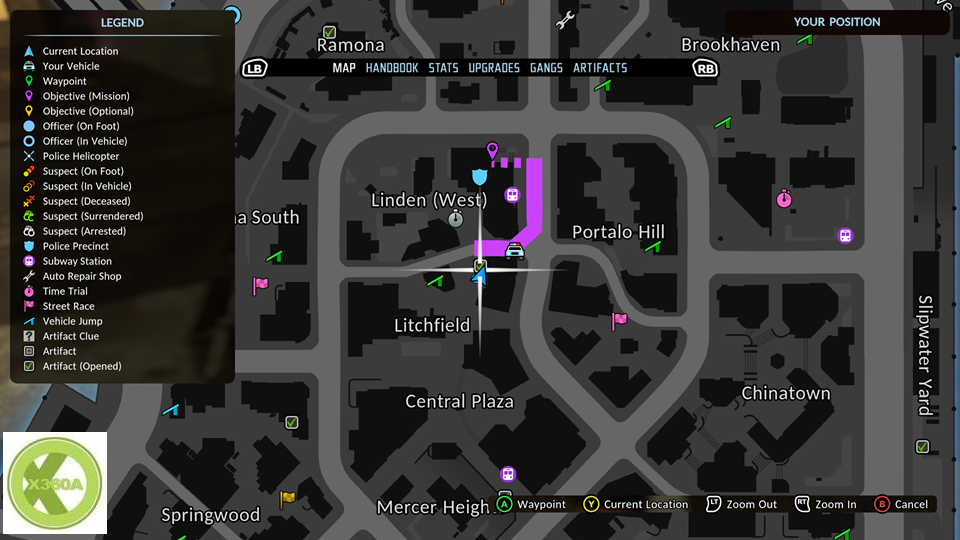
Location: Between Linden (West) and Litchfield, East of the jump by some red boxes in a fenced in area.
Code: 2020
The Last Knife of the Averno Forge
Location: Brookhaven, Northeast of the time trial. Head towards the freeway and you’ll see a blue semi trailer. It’s between that and some beams.
Code: 1009
Wooden Idol
Location: In Lacoima Bay, there;s a time trial by the water. You’ll see a bunch of semi trailers parked in the area above the wall. In the corner next to the green and white one, you’ll find the chest.
Code: 1316
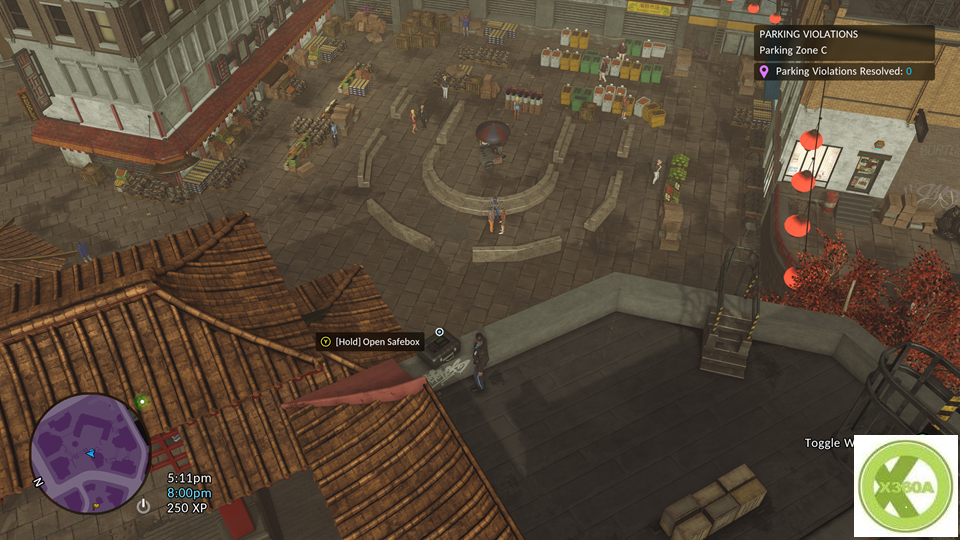
Undeciphered Stone Tablet
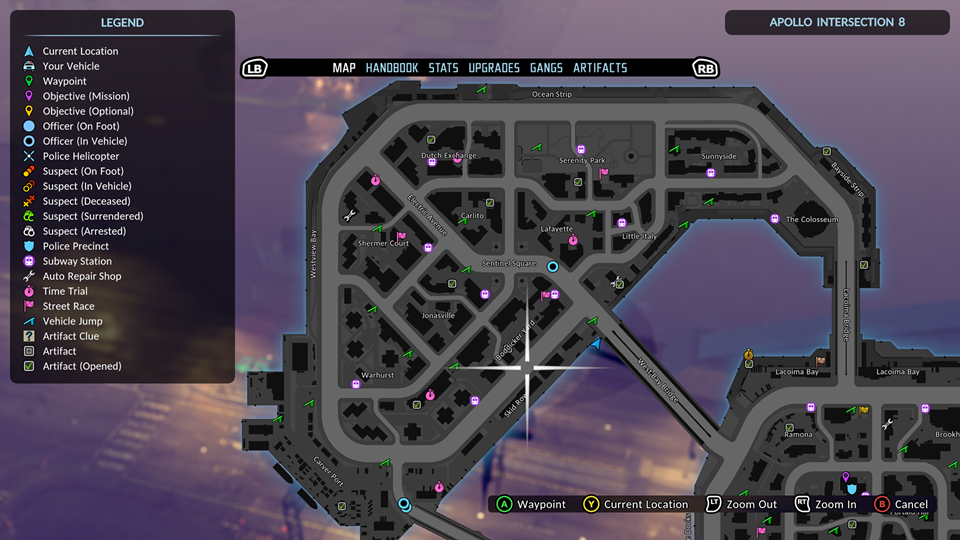
Location: This is on a roof in Chinatown. It’s at the corner of the main gateway (the thing with the red lanterns hanging on it).
Code: 1525
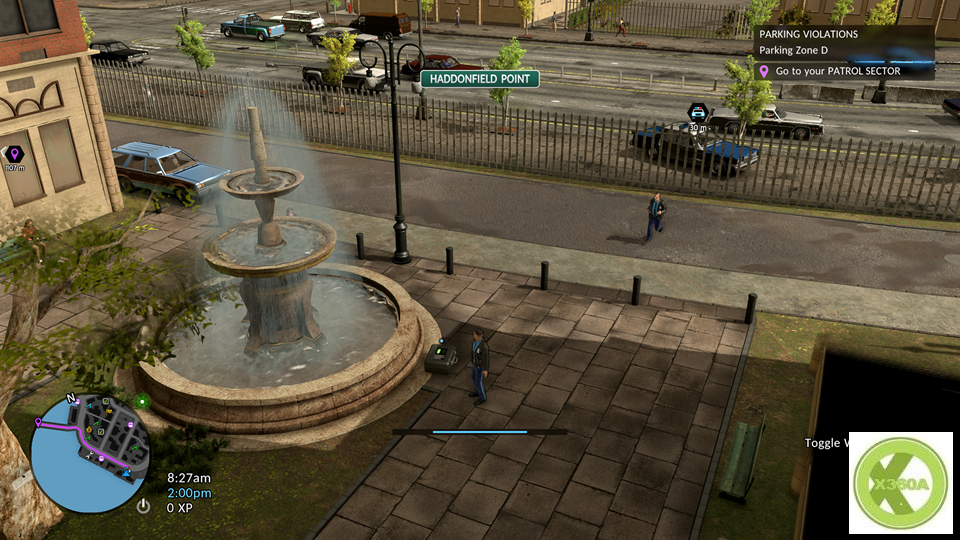
Ankylosaurus Skull
Location: Go south to Haddonfield Point. It’s at the very bottom of the map. You’ll see two buildings on your map, one of them which the area text hovers over. In the middle you’ll see a circle, which is a fountain. The box is on the edge of the fountain.
Code: 8241

Kentosaurus Spike
Location: Cross the West Bay Bridge. You’ll see a wrench on the map to the right after crossing, which is the repair shop. You’ll need to climb the ladder on the side of the shop that’s next to the water.
Code: 2580
Crude Harpoon Tip
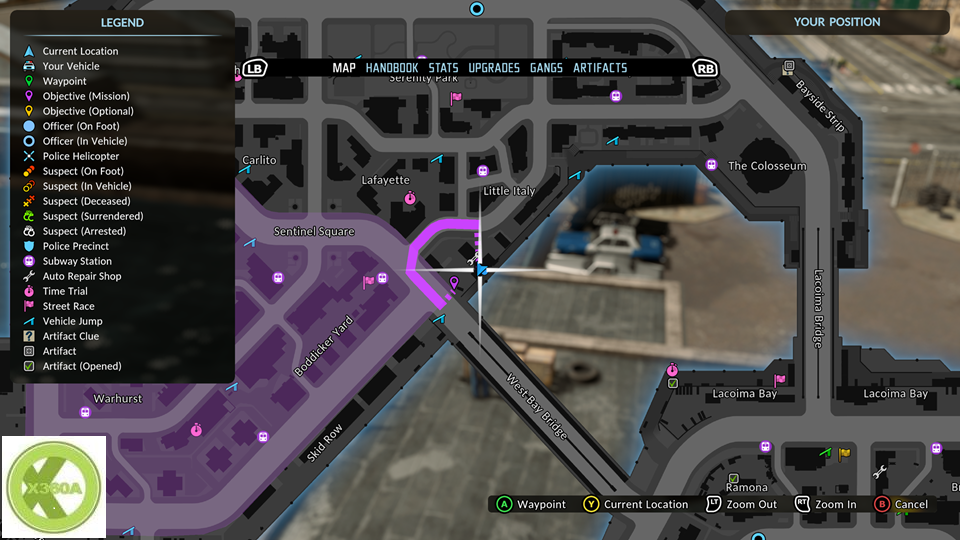
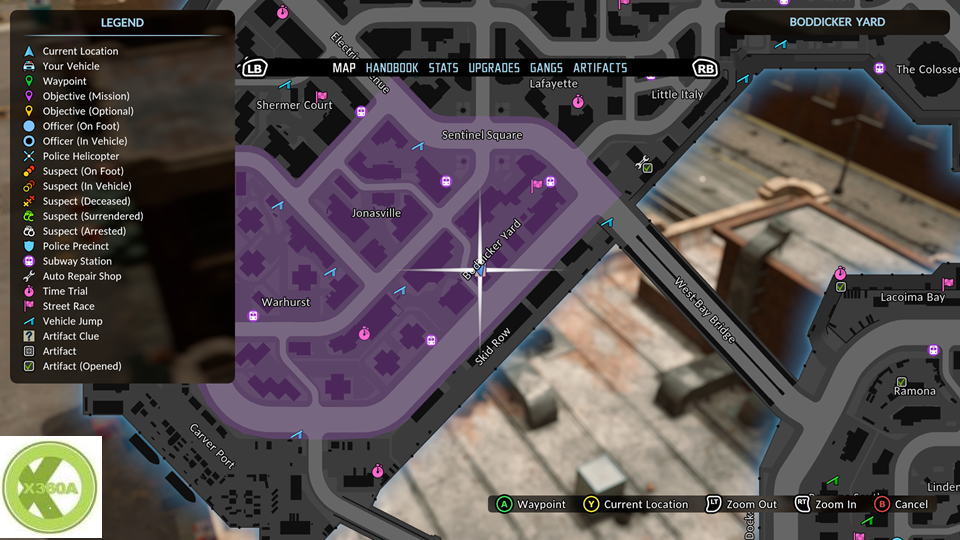
Location: Head over the West Bay Bridge and go to Boddicker Yard. Above the “B” for the area, you’ll see a building on the map (there are three of the exact same buildings). Climb to the top via the ladder and you’ll spot this on the vent. When you’re at the top, you’ll be positioned a little below the “O”, but the ladder is where I described.
Code: 1524
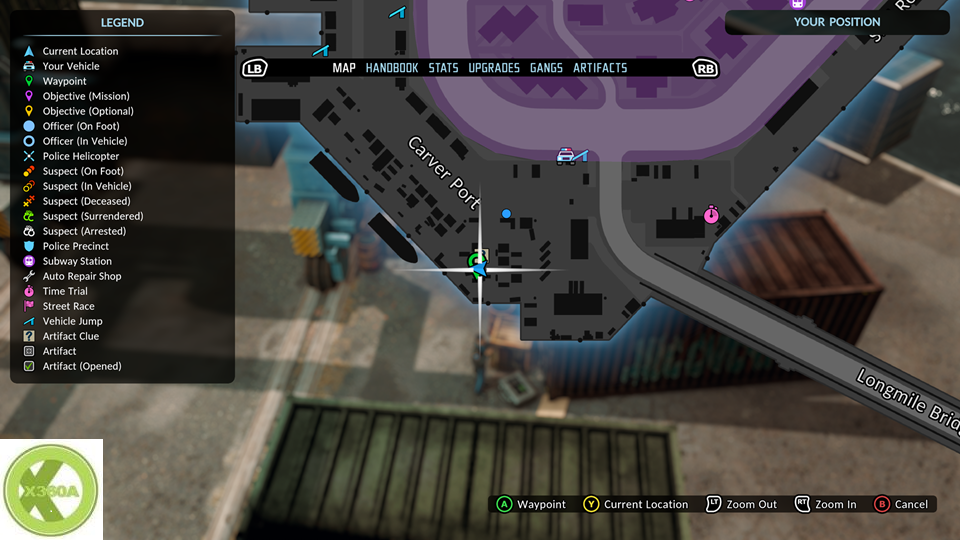
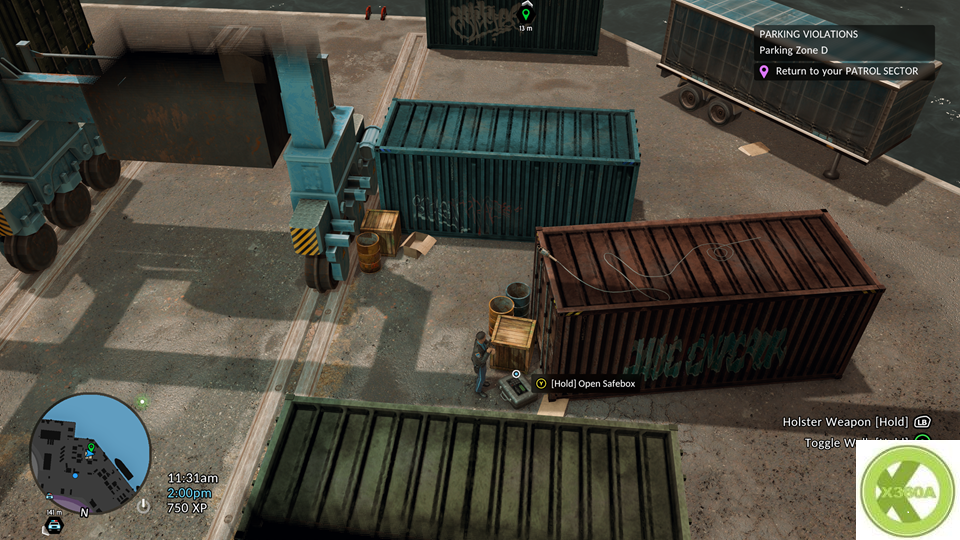
Fake Averno Diamond
Location: Head over Longmile Bridge. You’ll see two ships on the map by Carver Port. From the front boat, head down the path until you get to the last set of port cranes (they’re blue). Go into the middle of those tracks and you should be able to spot it, on the ground next to a crate.
Code: 2421
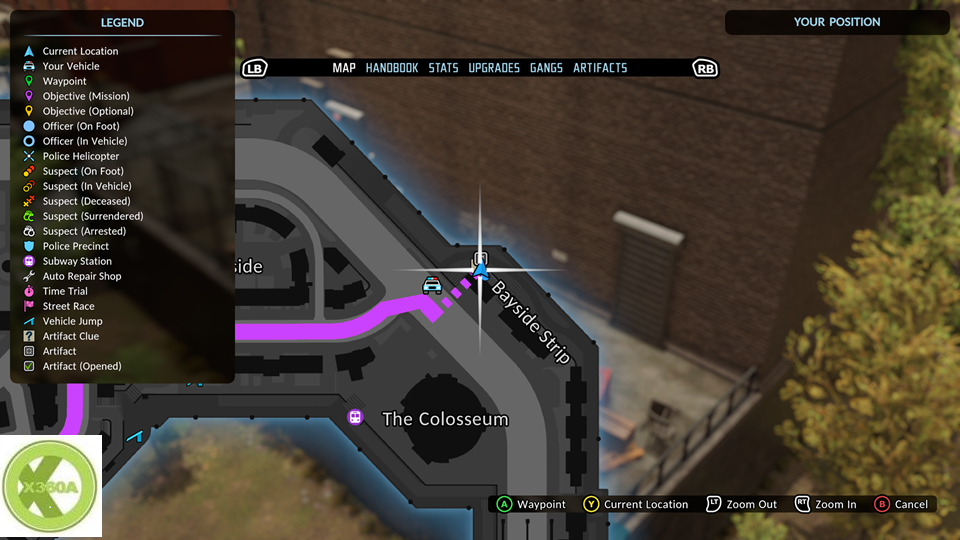
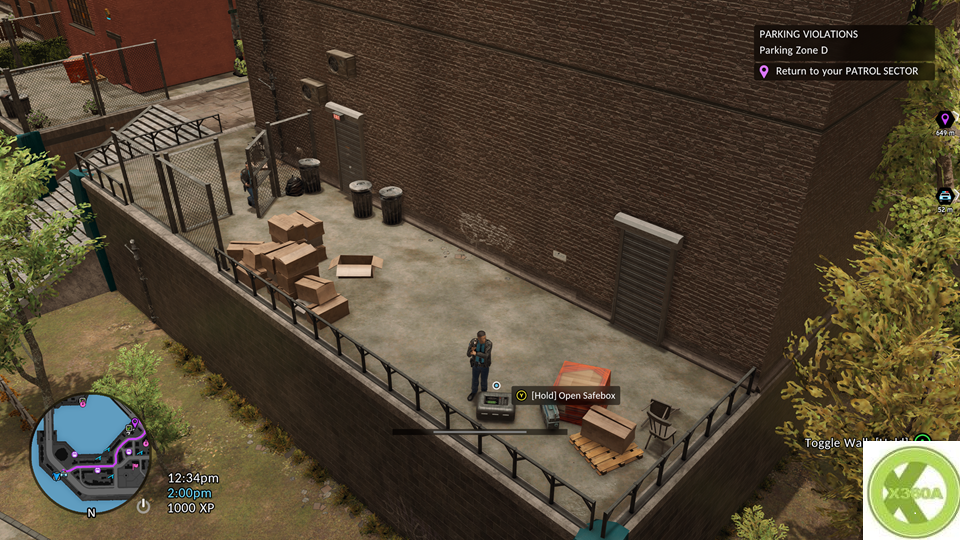
Silver ACPD Police Bell
Location: Drive over Lacoima Bridge towards Bayside Strip. The building with the “B” from the area text hovering over the corner is where you want to be. It’s an ice cream shop called Dutchies. Go around to the back of this building and through the gate to locate this one on the ground near the corner.
Code: 5432
The Iron Claw
Location: Head across West Bay Bridge towards Serenity Park. On the map look between the two buildings on the left side of this area. The box is between to garbage bins.
Code: 1978
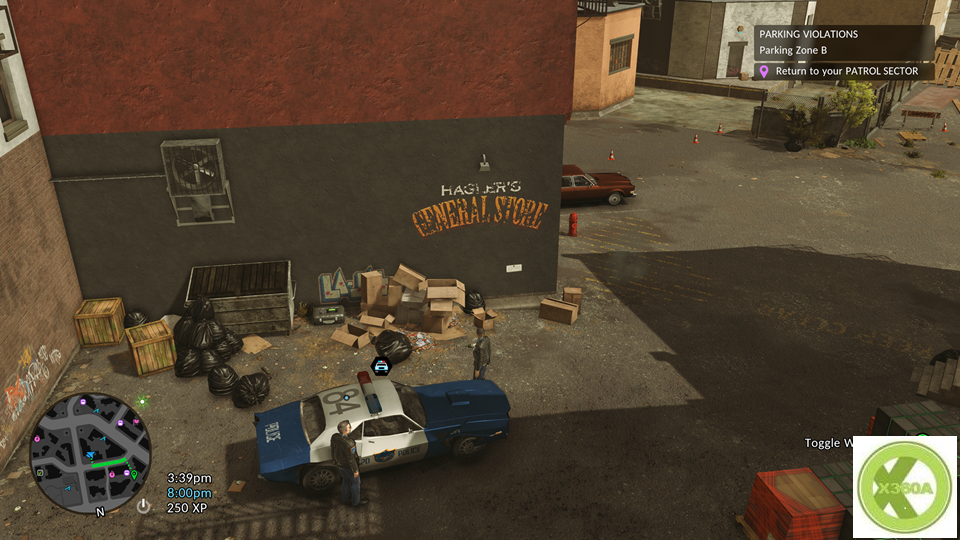
ACPD Police Sap
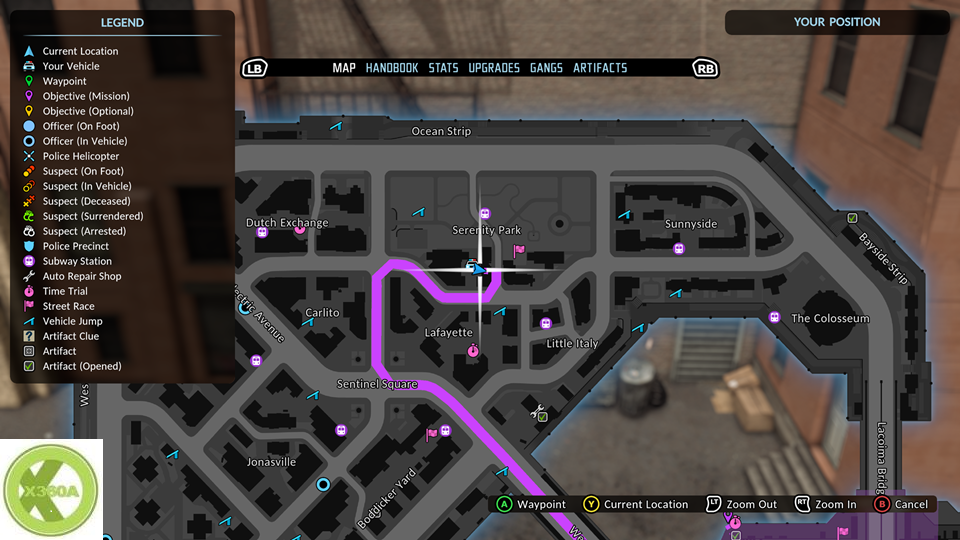
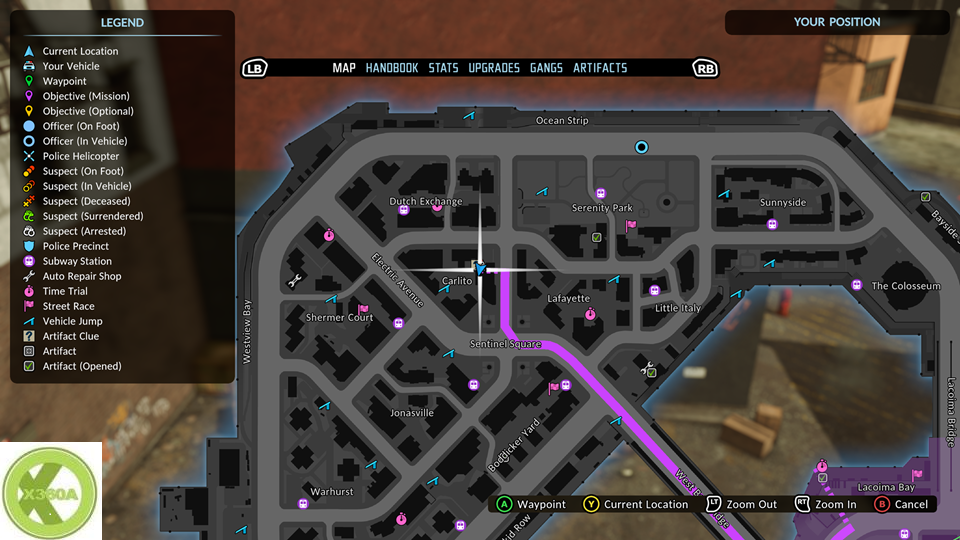
Location: Over West Bay Bridge, head to Carlito. In the top right corner between the buildings you’ll find the box by Hagler’s General Store’s garbage bin,
Code: 1874
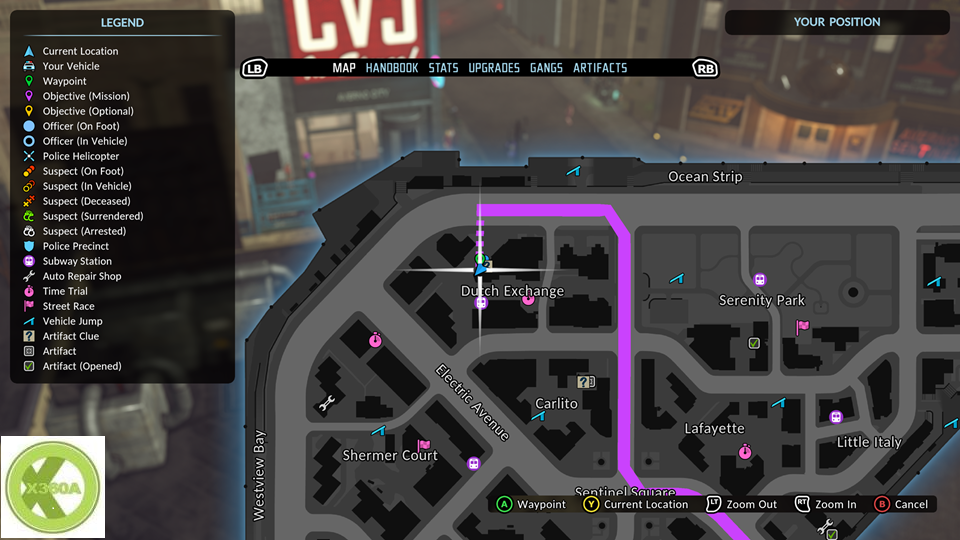
Henry Fisher’s Fingerprint
Location: Over West Bay Bridge, head to Dutch Exchange. There’s a building across from the ACTV building (posters of people are on the building with a spinning globe). This building has flags on the front, and if you run around past the newspaper stand, you’ll find a ladder to the box.
Code: 1230
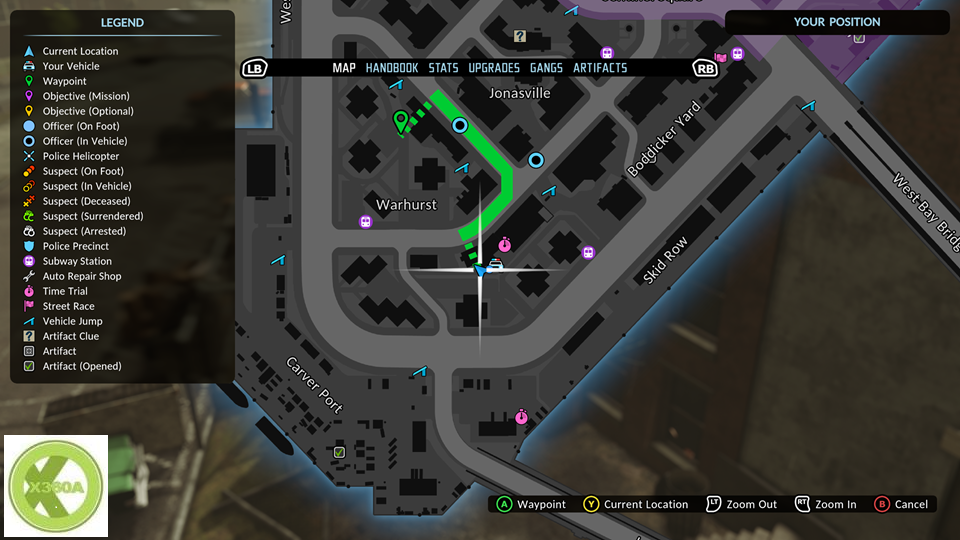
Silver Doubloon
Location: Head over West Bay Bridge to Jonasville. West of the terminal station, you’ll see a curved building. The edge of this building has a ladder on it that leads to the box.
Code: 2467
Pirate Telescope
Location: Head over Longmile Bridge, take a right before Warhurst. There’s a building with a time trial next to it. Near the edge of this building is a fire escape with a crate. The box is next to the crate.
Code: 9111
Warhurst’s Ring
Location: Head over Lacoima Bridge, and as soon as the bridge ends look to your right for a set of stairs. Go down these stairs, head right until you see a gated area.
Code: 2300
The Author
You Might Also Like