Orcs Must Die!: Finale (Level 24)
New weapon
Coin Forge – This massive plate earns the player extra money when enemies die on it. It’s really large and really inconvenient however as nothing can be placed on it, but it’s great for large open maps.
Enemies
Orc Warriors
Crossbow Orcs
Kobold Sappers
Gnoll Hunters
Fire Ogres
Frost Ogres
Armored Ogre
General survival skills
- Trying to manage all four sides is can be difficult, using barricades to focus all enemies to one lane is ideal
- Autoballistas at every side help thin the heard and can trigger sapper-explosion-trains
- Get the Knowledge Weaver and Rift Sentience as soon as possible
- The sapper rounds can break the game wide open, be careful for them
- PALADINS!!!
Five skull guide
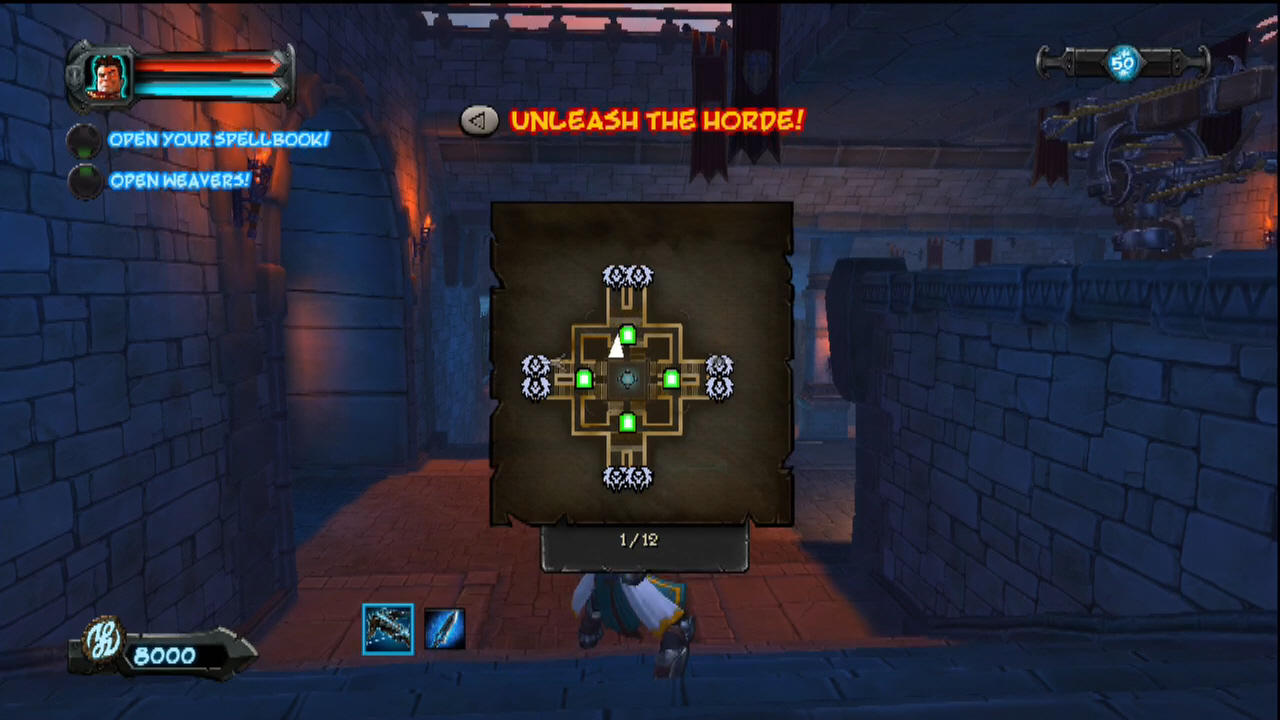
The final level, here we are! All the death and pain and orc blood pours into this final map! And so do all the enemy forces. Onset by gates to the North, South, East and West, enemies will be relentless. Close attention should be paid to the wave breakdown here as the Go Breaks are after four waves instead of three, so don’t let up too soon. Again, surely there are a million ways to beat this, but with this strategy we’re going to wall off the South, East and West. That means bring blockades for sure, but on top of that bring the ice and fire, autoballista, swinging mace, and most importantly, PALADINS!!!
Start this battle out by walling off one side at a time. Leave the North side open; it’ll stay this way for the duration of the level. Don’t get killed by the archers or sappers and things should go okay, but be quick with the magic (get the speed boost from the Knowledge Weaver) attacks always running past the rift to get mana. The first set of waves shouldn’t be too difficult, but for now there shouldn’t be any traps placed. In fact, there’s a bit of differentiation that is up to you, the reader. Wave 6 has a huge wave of Kobold Sappers attack, and that means dead blockades if not properly dealt with, and that’s bad. So either place the Paladins now and one autoballista under each ceiling (that’s eight) and place Paladins up North of the rift, or around it in general. Caution: this means the kobold sappers and Gnoll Hunters of wave 6 will run straight for the warmage and any placed guardians, so be quick and don’t die. Conversely, all staircases (except the North) can be blockaded, but that means defeating the Kobold Sappers as quickly as possible. They’ll rush the North, then the East, then from the South. Above all, don’t die here, nothing on this wave will go for the Rift so that’s not as big of a concern (unless everything else dies), but no matter what that wave will probably be painful. It’s important to get the blockades up immediately after though as orcs will attack from all sides the wave after.
In the coming Go Break, make sure all the blockades are complete and make some more paladins. By now, also have the Rift Sentience if you don’t already. Add swinging maces to the North defense and more auto ballistae if possible. From there, the next bit to watch for is coming right up. Wave 9 has Armored Ogres, that means bad things for the Paladins so protect them with the ice. The last set isn’t too tough, just watch for the Sappers on wave 10 and the final wave. The final wave should be taken in parts, the paladins will hold off the ogres if they’re let through, but ideally take out the fire ogres, then the ice ogres, then defend against the armored ogres.
One thing about the blockade strategy. Don’t wait for stragglers to come to the front, go kill them to save time.
Waves
- (A – North) Orcs
- (B – East) Orcs, Kobold Sappers (repeat)
- (C – South) Orcs & Archers
- (D – West) OrcsGo Break
- (C) 1x Fire & Frost Ogre, Archers
- (A) Kobold Sappers 2x Gnoll Hunters (TONS) (B) Kobold Sappers 2x Gnoll Hunters (C) Kobold Sappers
- (A, B, C & D) Orcs
- (C) 2x Gnoll Hunters & Archers (B) Orcs & ArchersGo Break
- (A) Orcs, 2x Armored Ogres
- (A) Kobold Sappers (TONS) (C) 1x Fire Ogre
- (ABCD) Archers (B&D) 1x Frost Ogre
- (A) 2x Fire Ogre (C) 2x Frost Ogre (B&D) 2x Armored Ogre


